33
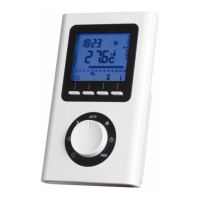
3 Using the IR Prog room
thermostat
3.1 The operating modes
NO HEAT The appliance is in No Heat mode.
COMFORT This mode should be used when the room is occupied (default
temperature: 19°C).
ECONOMY ECO This mode should be used when the room is unoccupied.
It is recommended for periods of absence longer than 2 hours (default
temperature: 16°C).
FROST PROTECTION This mode should be used when the room is unoccupied
for long periods. It is recommended for periods of absence longer than 24
hours (default temperature: 7°C).
AUTO The thermostat operates your appliance in accordance with your
chosen weekly program (see section 3.3) and displays the mode selected for
the current timeslot.
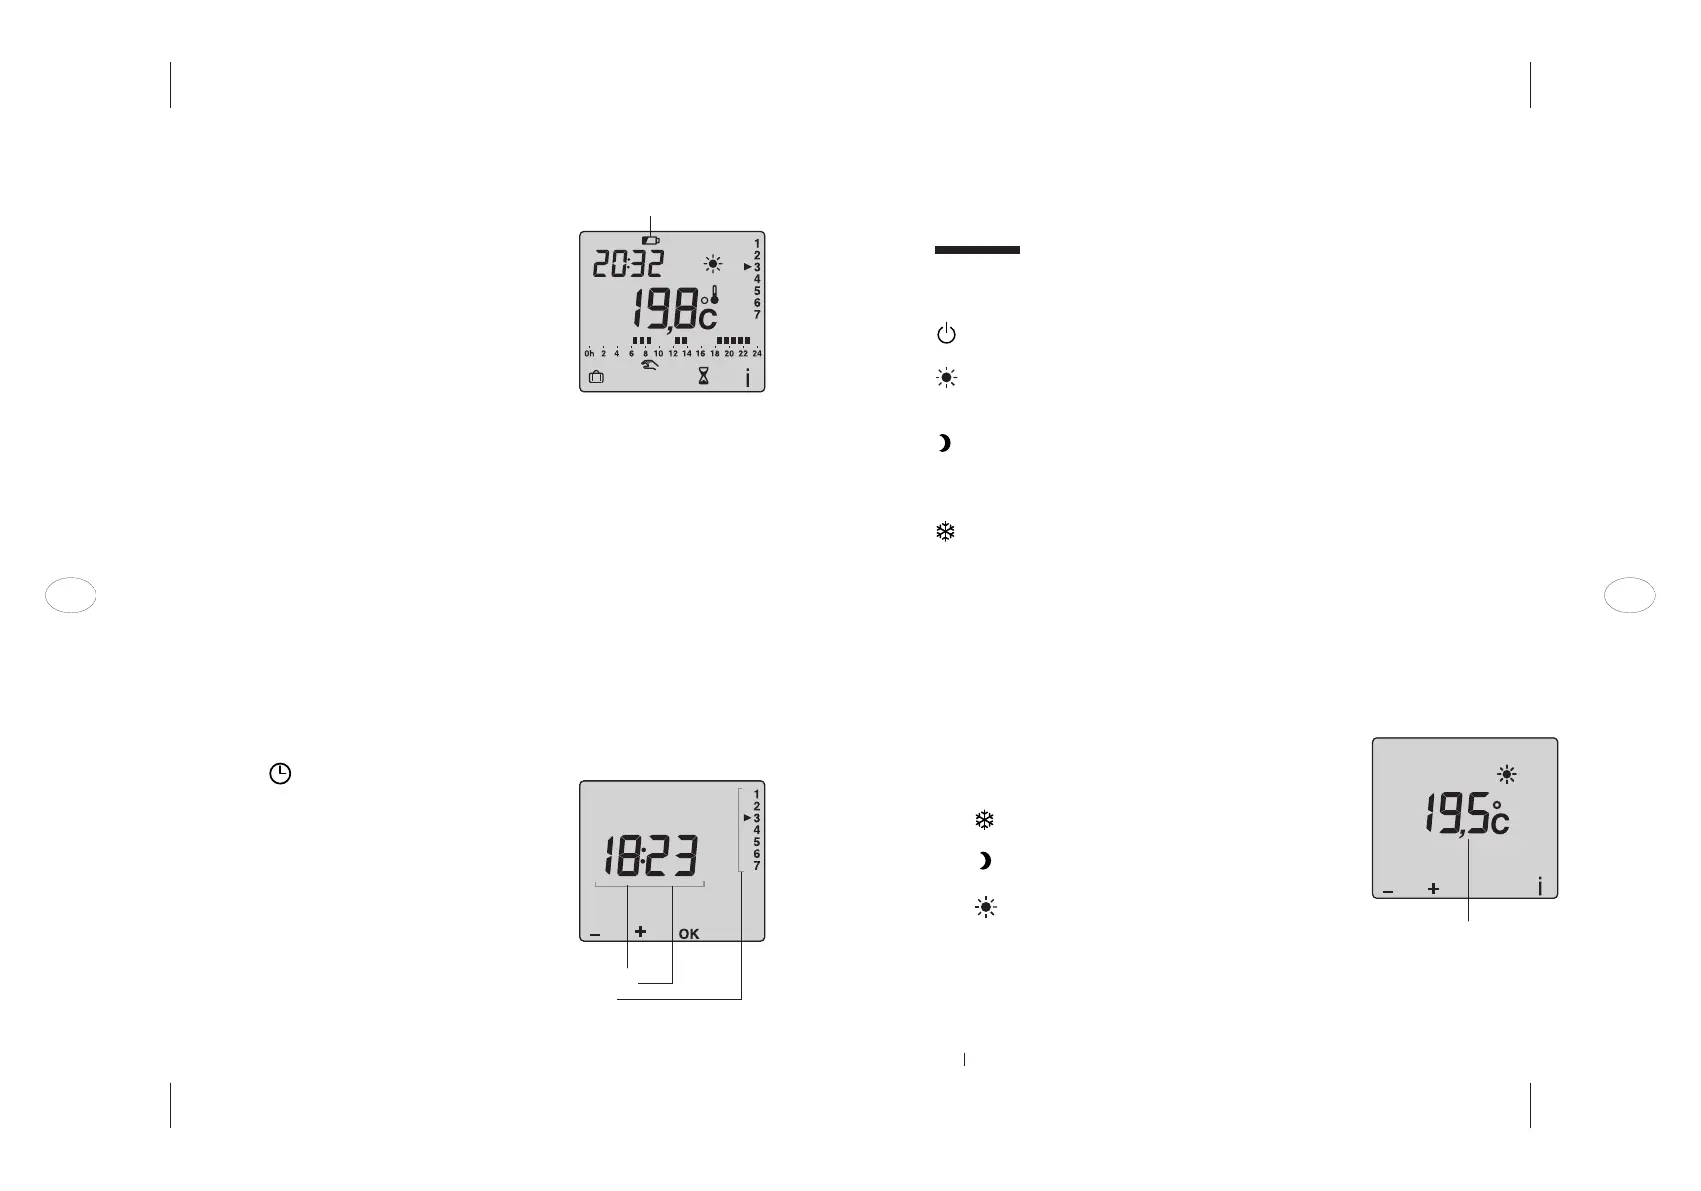
3.2 Programming the setpoint temperatures
The setpoint temperatures are the room
temperatures you wish to apply for each of the
above modes. Turn the dial to:
to set the frost protection temperature
(between 5°C and 15°C)
to set the economy temperature
(between 10°C and 30°C)
to set the comfort temperature
(between 10°C and 30°C)
Press + or - to change the temperature in 0.5°C
increments. Then turn the dial to move to the next
setting.
NOTE Press the i button to briefly display the current room temperature.
Setpoint temperature
2.2 Activating and replacing the batteries
Lever off the cover using a screwdriver (A). Remove
the battery insulation tab and replace the cover.
When the low battery symbol appears, you have
approximately three months to change the bat-
teries (2x 1.5V alkaline batteries of type LR03 or
AAA).
You should take the following precautions:
_ ensure correct +/- polarity when inserting bat-
teries into the thermostat
_ take care when disposing of used batteries:
protect the environment by disposing of them at
an approved collection point
_ do not recharge the batteries
_ you have approximately 45 seconds to insert new
batteries before your time and date settings are
lost (if this happens, the time and date settings
must be re-entered).
2.3 Setting the time
Turn the dial to .
The days will blink. Press + or – to select the
required day (Monday can be taken as day 1) then
press OK to confirm and move on to the next
setting.
Follow the same procedure to set the hours and
then the minutes.
Turn the dial to exit the settings mode.
Low battery indicator
s
ymbol
Time
Minutes
Day
32
EN EN