ƶƵ
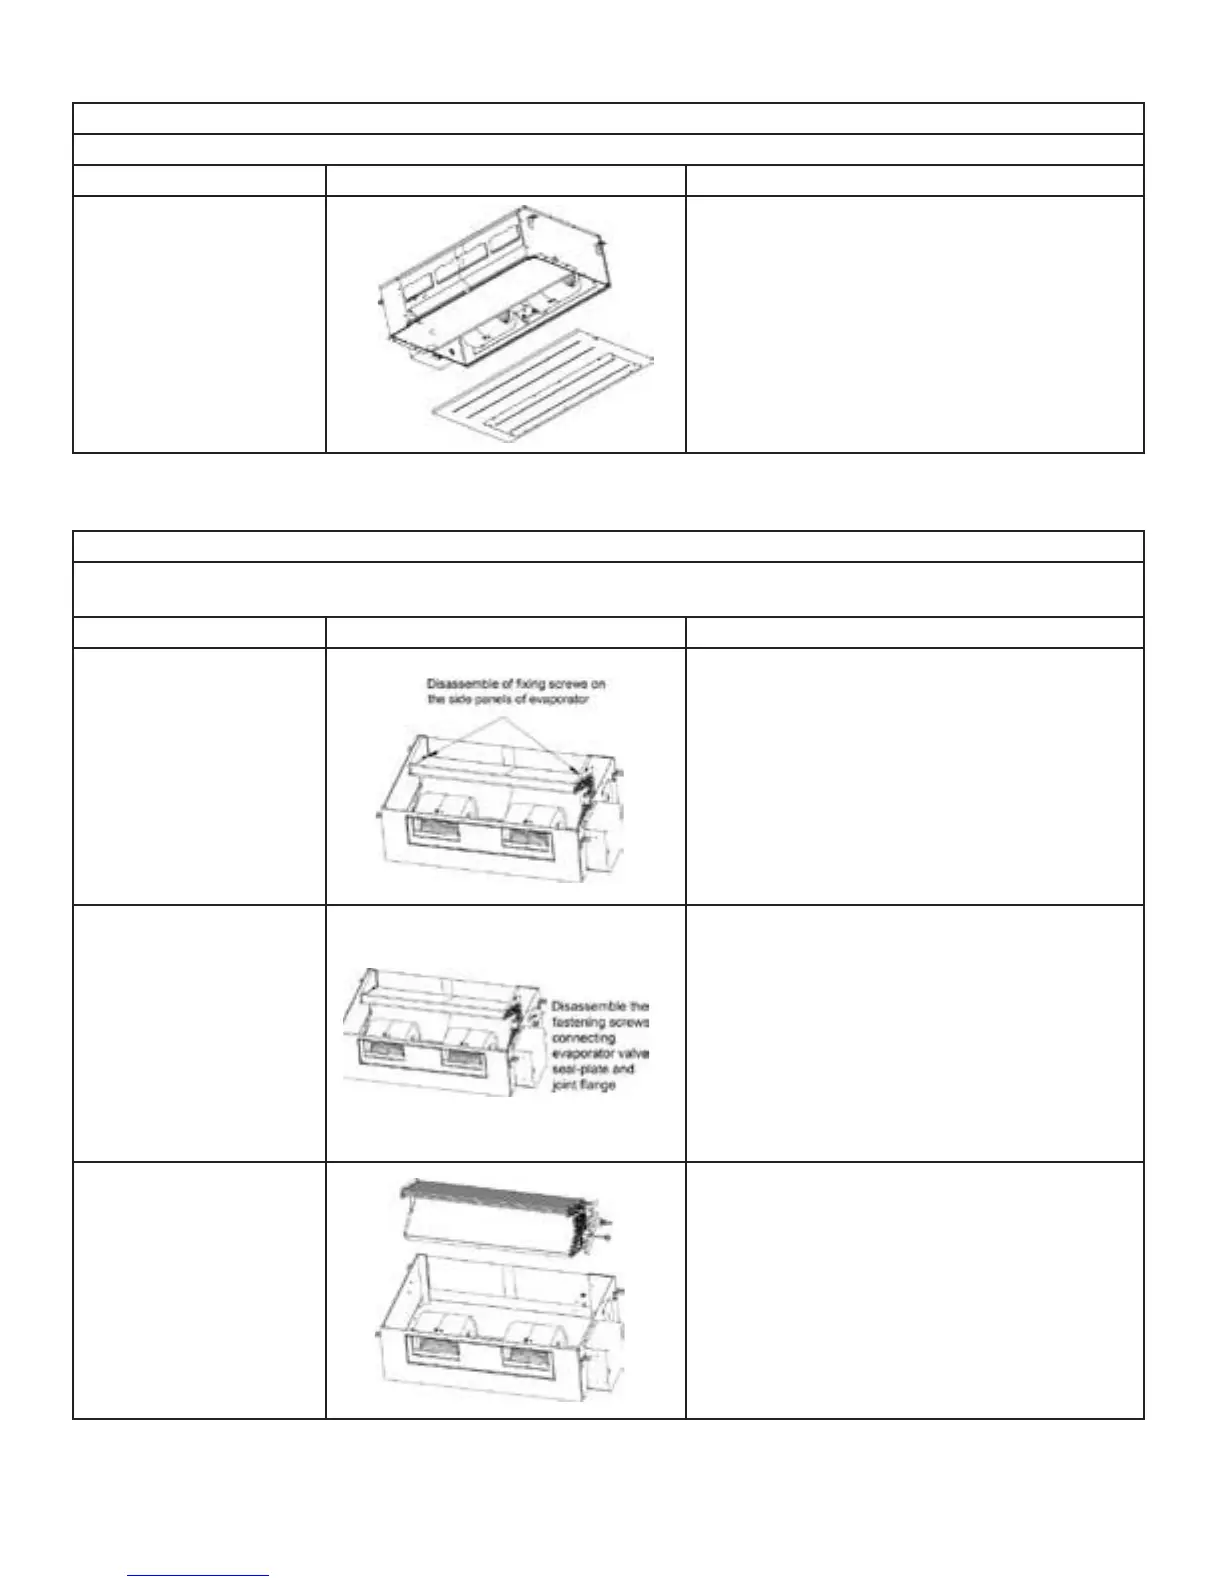
Disassembly of fan and motor
Remark: Make sure that the power supply is cut off before disassembling and protect all the parts during disassembly.
Step Illustration Handling Instruction
Disassembly of fan motor
Disassemble the fixing screws on the fan compo-
nents. (As is shown in graph, circle represents 6
screws.)
Disassemble the fastening screws on the fan and
motor. Remove the fan. (As is shown in the graph,
box represents screws.)
Disassembly of evaporator
Remark: Make sure that the power supply is cut off and protect the copper tube and aluminum fin. If the time for disas-
sembly shall be long, put the copper tube under pressurized condition.
Step Illustration Handling Instruction
1. Disassembly of fixing
screws on the side panels
of evaporator
Disassemble the fastening screw connecting left
and right side panels on the evaporator and the
upper cover plate. (As is shown in the arrows direc-
tion in graph.)
2. Disassemble fastening
screws connecting evap-
orator valve seal-plate and
joint flange
Disassemble the fastening screws on the valve
seal-plate and remove the valve seal-plate. Disas-
semble the fastening screws on the evaporators’
joint flange. (As is shown in the graph, box rep-
resents fastening screws on seal-plates while circle
the fastening screws on joining flange.
3. Removal of evaporator
Remove the evaporator. Removed evaporator is
shown in the graph.


 To Next Page