ACTsmart2 Operating and Installation Manual Rev. 1.3
14
User Arm Function:
A User with arming capability who presses the
✔
key and then presents a valid card or enters a valid
PIN causes the reader to send a signal to an alarm control panel that may be used to arm/disarm the
panel. This signal is sent via an auxiliary on the reader that is programmed as a “Door Armed Output”.
Option 42 “Arming Door” must be On before the “Door Armed Output” takes effect. If option 43 Pulse
Door Armed is On, a pulsed signal is issued from this output for two seconds. The control panel in turn
may send a signal to the reader to indicate that the panel is armed/disarmed. This signal is received
through an auxiliary on the reader that is programmed as a “PanelArmed Input”. When this signal is low
the door is locked and access is prohibited. Check the alarm panel wiring diagram at the end of the
manual.
To program a card or PIN with the arm function, program as normal, but press 9 before the
✔
key. See
the two examples below:
a
e
o
y
m
,
o
f
e
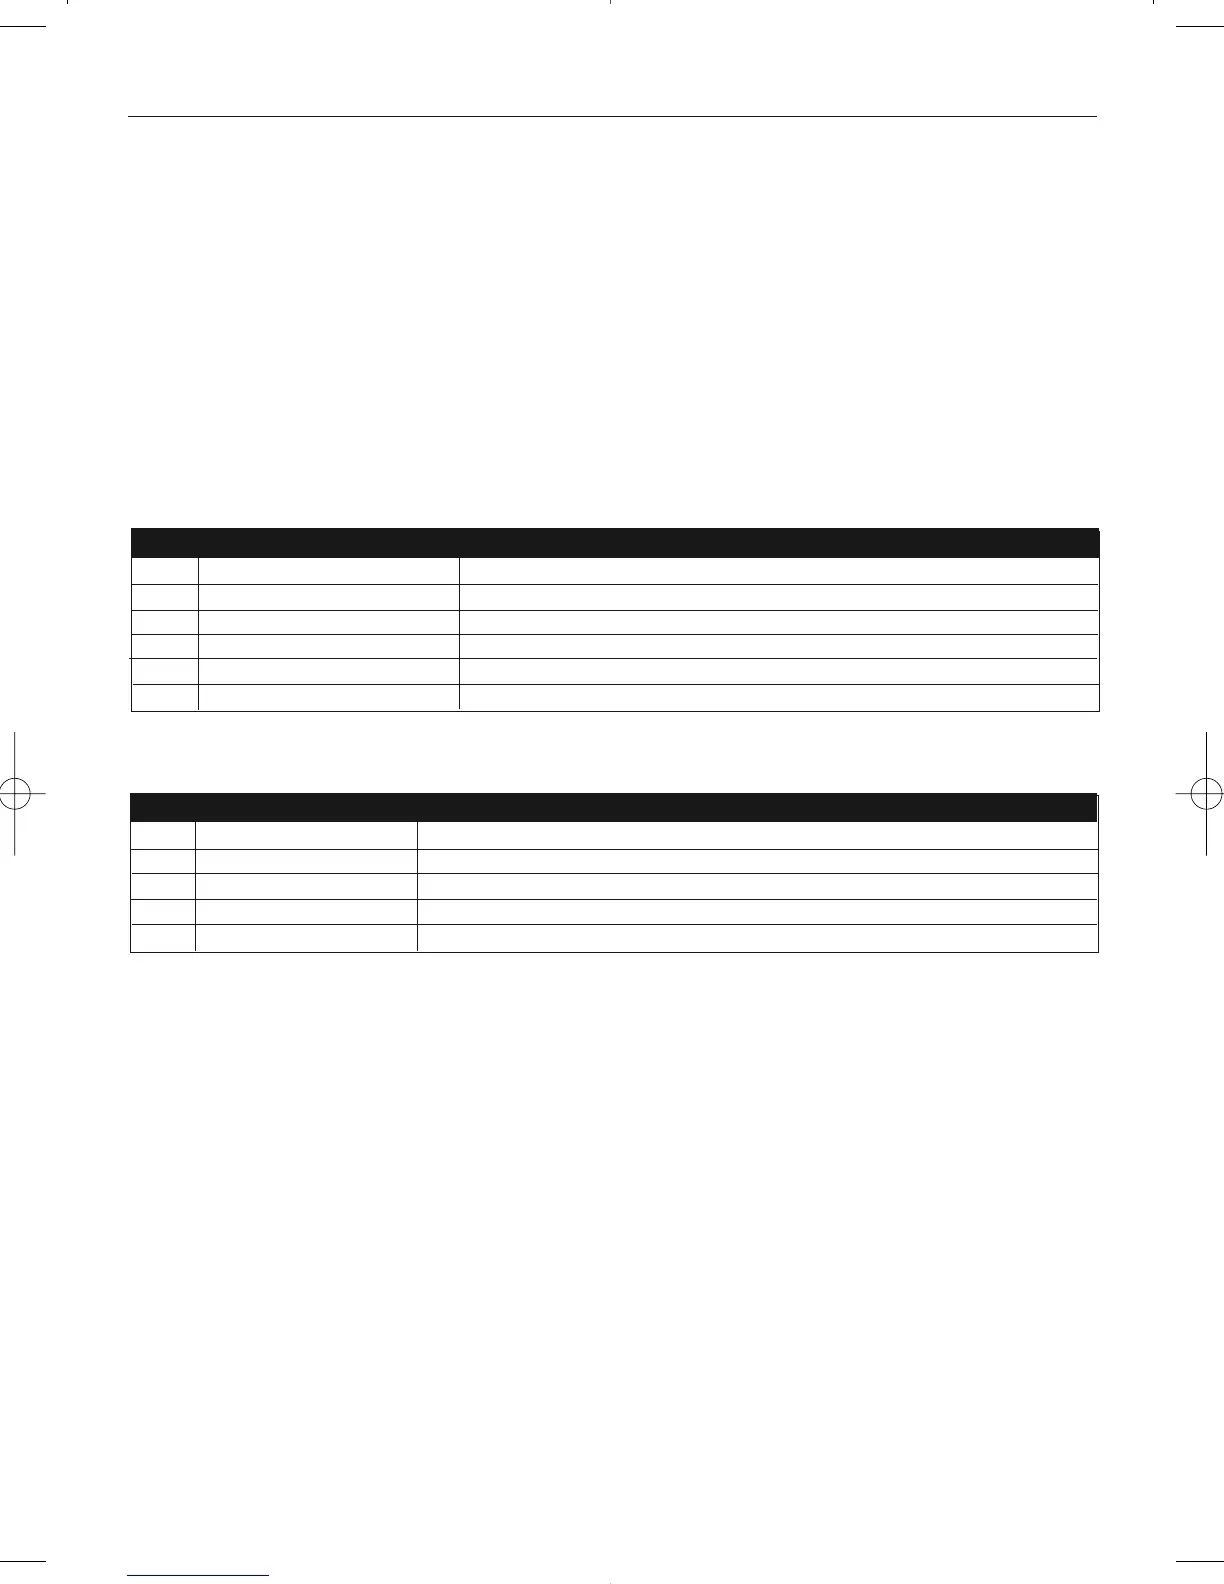
Step Keypad Entry Operation
1 10 Add Card Batch
2 Present Card First Card in Batch (lowest number card)
3 Present Card Last Card in Batch (highest number card)
4 9 Enable Arming mode (make sure Option 42 is set)
5 1-8, (optional)* Select each door this batch is valid for
6 Press
✔
End
Adding a Card Batch with Arming Function:
Step Keypad Entry Operation
1 12 Add PINs (Make sure Option 40 is set on PIN and Prox Units)
2 0001-9999 4-6 digit PIN code
39 Enable Arming mode (make sure Option 42 is set)
4 1-8, (optional)* Select each door this PIN is valid for
5 Press
✔
End
Adding a PIN Code with Arming Function:
To summarise, the following steps are required for setting up tokens to arm and disarm alarm panels:
1. Program the ACTsmart2 to be an Arming Door - Option 42 On
2. Assign a card or PIN with the Arming function - see above.
3. Assign an Aux I/O as the Door Armed output - I/O Function Code 14
4. If required, turn the Pulse Door Armed Option on - Option 43 On
5. If required, assign an input as the Panel Armed input. This input verifies when the alarm panel is
actually armed. - I/O Function Code 15
6. Connect up according to the Alarm Panel wiring diagram.
 Loading...