OK
Separate the rain gauge cover from the
rain gauge base.
Locate the two holes on the rain gauge
base.
Fasten the rain gauge base to a
sturdy surface, like a deck railing
or a fence post, with screws (not
included) using hand tools.
Re-attach cover onto rain gauge base.
Rain Gauge Installation
• To ensure accurate rain measurement,
the rain gauge MUST be placed on a
flat, level surface.
• Ensure the rain gauge is not placed in
a low spot that could become flooded
or in an area where there are obstruc-
tions above it.
Placement for Maximum Accuracy
Proper placement is critical to the accuracy and
performance of this product.
Important Placement Guidelines
• Rain gauge transmits wireless signal up to 100 ft (30 m).
Locate away from objects that may limit wireless
communication, like thick walls or metal surfaces.
• Mount at least 3 ft (0.9 m) or higher above the ground
for optimal wireless range.
5 6
7
Congratulations!
You’re ready to start using
the Rain Gauge!
For more information about
AcuRite Environment Systems, to view
installation videos, and to purchase additional
compatible AcuRite sensors, visit
www.AcuRite.com
Learn More at AcuRite.com
need help?
1-844-228-5465
info@chaney-inst.com
2
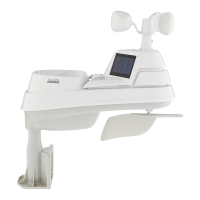
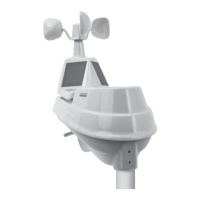
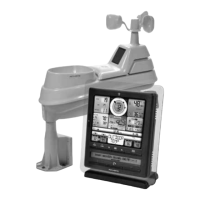
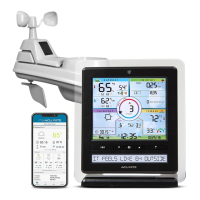
Package Contents
Rain Gauge
Model 06034RM
4
Install 2 AA batteries
into battery
compartment.
4
Securely place the battery
box back into the rain gauge
base and re-attach cover
onto rain gauge base.
5
3
Rain Gauge Setup
Separate rain gauge
cover from the base by
squeezing tabs.
1
Remove rain gauge cover
by lifting upwards.
2
Remove battery box by
squeezing the two tabs
on each end together.
3
Environment Systems
Note: If you are syncing
sensor with a display (not
included), ensure that the
A-B-C switch, located in
the battery compartment,
matches on both units.
Installation
Rain Gauge
1
2
3
5
4