Instruction Manual
CONTENTS
Unpacking Instructions ............... 2
Package Contents ...................... 2
Product Registration ................... 2
Features & Benets: Lightning Sensor .. 3
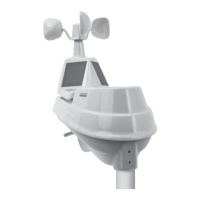
Features & Benets: 5-in1 ........... 4
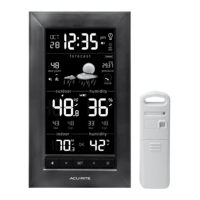
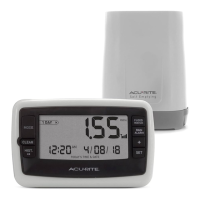
Features & Benets: Display ........ 5
Setup ........................................ 9
Lightning Sensor Setup ............... 9
5-in-1 Sensor Setup ...................10
Display Setup ...........................11
Set the Time, Date & Units .........12
Backlight Settings ......................12
Placement Guidelines ................13
5-in-1 Sensor Installation ............15
Using the Weather Center .........16
Rainfall Tracking .......................18
Weather Ticker .........................19
Programmable Alarms .............. 20
Troubleshooting ....................... 22
Care & Maintenance ................ 24
Calibration .............................. 24
Specications ........................... 26
FCC Information ...................... 26
Customer Support .................... 27
Warranty................................. 27
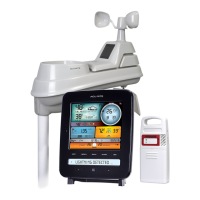
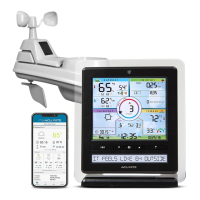
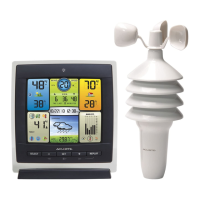
Weather Station with Lightning Detector
models 01022, 02080, 06046
SAVE THIS MANUAL FOR FUTURE REFERENCE.
Questions? Contact Customer Support at
(877) 221-1252 or visit www.AcuRite.com.