Do you have a question about the ACU-RITE 01121 and is the answer not in the manual?
Lists items included with the weather station.
Instructions for registering the product to receive warranty protection.
Details on hanger, indicator, battery compartment, and switch.
Features for wall mounting, tabletop stand, and power adapter connection.
Includes RESET button, A-B-C switch, and battery cover.
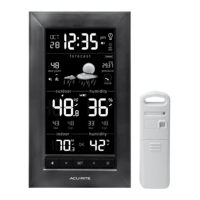
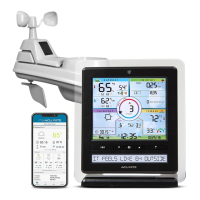
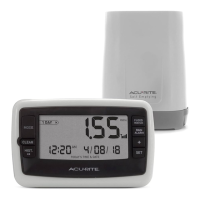
Details on date, temperature, humidity, pressure, and forecast.
Describes buttons for setting time, alarms, and backlight.
Explains icons for alarms, learning mode, battery, and the weather forecast.
Describes the accurate timekeeping feature of the atomic clock.
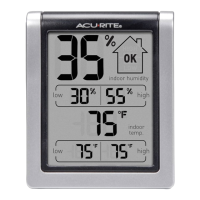
Explains heat index, dew point, and humidity conditions.
Details high/low records and trend indicators for temp/humidity.
Explains barometric pressure trends and weather forecast logic.
Instructions for setting the A-B-C switch for synchronization.
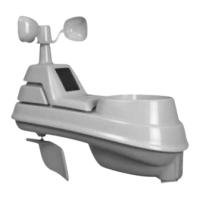
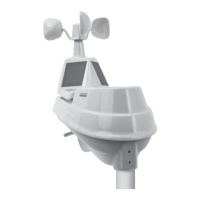
Guidelines for installing AA batteries in the outdoor sensor.
Instructions for setting the A-B-C switch for the display.
Guidelines for installing AAA backup batteries in the display.
Connecting the power adapter as the primary power source.
How the atomic clock synchronizes and maintains accurate time.
Step-by-step guide to configure time, date, and measurement units.
Options for adjusting display brightness and auto-dim mode.
Recommendations for optimal placement of display and outdoor sensor.
Guidelines to ensure accurate measurements and wireless communication.
Explanation of self-calibrating forecasting and its learning period.
How to interpret pressure trends and view high/low records.
Step-by-step guide to set high and low value alarms.
Instructions on how to turn off specific or all alarms.
Solutions for issues with outdoor sensor signal loss.
Troubleshooting for incorrect temperature, humidity, or forecast data.
Solutions for display not working or atomic signal/time syncing problems.
Instructions for cleaning the display and outdoor sensor.
Guide to calibrate temperature, humidity, and pressure readings.
Technical details including temperature, humidity, and wireless range.
Compliance details regarding FCC rules and interference.
How to contact AcuRite customer support for assistance.
Details of the product warranty, limitations, and disclaimers.
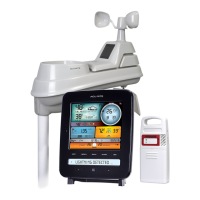
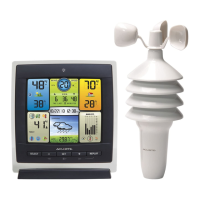
This document describes the AcuRite Weather Station, model 01121, a precision instrument designed to provide comprehensive weather information and forecasting. The device consists of a main display unit and an outdoor sensor, working together to deliver accurate and personalized weather data.
The AcuRite Weather Station provides a 12 to 24-hour weather forecast based on self-calibrating technology that collects data from the outdoor sensor. It displays current indoor and outdoor temperature and humidity, barometric pressure with trend indicators, and records daily high and low temperatures and humidity. The display also features an atomic clock for accurate timekeeping, programmable alarms for temperature and humidity, and a backlight with adjustable brightness settings. The "Learning Mode" icon indicates when the device is self-calibrating its pressure readings to determine altitude and provide a superior weather prediction tailored to your specific location.
The AcuRite Weather Station is designed for reliability and ease of use, providing essential weather insights to help plan your day with confidence.
| Brand | ACU-RITE |
|---|---|
| Model | 01121 |
| Category | Weather Station |
| Language | English |