JST PH 2mm 4-Pin to Male Header Cable
- I2C STEMMA Cable - 200mm
This cable will let you turn a JST PH 4-pin
cable port into 4 individual wires with
high-quality 0.1" male header plugs on the
end. We're carrying these to match up
with any...
https://www.adafruit.com/product/3955
On the back there are 3 SWD programming dots (see the schematic for the exact
pinout in case you want to re-program the chip)
There's also two I2C address jumpers. The default address is 0x36, but you can select
between 0x36 and 0x39 inclusive by shorting AD0 (to add 1 to the address) and/or A
D1 (to add 2 to the address)
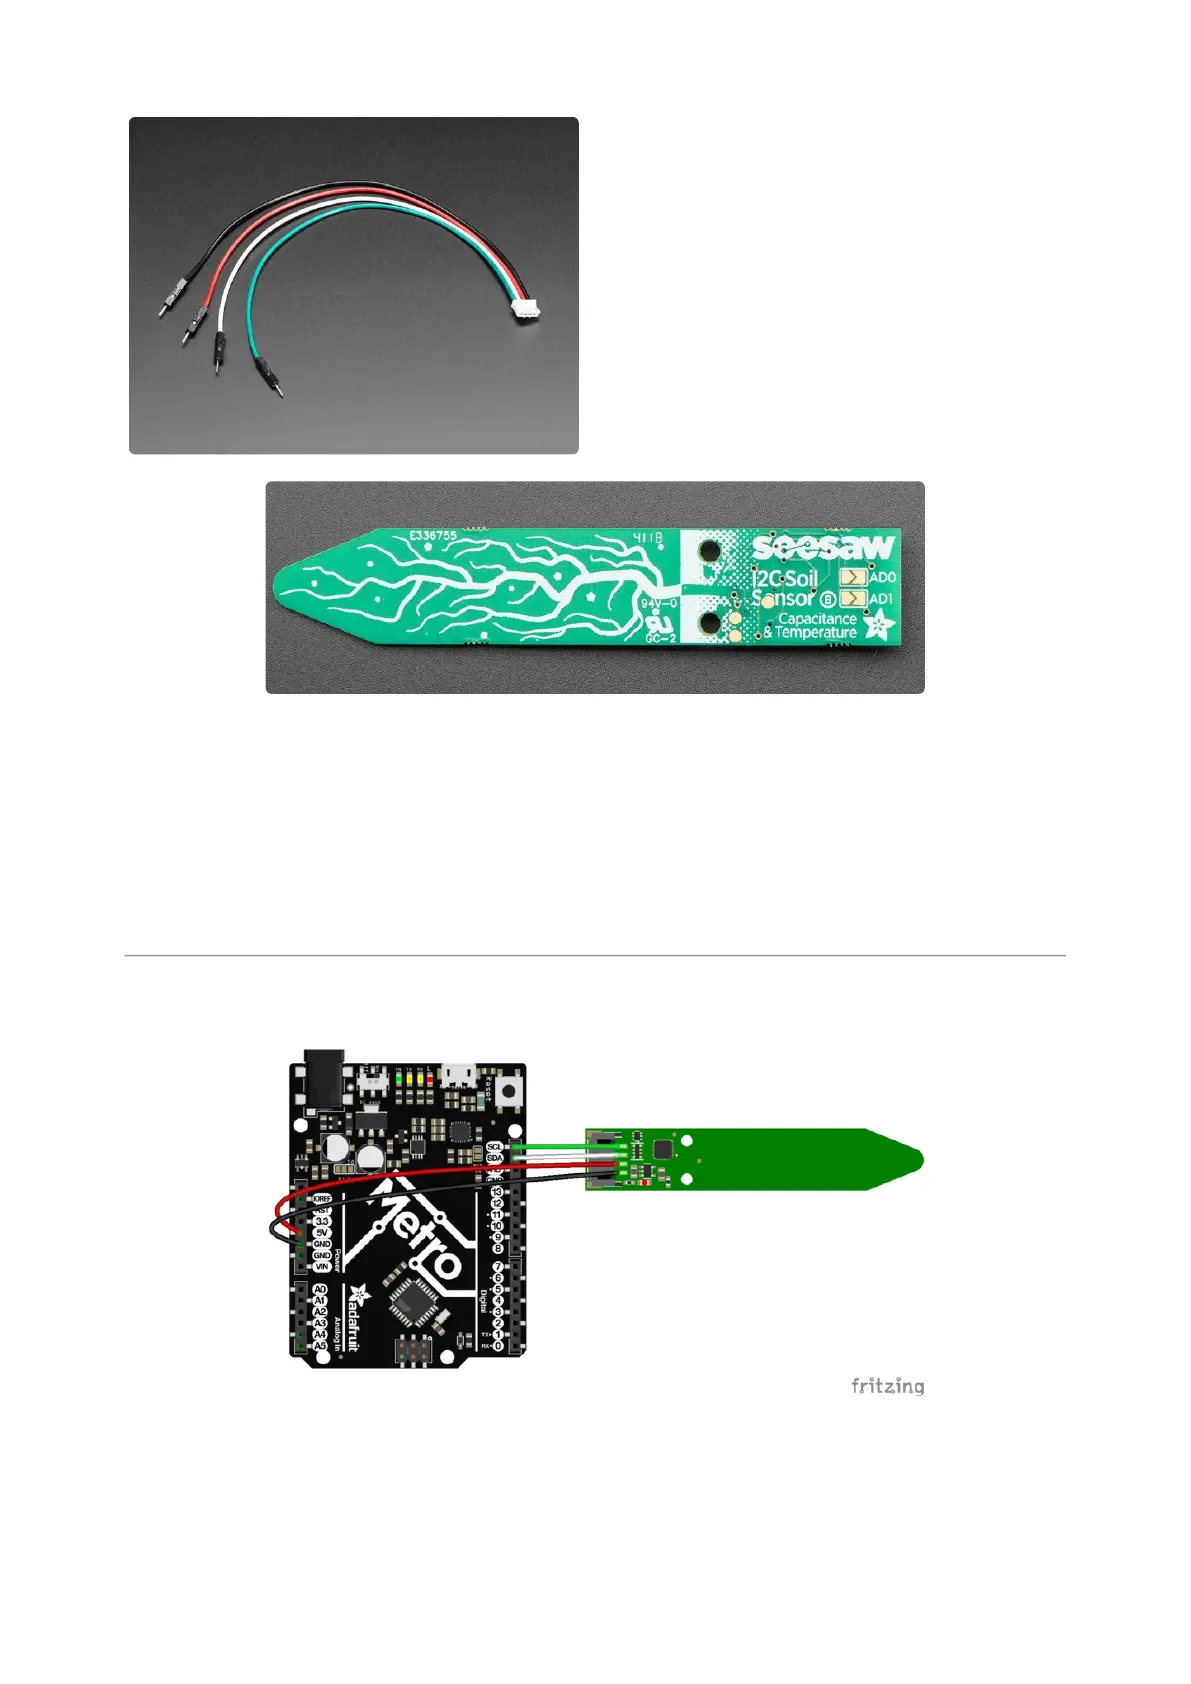
Arduino Test
Connect Vin Red Wire to the power supply, 3-5V is fine. Use the same voltage
that the microcontroller logic is based off of. For most Arduino's, that is 5V. If you
have 3.3V logic, use 3V
•
©Adafruit Industries Page 6 of 19
 Loading...