1 Installation
The Zonal LED Indicator Cards are normally factory fitted options. These instructions cover the installation,
replacement and configuration of spare assemblies.
Isolate ALL sources of power before installing or removing printed circuit
boards.
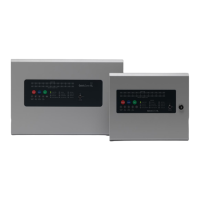
1.1 Mxp-024F
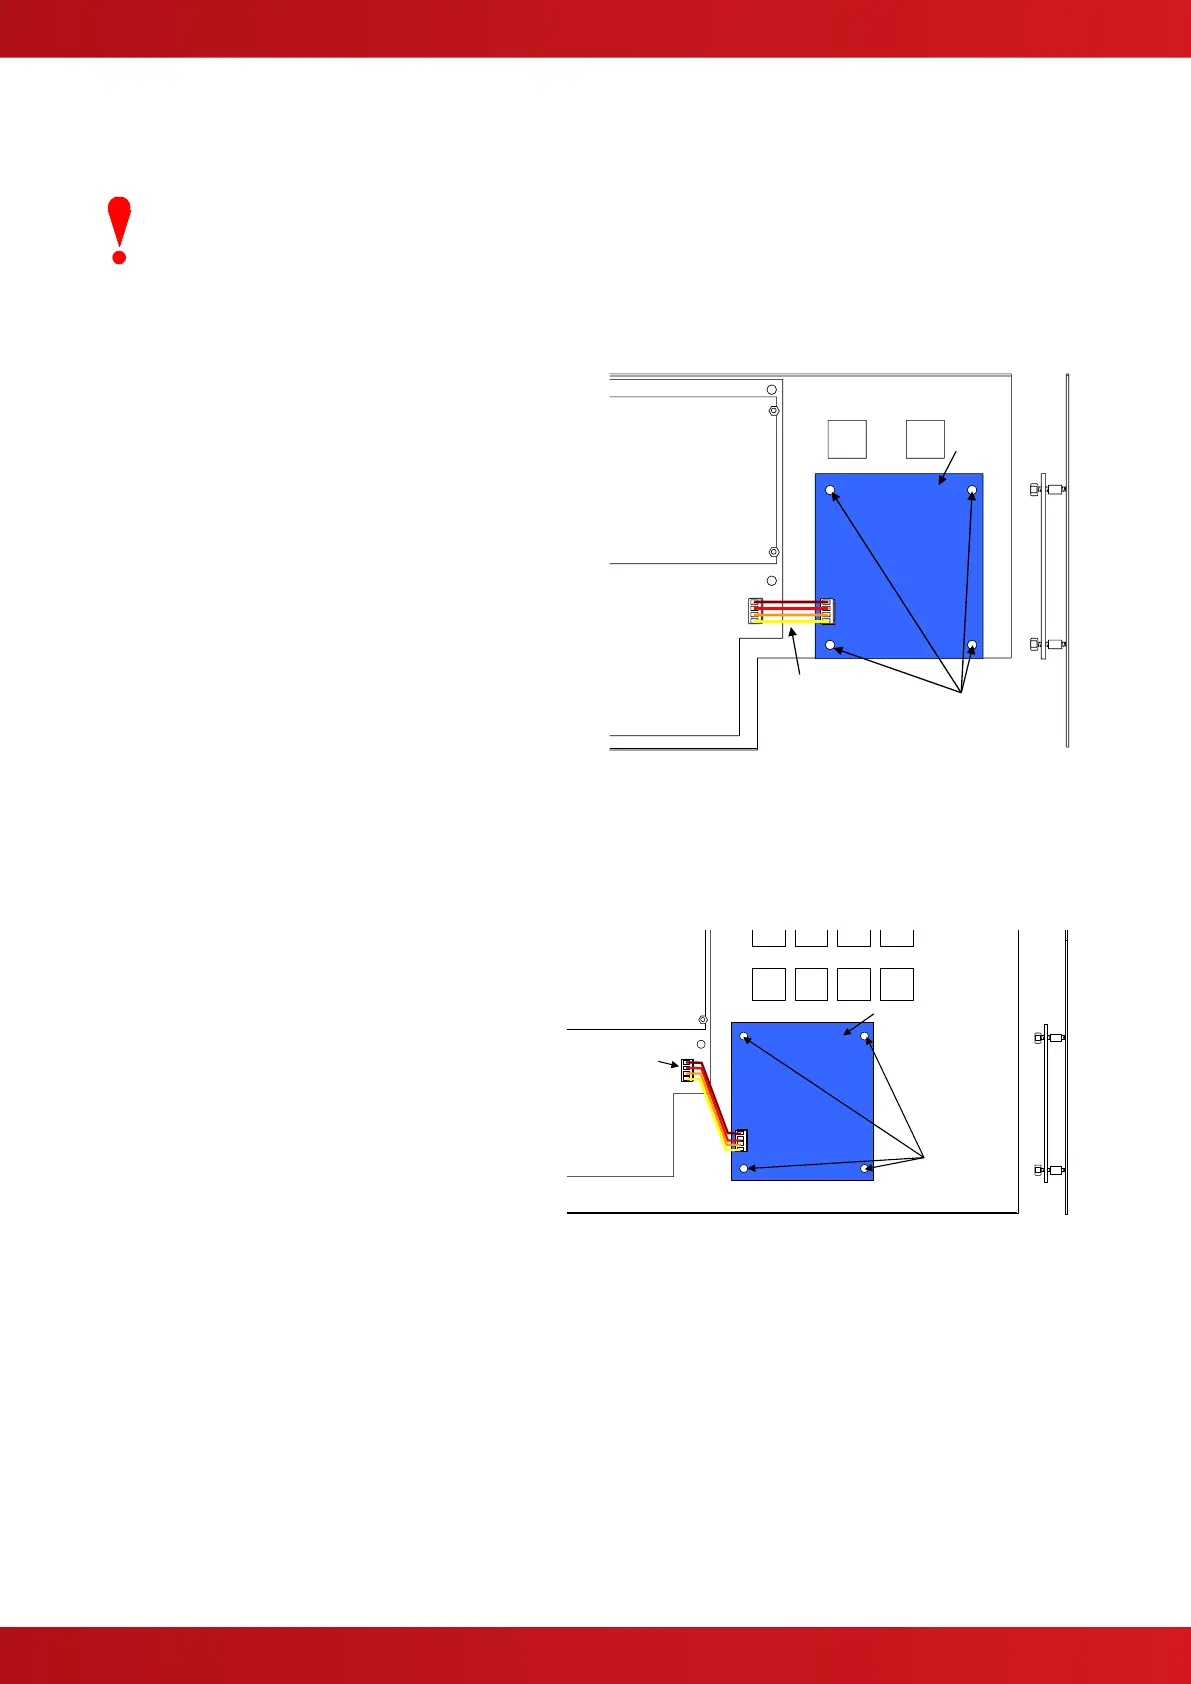
The Mxp-024F is mounted on the chassis fascia plate using 4x M3 screws.
To replace a card:
a) Unplug the ribbon cable from the LED card.
b) Remove the 4x nuts and remove the card. Be
careful not to lose the spacers.
c) Fit the replacement card (Mxs-024) and fix in
place with the 4x nuts.
d) Re-connect the ribbon cable to the LED card.
e) Test the LED operation (refer to Operation
Section).
NOTE: If a network interface card (Mxp-003 or Mxp-009) is required and fitted, this is installed on top of the LED
card using spacers.
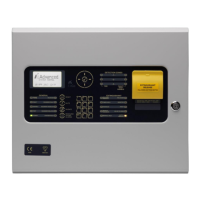
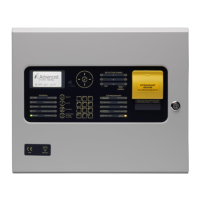
1.2 Mxp-025F
To replace a card:
a) Unplug the ribbon cable from the LED card.
b) Remove the 4x nuts and remove the card.
Be careful not to lose the spacers.
c) Fit the replacement card (Mxs-024) and fix
in place with the 4x nuts.
d) Re-connect the ribbon cable to the LED
card.
e) Test the LED operation (refer to Operation
Section).
www.acornfiresecurity.com
www.acornfiresecurity.com