C Series & SG Series Replace An Awning Arm
1. Use an adjustable wrench to slightly
loosen (but do not remove) the
locking nut from the arm tip at front
bar connection.
2. Using a power drill and 3/16 metal
drill bit, carefully drill through the
existing rivet and shim at the arm
shoulder. Remove the shim.
1. Using a ladder, position yourself directly under the awning.
2. Secure the existing arm by wrapping it with the rope, tie downs, or bungee cords to prevent it from accidentally springing
open when removed. Leaving enough allowance for the awning to open approximately 5-7 inches.
3. Manually open the awning to 5-7 inches.
REMOVING THE EXISTING ARM
PREPARATION
What you will need:
A. Replacement Arm Kit; Includes: New
Replacement Arm, Bolt, Shim and Rivet
B. 6-8 ft. ladder
C. Rope, tie downs, or hook bungee cords
D. Drill and 3/16 metal bit
E. Riveter
F. Standard 3”-5” long at head screwdriver
G. Mallet
H. Adjustable wrench
I. Optional: Lubricant
1.A
2.B
1.B
2.C
2.A
2.D
Note: We recommend having an assistant to help support the awning arm during the replacement.
Electric Models: Please disconnect from power source before proceeding with arm replacement.
Your replacement arm will arrive securely tied together, DO NOT REMOVE the tie down until the arm is securely fastened to the awning.
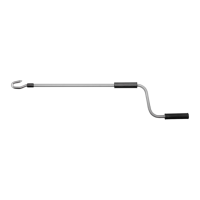
Replacement Arm Kit