The following material is recommended:
Two (2) # 10 screws of appropriate length with round, truss or pan
head and two (2) washers 1/2 OD x 1/16" thickness.
Warnings and important notes
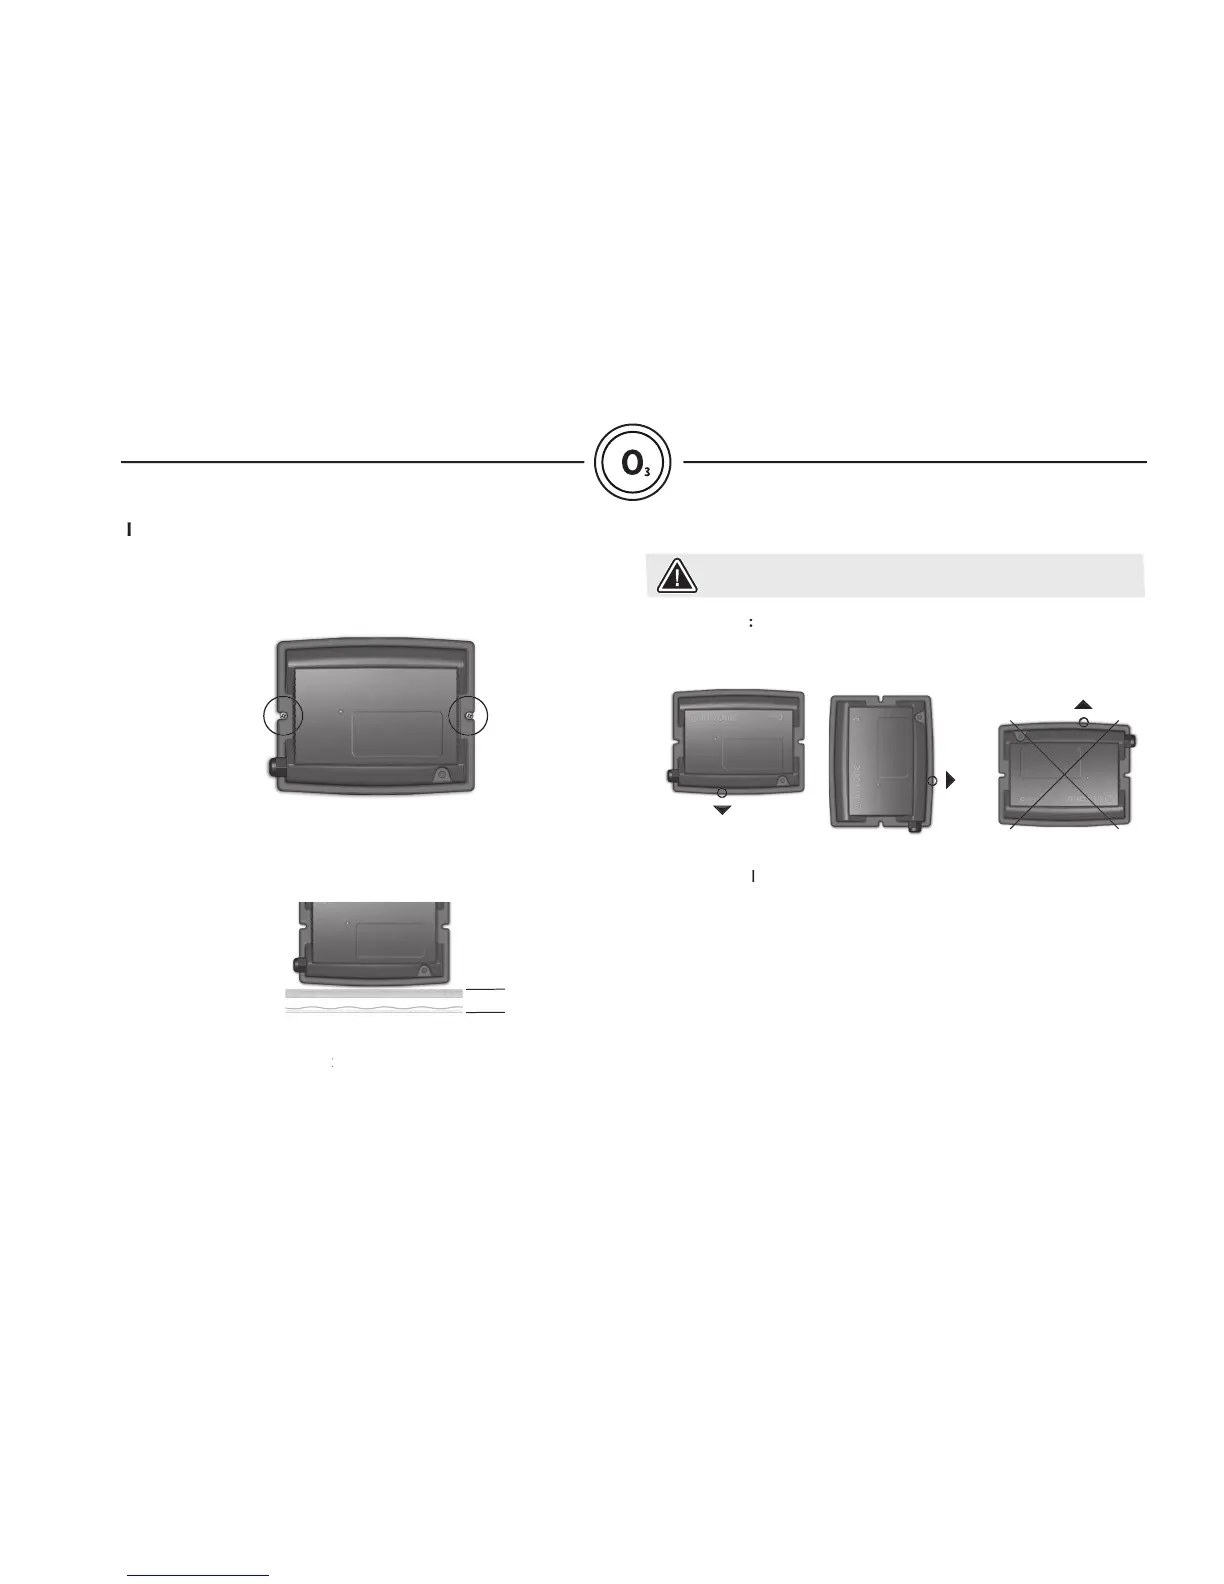
Select the most appropriate location on the fl oor or the wall
(recommended) and fi rmly attach in.zone to a wooden base with
(2) screws backed by (2) washers.
If you choose to install in.zone on the fl oor or close to the
must be installed at least 4" above
it must be installed at least 4" above it
potential fl ood level. If fl oor is on ground level, in.zone should be
used as they can damage in.zone base.
intake should not be pointing up;
should either point down or to the side
Beware of some products commonly used against
corrosion (such as WD-40 family products). Their use,
negative chemical reactions between some industrial oils and
could damage in.zone's plastic enclosure. Any other
materials which may come in contact with its enclosure must be
carefully evaluated for compatibility.