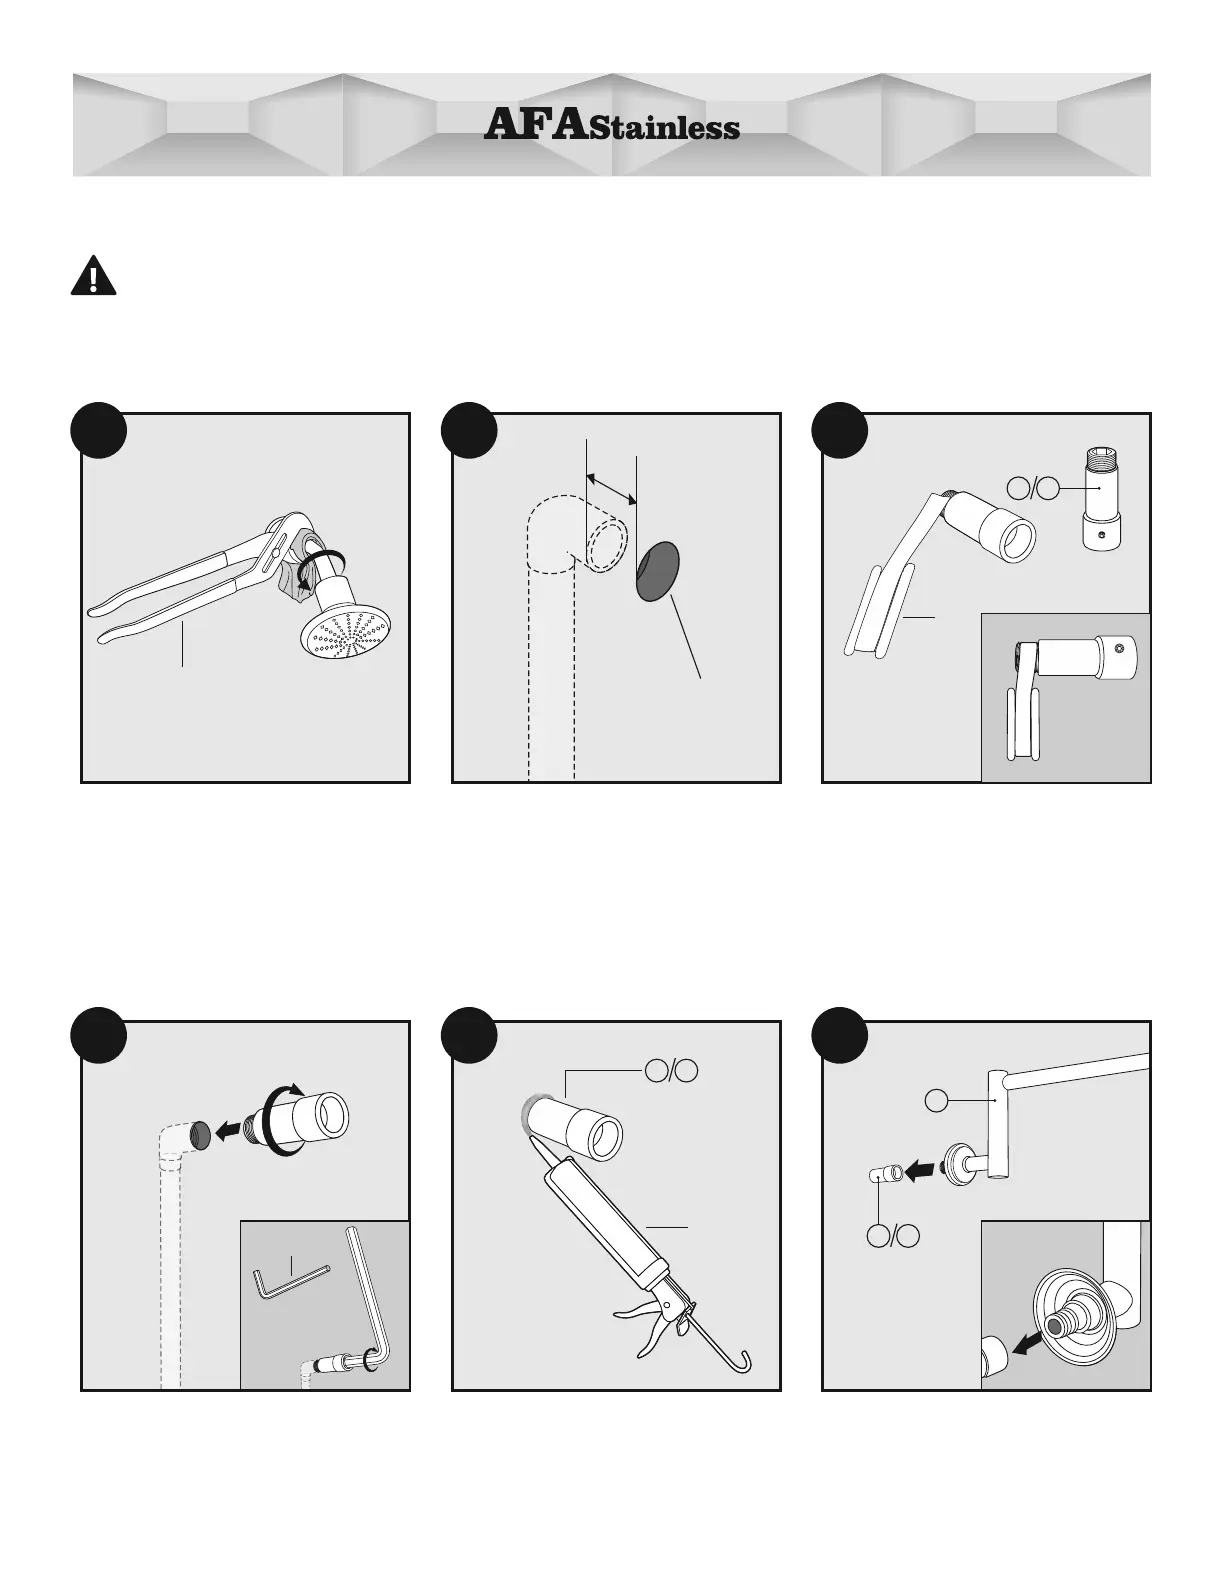
min 1-3/8"
Shower wall surface
INSTALLATION
CAUTION — TIPS FOR REMOVAL OF OLD SHOWER:
Always turn off water supply before removing existing diverter or disassembling the valve.
Open shower handle to relieve water pressure and ensure all water has been drained.
Option 1: Easy Install(No drilling required)
Measurethedistancebetweenthe
1/2”-14 NPT (National Pipe Thread)
in wall water supply elbow (not included)
and the nished wall surface.
If measurement is between 1-7/8”- 4”
then use supply adapter #2. If distance
is less than 1-3/8” choose 3-1/8”
supply adapter #1.
2
3
Wrap 1 (one) layer of Plumber’s Tape
T-1(Included) on the threaded side of
the Supply Adapter (1) or (2).
Insert one end of Shower Arm (3) into
Supply Adaptor (1) or (2).
Seal the wall around the elbow using
Silicon Sealant T-7 (Not included).
CAUTION: Failure to seal the wall
may result in water damage.
Connect the Supply Adapter (1) or (2)
and turn clockwise with 1/2" Allen
Wrench T-2 (Included).
5
6
4
8
1
Remove the existing showerhead arm
by turning it in a counter clockwise
direction.
Note: A channel lock wrench T-12
(Not included) may be required.
 Loading...