Cary 50 Installation Instructions
8
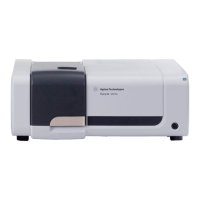
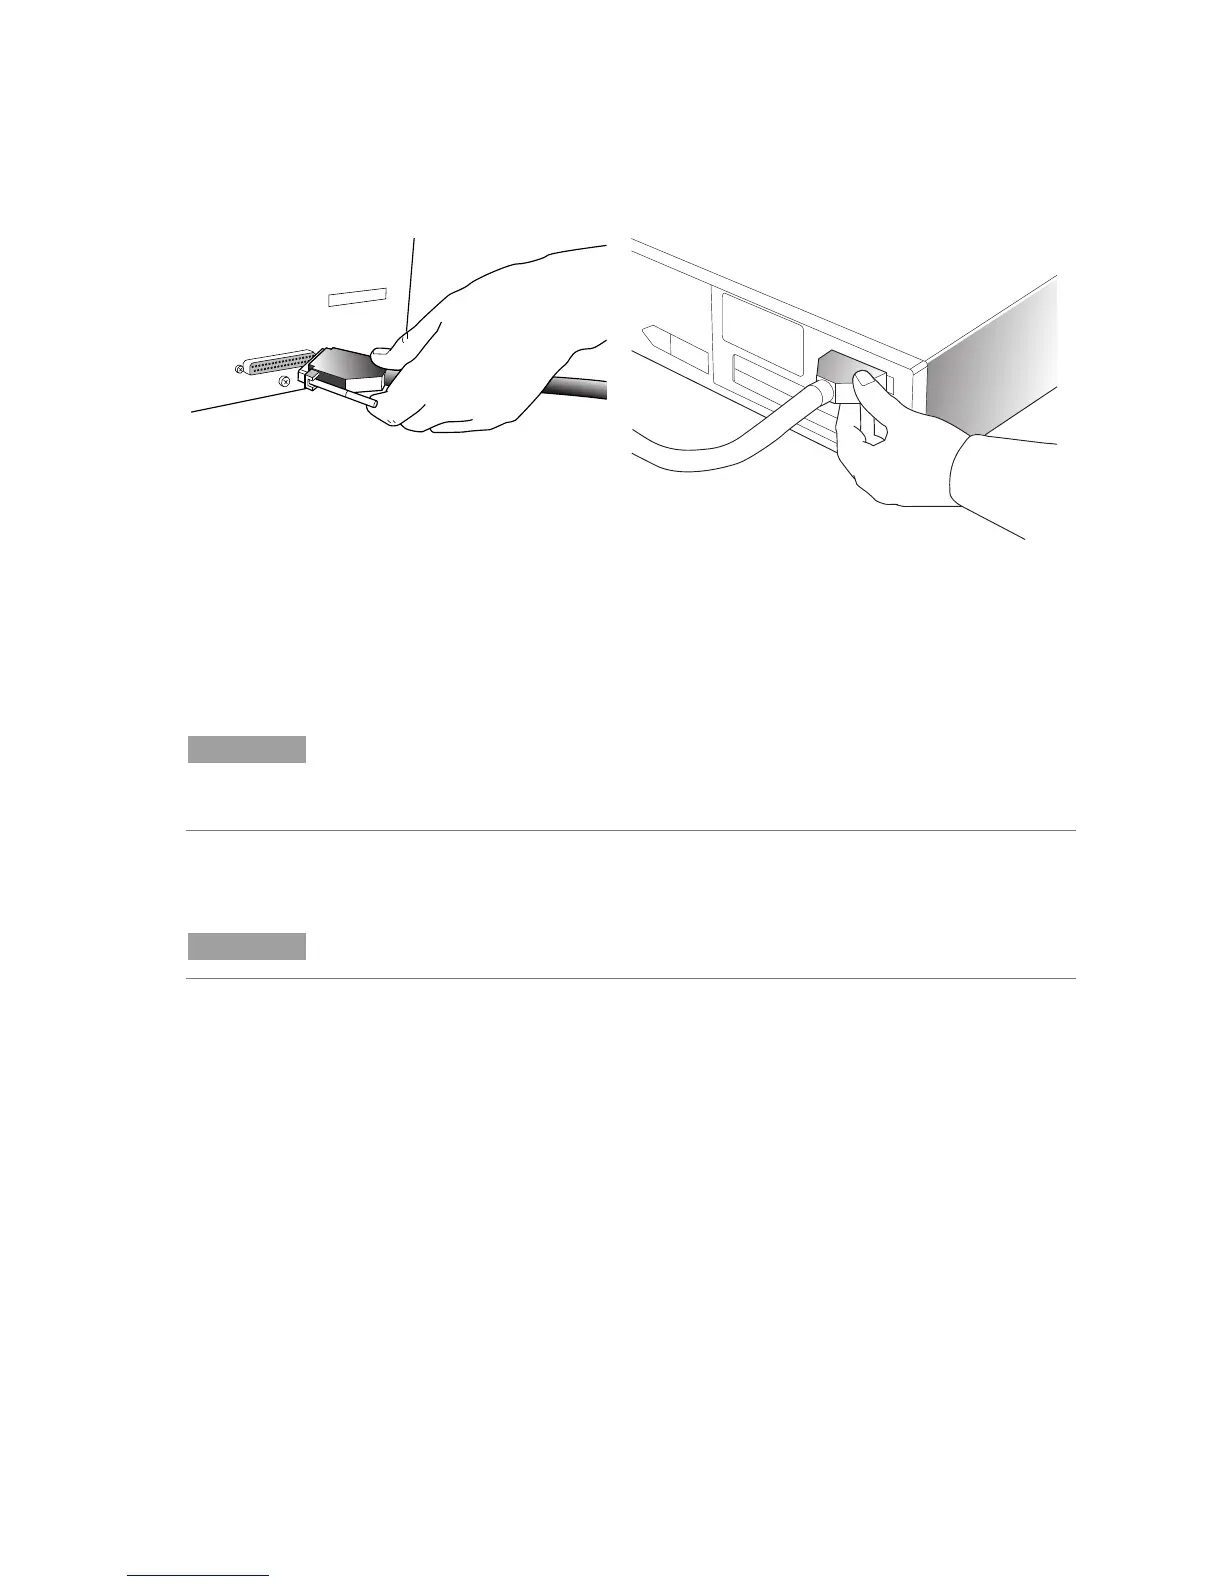
Attach the cable to the Cary 50 and the computer
Attach one end of the Cary cable to the Cary 50 and the other end to the computer.
Connect power to the computer.
Cary 50 Computer
The xenon lamp
Your Cary 50 is fitted with a high-intensity, long-life xenon flashlamp that is
guaranteed for two years (against failure to strike). If you need to replace or realign
the lamp, refer to the section ‘Replacing lamps’ in the Cary WinUV Help.
NOTE
It is possible the lamp may have become misaligned in transit. If your Cary 50 fails any of the
validation or calibration tests, refer to ‘How to align the source mirror’ in the ‘Align’ section of the
Cary WinUV Help.
Install the Cary 50 drivers
NOTE
For Windows XP installations only.
To install the Cary 50 drivers:
1 Restart the computer. The new PCI card should automatically be detected and a
‘Found New Hardware Wizard’ dialog box will appear. (If this does not appear,
shut down your computer and check that the PCI card is correctly plugged into
the PCI slot. If it is in correctly and the wizard still does not appear, open the
Control Panel and select ‘Add Hardware’ to display the wizard.)
2 The wizard asks if you would like to connect to Windows Update to search for
software. Select No, Not This Time and then click Next.
3 When prompted, select Install Software Automatically (Recommended).
4 Select Don’t Search. I Will Choose the Driver to Install. Click Next.
5 Select the device driver you want to install. Under ‘Manufacturers’, click Varian
and under ‘Models’, click Cary 50 PCI-Rev03. Click Next.
6 During the installation of the hardware drivers for the Cary 50 PCI card, a
warning message will be displayed. Click Continue Anyway.
7 Installation of the Cary 50 PCI hardware is now complete. Click Finish.
8 Restart the computer to complete the installation of the instrument interface
card.
 Loading...