8
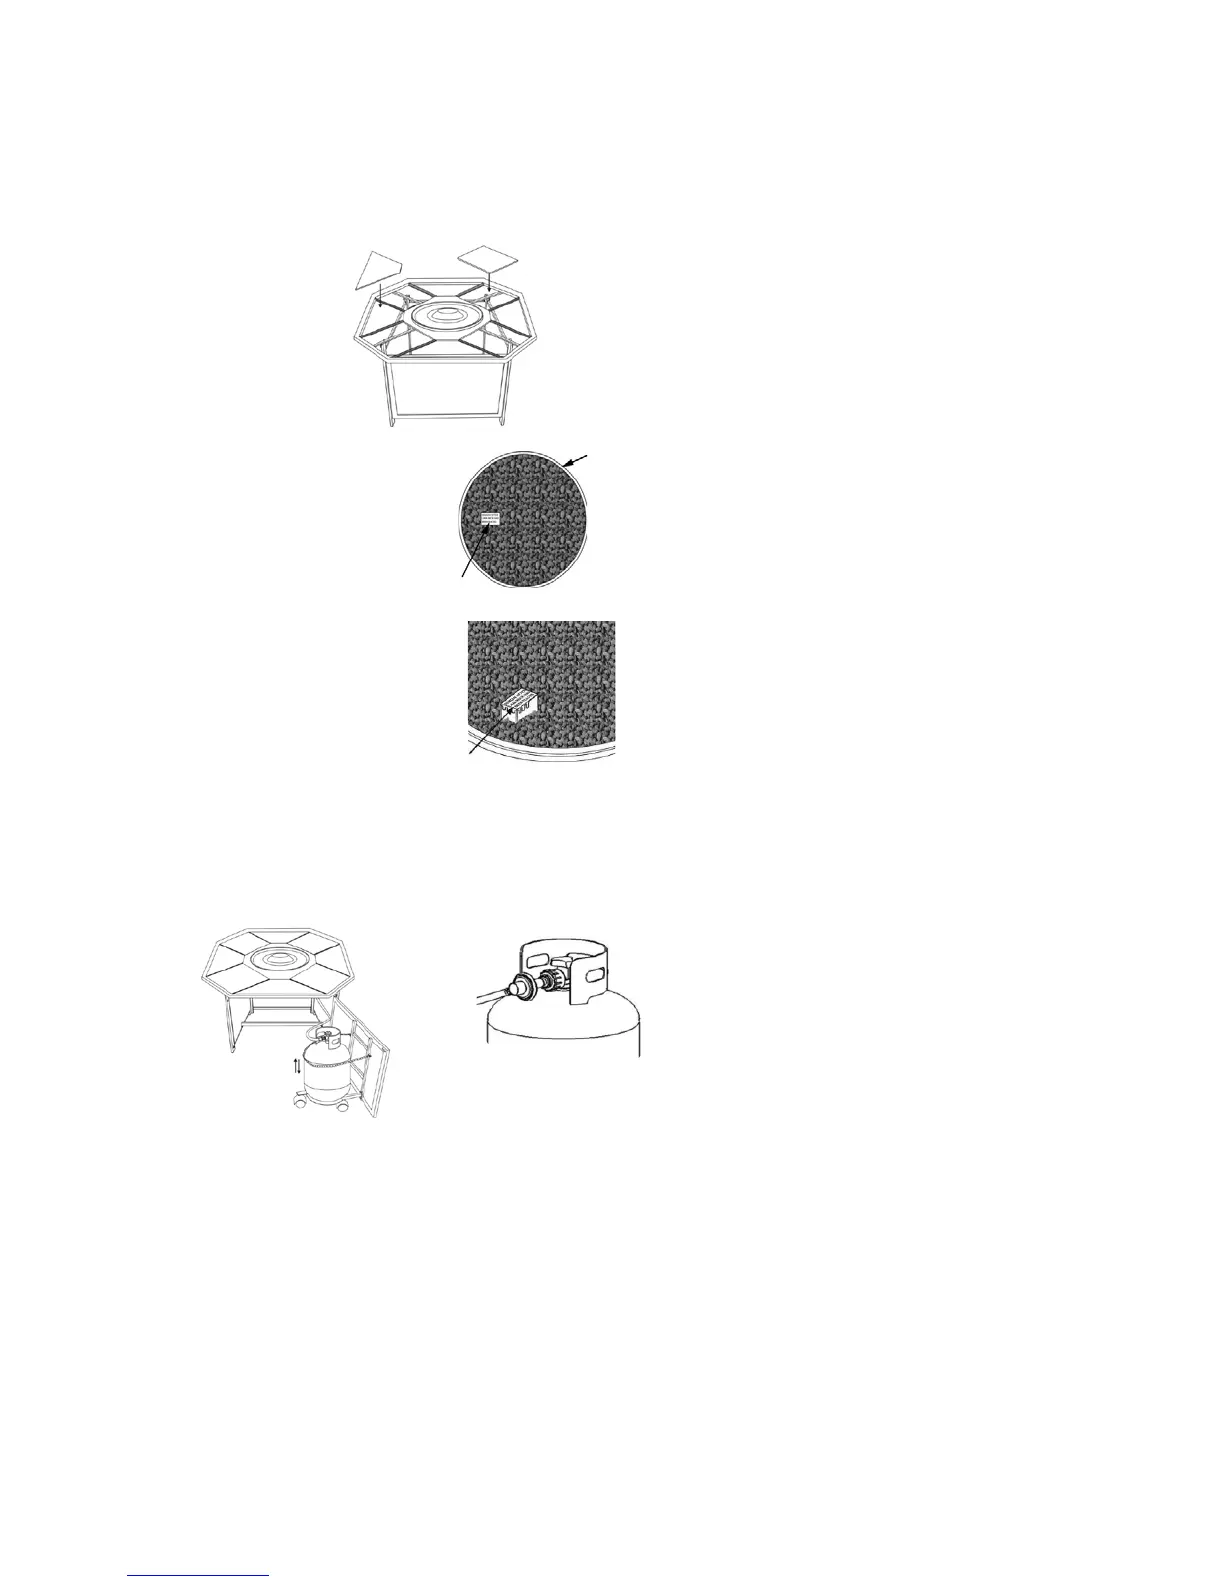
8. After making any necessary adjustments to the parts, use the hex bolt driver to tighten all bolts.
Note: each bolt must be tightened a few revolutions at a time.
Repeat until all bolts are tight. Do not over tighten. Over tightening may strip bolts. Cover all bolts with covers.
Figure 8
10. Pour the lava rocks into the burner pan
completely covering the burner. See Figure 10.
Figure 9
IGNITION WELL
the ignition well as shown in Figure 11.
Cardboard Cover
Connect the regulator as shown in figure 13. Screw the black handle clock-wise to tighten.
Turn the handle counterclock-wise to remove. The hose must point down. Check that the valve
is turned all the way clockwise to the "OFF" position. Open the tank valve.
Apply a solution of soapy water to the tank-regulator connection and to the valve-hose connection
to check for leaks. If soap bubbles continue to form, the connection has a leak. If a leak is found,
close the tank valve and tighten all connections.
NEVER USE A FLAME TO CHECK FOR LEAKS.
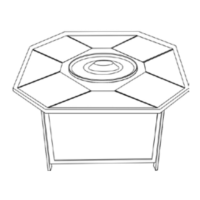
9. Note the clear bumpers spaced evenly throughout the inside of the table top. Carefully place tiles inside table top,
resting on the clear bumpers as shown in Fig.8.
12. Draw the door out and place the LP tank on the support circle as shown in figure 12.
11. Remove the cardboard cover from
 Loading...