- 12 -
Español
Deutsch
Nederlands
7
OPERATIONS
OPERATIONS
OPERATIONS
OPERATIONS
OPERATIONS
7-1
English
Setting up
• If the SET button is flashing or is on before starting, turn it off with
the following method.
• If it is flashing: Press the PLAY button. When play is complete,
press the SET button.
• If it is on: Press the SET button.
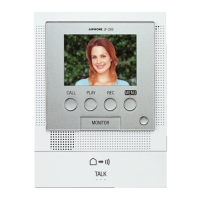
1. Mode selection:
Press the SET button for 2 seconds or more to select the setting mode.
2. Setting the position of the date/time display:
Press the PLAY button to move upward, and the REC button to
move downward, and set with the SET button.
3. Setting the date/time:
Use the PLAY button (+) and the REC button (-) to adjust the
sequence of year _ month _ date _ hour _ minute, and set with the
SET button.
4. Setting the alarm time:
Select with the PLAY button to move upward, and the REC button
to move downward, and set with the SET button.
5. Setting record mode:
Select the number of pictures to be saved. Press PLAY button to
move upward, and the REC button to move downward. Set with
the SET button.
6. End:
Press the TALK button to end the setting process during steps 1 to
5. Otherwise, it will end automatically after 2-1/2 minutes.
1. If the record mode is changed in step 5, the previously
recorded screens are deleted. If you do not wish to delete the
screens, do not change the record mode.
2. If you only want to change a certain item, or if you made a
mistake in the settings, you must go through the entire
sequence. Start again from "Mode selection".
3. The setting mode will end automatically after 2-1/2 minutes. If
it ends during setting, start again from "Mode selection".
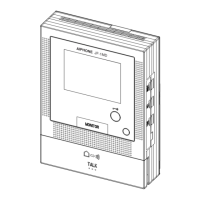
• If it is flashing: Press the PLAY button. When play is complete,
press the SET button.
• If it is on: Press the SET button.
1. Mode selection:
Press the SET button for 2 seconds or more to select the setting mode.
2. Setting the position of the date/time display:
Press the PLAY button to move upward, and the REC button to
move downward, and set with the SET button.
3. Setting the date/time:
Use the PLAY button (+) and the REC button (-) to adjust the
sequence of year _ month _ date _ hour _ minute, and set with the
SET button.
4. Setting the alarm time:
Select with the PLAY button to move upward, and the REC button
to move downward, and set with the SET button.
5. Setting record mode:
Select the number of pictures to be saved. Press PLAY button to
move upward, and the REC button to move downward. Set with
the SET button.
6. End:
Press the TALK button to end the setting process during steps 1 to
5. Otherwise, it will end automatically after 2-1/2 minutes.
1. If the record mode is changed in step 5, the previously
recorded screens are deleted. If you do not wish to delete the
screens, do not change the record mode.
2. If you only want to change a certain item, or if you made a
mistake in the settings, you must go through the entire
sequence. Start again from "Mode selection".
3. The setting mode will end automatically after 2-1/2 minutes. If
it ends during setting, start again from "Mode selection".
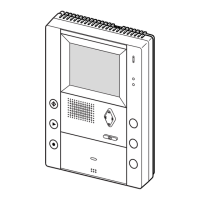
Setting up
• If the SET button is flashing or is on before starting, turn it off with
the following method.
• If it is flashing: Press the PLAY button. When play is complete,
press the SET button.
• If it is on: Press the SET button.
1. Mode selection:
Press the SET button for 2 seconds or more to select the setting mode.
2. Setting the position of the date/time display:
Press the PLAY button to move upward, and the REC button to
move downward, and set with the SET button.
3. Setting the date/time:
Use the PLAY button (+) and the REC button (-) to adjust the
sequence of year _ month _ date _ hour _ minute, and set with the
SET button.
4. Setting the alarm time:
Select with the PLAY button to move upward, and the REC button
to move downward, and set with the SET button.
5. Setting record mode:
Select the number of pictures to be saved. Press PLAY button to
move upward, and the REC button to move downward. Set with
the SET button.
6. End:
Press the TALK button to end the setting process during steps 1 to
5. Otherwise, it will end automatically after 2-1/2 minutes.
1. If the record mode is changed in step 5, the previously
recorded screens are deleted. If you do not wish to delete the
screens, do not change the record mode.
2. If you only want to change a certain item, or if you made a
mistake in the settings, you must go through the entire
sequence. Start again from "Mode selection".
3. The setting mode will end automatically after 2-1/2 minutes. If
it ends during setting, start again from "Mode selection".
Setting up
• If the SET button is flashing or is on before starting, turn it off with
the following method.
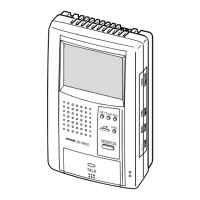
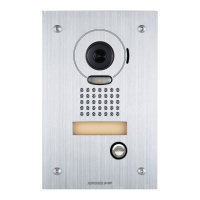
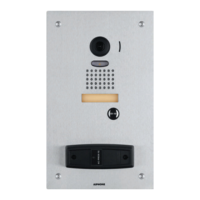
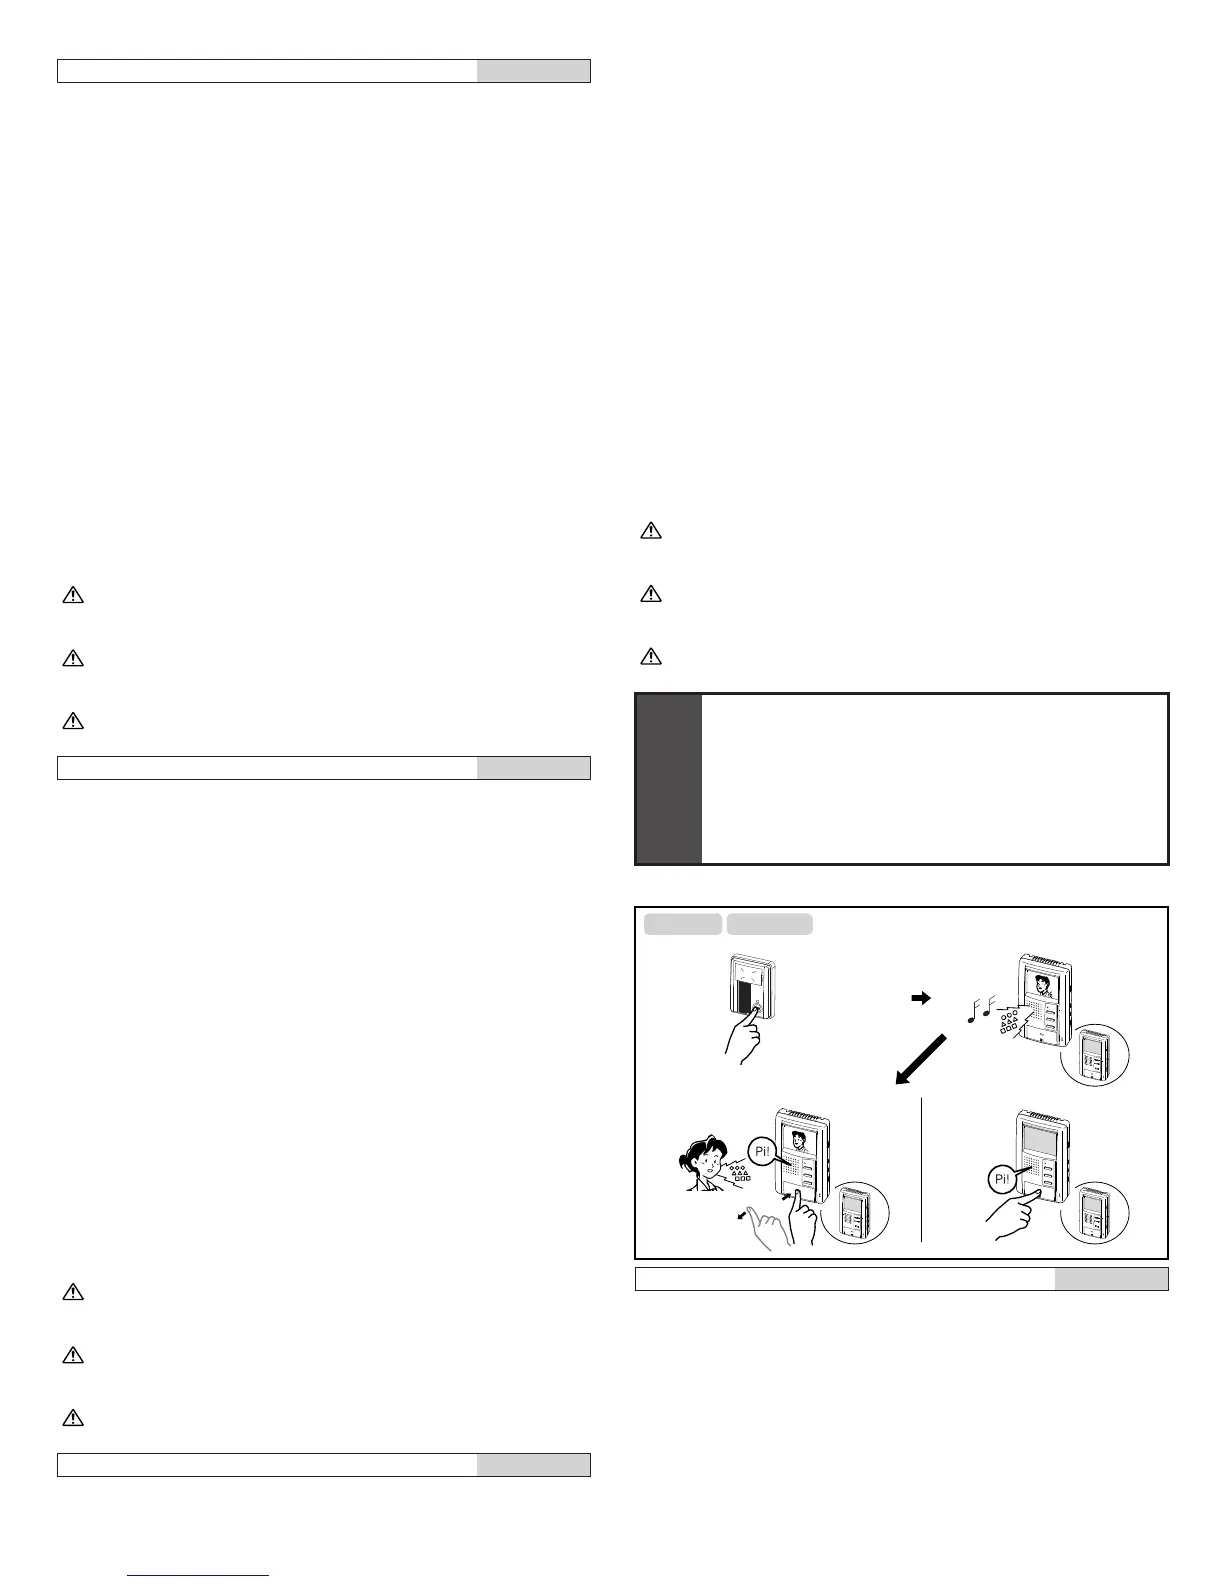
Answering a door call (Voice actuate mode)
1. The CALL button of the entrance station is pressed.
2. The chime tone sounds, the caller is seen on the video monitor, and
the caller's voice is heard.
3. Press the TALK button momentarily, then communicate handsfree.
The transmit LED lights when you talk, and goes off as you listen
to the caller (or hear outside sounds).
4. Press the TALK button again to end.
NOTES: 1. In step 2, the video and audio go off after approx. 45
seconds. If the TALK button is pressed within approx. 45
sec., it connects to the caller's entrance station.
21
4
3
JB-2MEDJB-2MD
 Loading...