(
1
)
Mounting guidelines
● Aiphone Corporation recommends that when installing any of its communication products,
the wiring must be run at a distance of at least 2 feet (60cm) from any AC wiring, fluorescent
lights, or dimmer switches.
● Aiphone Corporation is not responsible for improper installations of its products which result in
interference generated by AC voltage, dimmer switches, fluorescent lighting fixtures, or other
similar electrical devices. If noise is induced into the intercom system from one of these sources,
it must be corrected at the source by the installing party.
①
Select the proper type of wire for the system being installed. Use the maximum number of conductors for
the system. Consult the following wiring information to determine how many conductors will be required
for your system, and what gauge is required.
② Shielded wire is recommended. It may help to minimize possible interference from outside sources. Use
a multi-conductor cable with an overall shield, not twisted pairs.
Run the cable in a "daisy-chained"
configuration, in and out of each station in the system from beginning to end. Sub stations may be homerun
to the nearest master station in the system. Door stations should be homerun to the main master station
(where the BG-10C is wired into the system).
Note;
Some intercom stations require the same common wires, plus individual wires for each station on the same
wire run. Assure that the cable has enough conductors for every station included. When running intercom
cable, maintain a distance of at least 24" (60cm) from any AC wiring, fluorescent lighting, and dimmer switches.
When crossing AC wires, do so at a 90°angle.
Avoid running intercom cable in the same stud space with electrical wiring, and install the intercom station
on a different portion of the wall from electrical devices.
LEF Audio Communication System Pre-Installation: Wiring
① Lay out your system in advance, determining which stations will be located in each room, and
what their respective station number will be. Fill in this information on your wiring diagram.
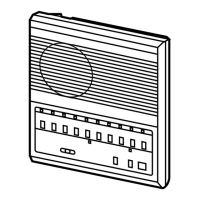
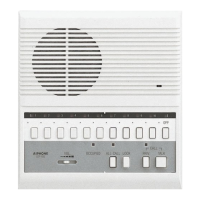
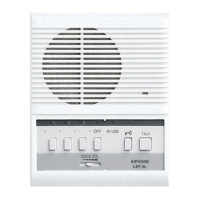
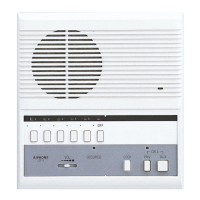
② Cut the proper sized holes in the wall to semi-flush mount the intercom stations.
③ Separate the intercom from the back chassis by carefully removing the control panel cover and directory
strip and loosening the screws. Lift up on the intercom portion before pulling it outward. Unplug the
connectors, and store the intercom unit in the box until the wiring is completed.
④ Install the back chassis in the wall, and make wire connections as shown in the appropriate wiring diagram.
Be sure to tighten screws securely onto the wires.
⑤ Reattach the intercom unit to the back chassis with the connectors, and place it on the back chassis from the
top. Tighten the screws, and replace the directory strip and cover. Remove the plastic film over the control
panel cover.
⑥
After all connections are made and intercom stations installed, test the operation of the system. Leave these
instructions with the end-user for their reference. Fully train the end-user as to the functions and features of their
intercom system. Advise the end-user on which rooms are assigned to each station number so they can fill in
the directory card on each station.
Installation
INSTALLATION
- 4 -
 Loading...