Please charge the battery at least 8 hours prior to its rst use.
1. Connect the cable.
Connect one end of the supplied AC adapter to the
USB port of the Pico Projector and the other end to a
wall outlet.
OR
Connect one end of the supplied USB cable to the
USB port of the Pico Projector and the other end to a
powered PC. Make sure the Pico Projector is powered
off.
2. The charging LED turns orange and the charge starts.
3. When the charging is interrupted or the battery pack is
fully charged, the charging LED will turn green.
When using a PC to charge the battery, do not turn on the Pico Projector, or
the charge will stop.
Charging the battery
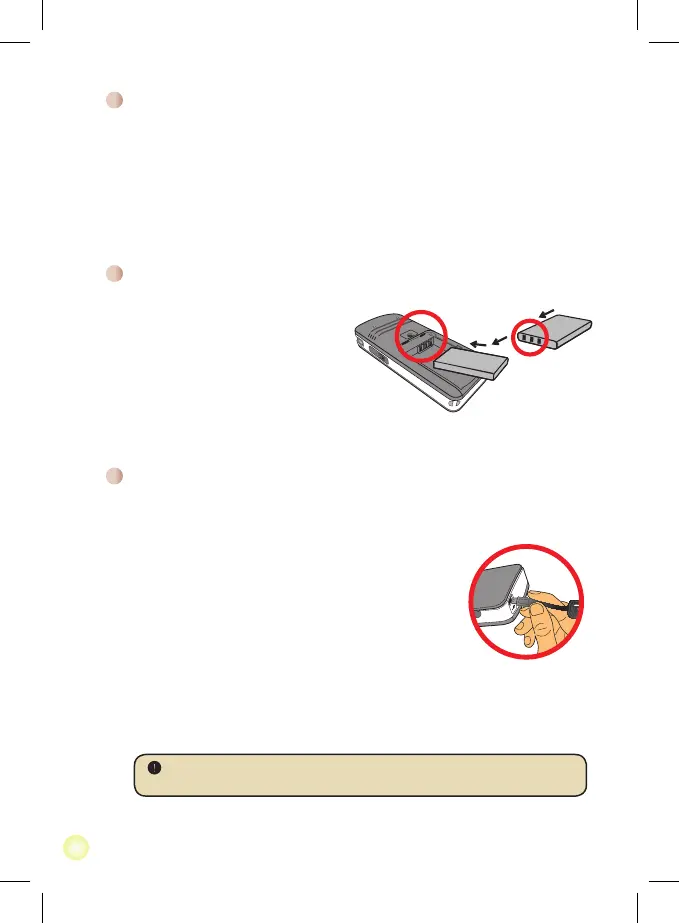
1. Slide the battery cover open.
2. Place the included Li-Ion battery
into the compartment. Note that
the metallic contacts must be
aligned with the contacts in the
compartment.
3. After the battery is properly
installed, replace the battery cover.
Installing the battery
Reading LED indicators
The Power LED is lighting orange when projector is charged.
Only Power LED is lighting green when connected with AC power adapter in standby
mode or complete charged mode.
If all of the LEDs are turned on, projector is in operation mode.
 Loading...