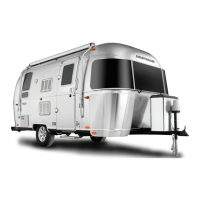
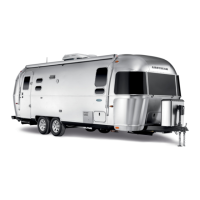
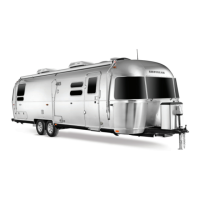
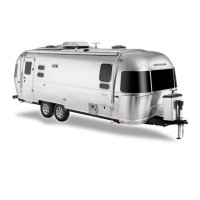
General Information
3-8 Flying Cloud
WARNING
At each campsite, make sure you have not parked
in such a manner as to block the operation of the
escape window by being too close to trees, fences,
or other impediments. Scenic views are one reason
for traveling, but don’t park so the beautiful lake or
steep cliff is just outside your escape window.
Choose the most level parking spot possible.
Stabilizing jacks or blocks may not be required for
an overnight stay. However, if you put the jack pad
on the hitch jack and run the hitch jack down to take
the weight off the tow vehicle’s springs, it will provide
some stability. If you must park on a slope, park facing
downhill. It is easier to level the trailer this way.
All you need to do to enjoy the self-contained luxury
of your Airstream is to turn on the LPG and light any
appliance pilot lights.
Before moving on, check your campsite, both for
cleanliness and also, to be sure you haven’t left
anything behind. Turn off the gas supply and make
sure everything is properly stowed. Use your pre-travel
check list and you are ready for more travel adventure.
Extended Stay
Making a long trip in your Airstream is not very different
from making a weekend excursion. Since everything
you need is right at hand, you are at home wherever
you go. When packing for an extended trip, take
everything you need, but only what you need.
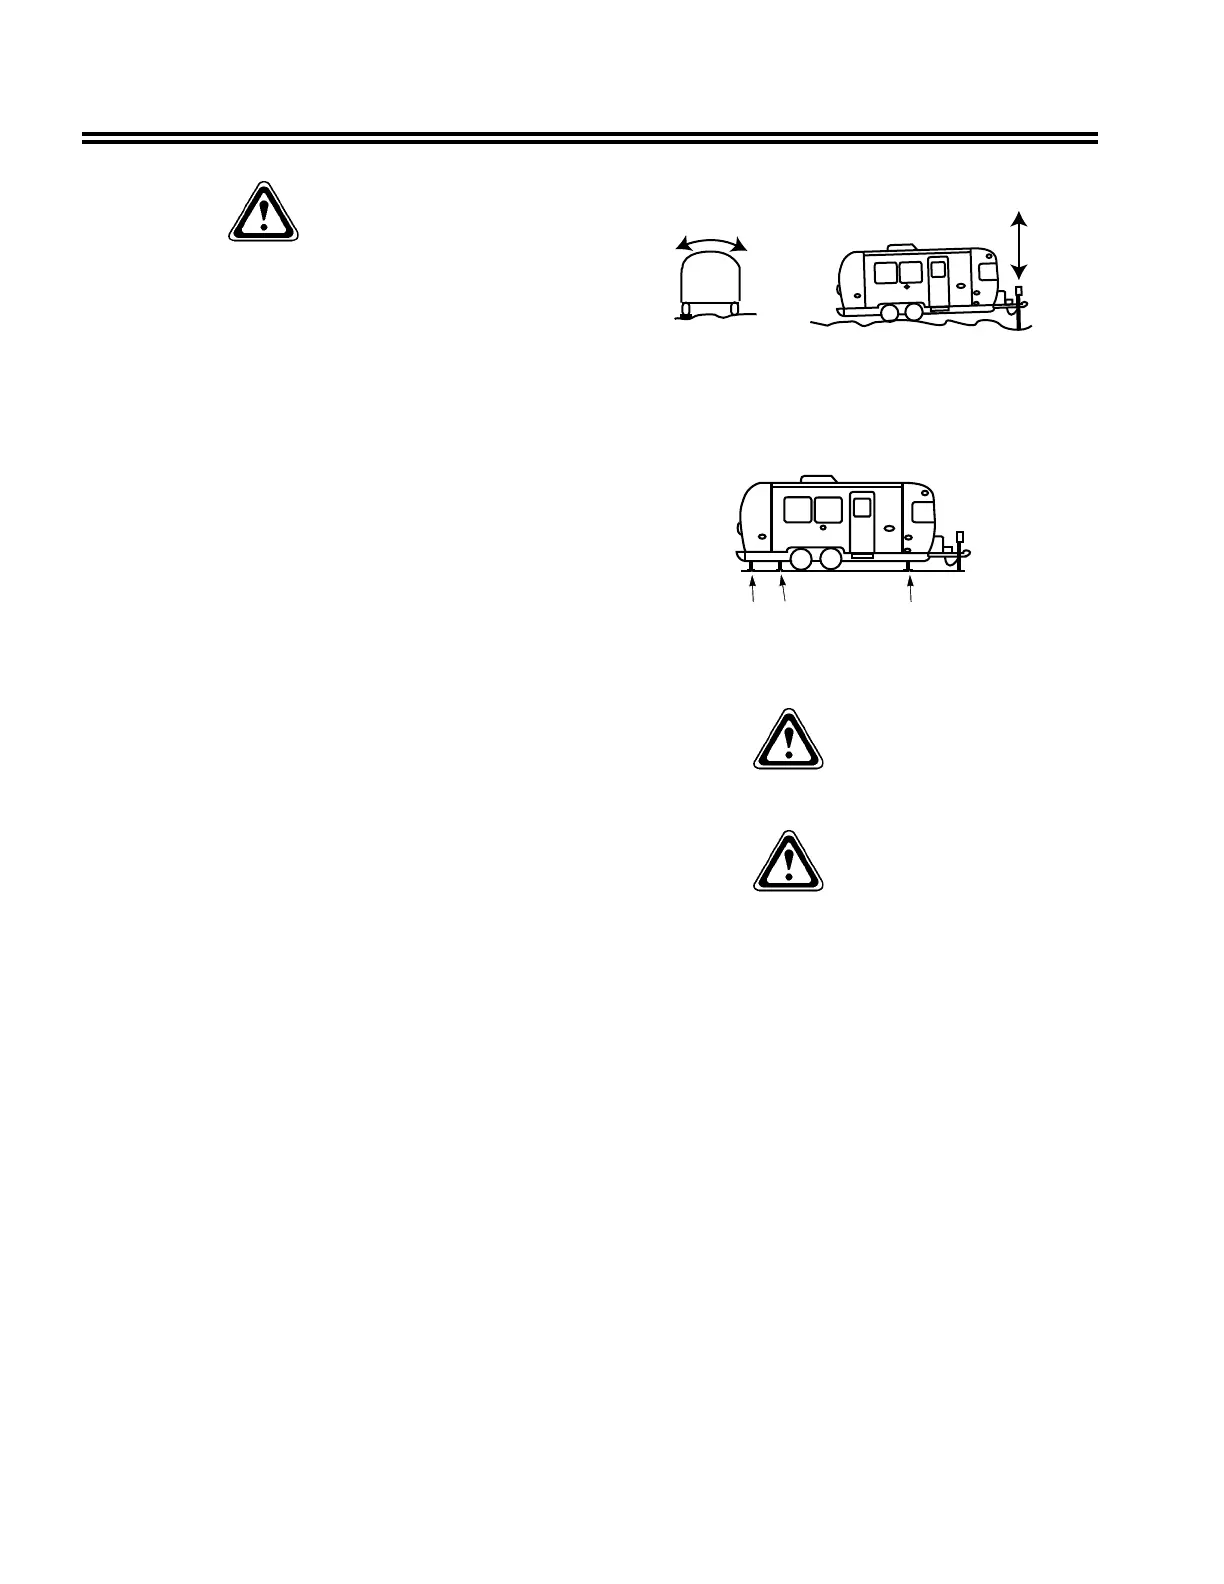
When you plan to stay in the same place for several
days, weeks or months, you will want your trailer to
be as level and steady as possible. Check the attitude
with a small spirit level set on the inside work counter
or the trailer hitch A-frame (see diagram that follows
under Leveling). If a correction is necessary, you must
level from side to side rst. This can he done easily
by backing the trailer up onto one or more 2x6 boards
(see diagram that follows under Leveling). We do not
recommend placing tires in a hole for leveling.
Level from front to rear by disconnecting the hitch from
the tow vehicle, putting the jack pad under the hitch
jack, and adjusting the jack up or down until you are
level. Block or chock the wheels to keep the trailer
from rolling. Use stabilizing jacks at all four corners, as
shown in the diagram, to eliminate the natural spring
action of the axles.
Leveling
1
2
1. Side to Side
2. Front to Rear
Jack Locations
1. Stabilizing Jack Location
2. Lifting Jack Location
WARNING
Stabilizing jacks should only be used to stabilize
trailer. Do not use jacks to lift the trailer.
WARNING
Whenever the trailer must be lifted with a jack, as
when changing a tire or leveling on very rough
terrain, always place the lifting jack under the
main frame rail. A label is provided to indicate the
proper position for the jack. Never use stabilizing
jacks to lift the trailer.
Refer to Section 8, page 8-7 for further information
on jacking.
City Water Hookup
Simply connect hose to your trailer’s internally
regulated (65 PSI) City Water Inlet and the source,
open the valve, and you have pressurized faucets,
toilet, and water heater. Open faucets to purge trapped
air from the water system. Allow the water heater to
ll before lighting. Refer to Plumbing in Section 5 -
Interior for more information.
 Loading...