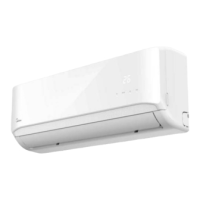
Do you have a question about the Airwell HDHC-025N-09M25 and is the answer not in the manual?
| Type | Split System |
|---|---|
| Cooling Capacity | 2.5 kW |
| Heating Capacity | 2.8 kW |
| Refrigerant | R410A |
| Power Supply | 220-240V, 50Hz |
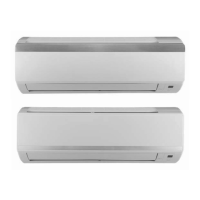
| Indoor Unit Weight | 8 kg |
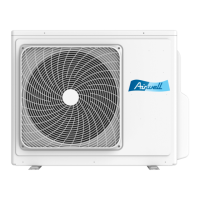
| Outdoor Unit Weight | 28 kg |
| Noise Level (Outdoor Unit) | 50 dB |
General safety warnings related to product usage, covering potential hazards and precautions.
Safety warnings specific to cleaning and maintenance procedures for the unit.
Critical safety warnings related to electrical connections, wiring, and power supply.
Safety guidelines and warnings that must be followed during the installation process.
Information regarding the handling and disposal of fluorinated greenhouse gases used in the unit.
Specific warnings and guidelines for using R32 refrigerant, including ventilation and installation requirements.
Guidelines for the proper disposal of the air conditioning unit as electrical waste.
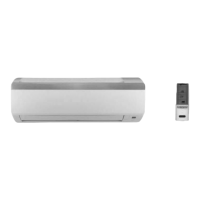
Explanation of the indicators and symbols displayed on the indoor unit's display window.
Detailed meanings for various codes and indicators shown on the indoor unit display.
Specifies the operational temperature ranges for COOL, HEAT, and DRY modes for inverter split type units.
Overview of various additional functions available on the air conditioner.
Explanation of the Sleep function for energy saving during rest periods.
Instructions on how to adjust the vertical and horizontal airflow angles of the unit.
Guide on how to operate the unit manually using the control button when the remote is lost.
Step-by-step instructions for cleaning the indoor unit, including warnings and precautions.
Detailed guide on how to remove, clean, and re-install the air filters for optimal performance.
Information about the reminders for air filter cleaning and replacement displayed on the unit.
Procedures to follow when the air conditioner will not be used for an extended period.
Recommended checks and inspections before starting or resuming the use of the air conditioner.
Lists common problems encountered with the unit and their possible causes and solutions.
Identifies causes and solutions for issues related to the unit's cooling performance.
Addresses issues where the unit fails to turn on or operate correctly.
Explains common reasons why the unit might start and stop intermittently.
Provides solutions for problems related to the unit's heating functionality.
Explains what to do when indicator lamps flash or error codes appear on the unit.
Guidelines for choosing the most appropriate and safe location for the indoor unit installation.
Instructions for securely attaching the mounting plate to the wall for the indoor unit.
Detailed steps for drilling the wall hole correctly for refrigerant pipes and cables.
Guidance on preparing the refrigerant piping before connecting it to the unit.
Instructions for connecting the drain hose to ensure proper water drainage from the unit.
Instructions for connecting the signal and power cables between the indoor and outdoor units.
How to bundle and insulate the piping, drain hose, and signal cable before passing through the wall.
Final steps for mounting the indoor unit onto the installed wall bracket.
Guidelines for choosing the optimal location for the outdoor unit, considering space and environmental factors.
Instructions for installing the drain joint on the outdoor unit, especially for heat pump models.
Procedures for securely anchoring the outdoor unit to the ground or a wall bracket.
Information on how pipe length affects unit performance and energy efficiency.
How to properly cut refrigerant pipes to ensure a good connection and minimize future maintenance.
Method for removing burrs from cut refrigerant pipes to ensure an airtight seal.
Detailed process for flaring refrigerant pipe ends to achieve a proper and secure connection.
Instructions for connecting refrigerant pipes, emphasizing proper torque and sequence.
Essential steps and warnings before performing air evacuation to prevent system damage.
Step-by-step procedure for evacuating the refrigerant circuit using a vacuum pump and manifold gauge.
Guidelines and formulas for calculating and adding refrigerant based on pipe length.
Pre-run checks including electrical safety and gas leak verification.
Procedures to confirm the unit's electrical system is safe and properly installed.
Methods and steps to detect refrigerant leaks in the system.
Detailed steps for performing a test run of the unit to verify all functions and connections.