ɨɬʸŜſƀ
ɨɬʸŜ
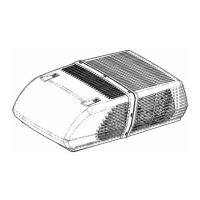
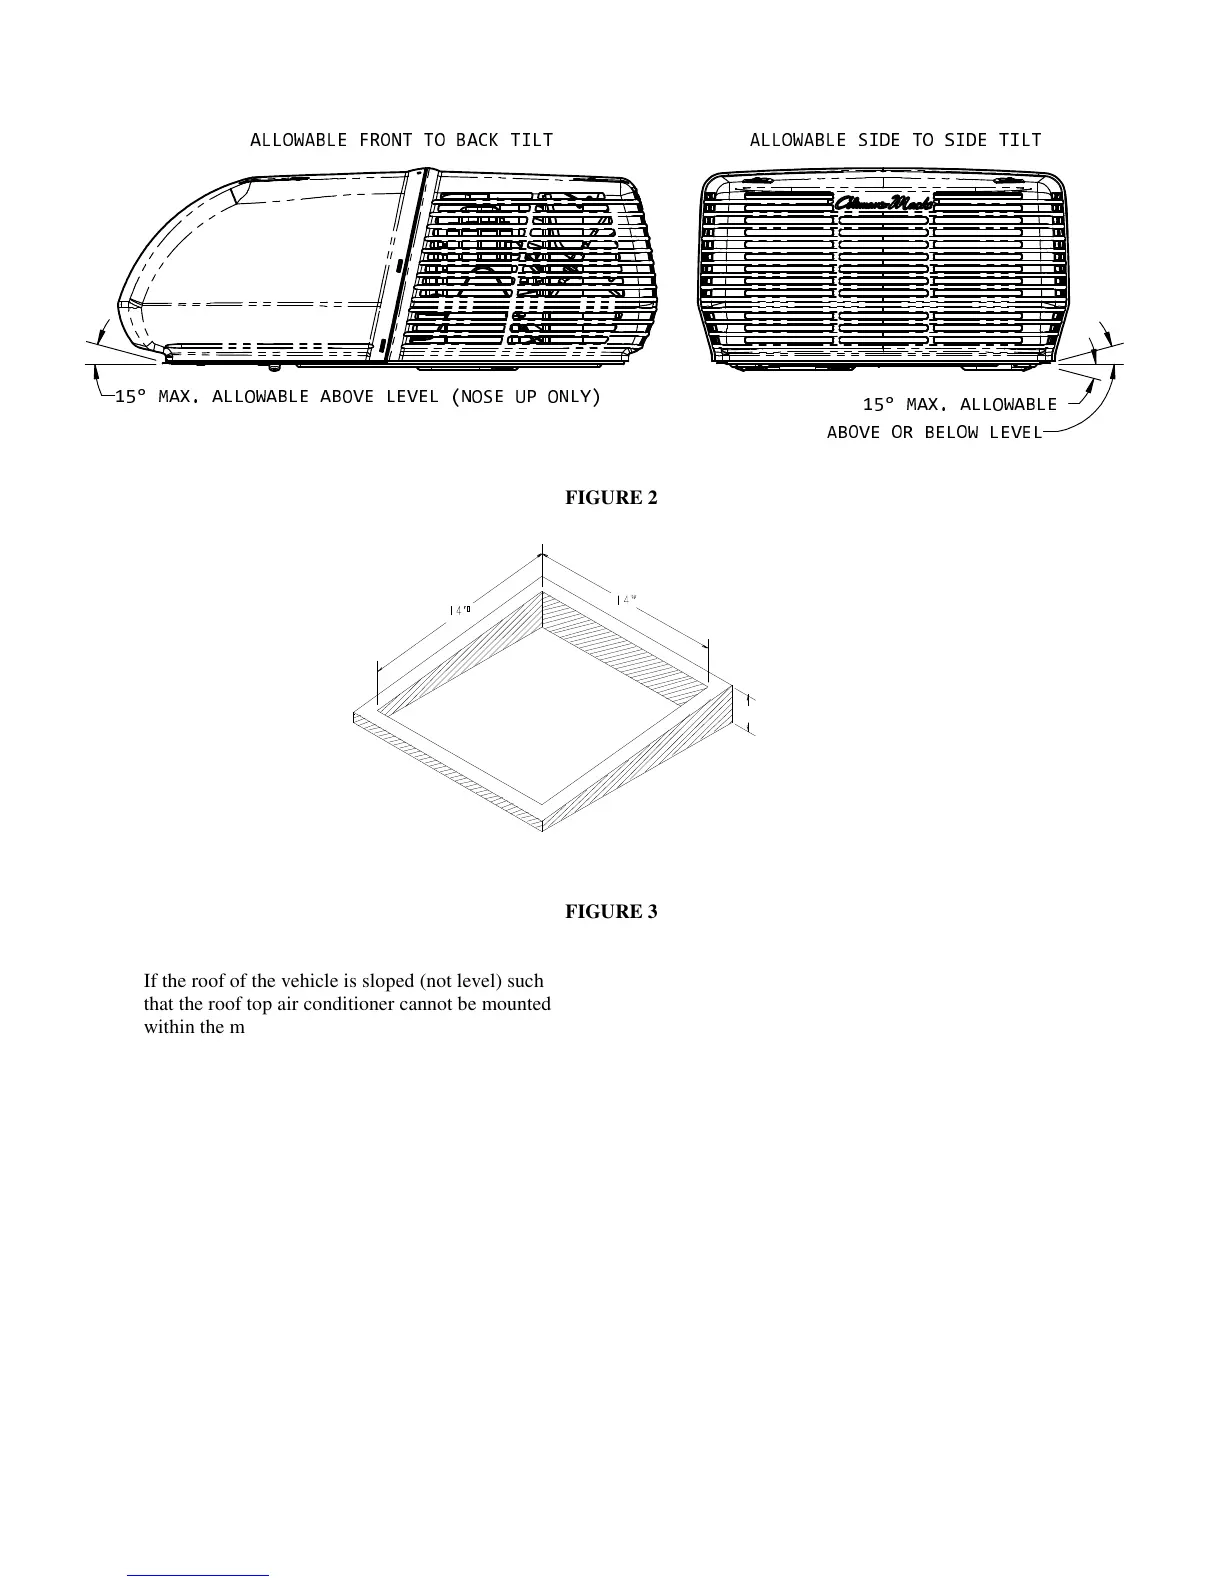
FIGURE 2
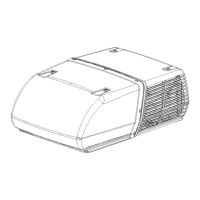
FIGURE 3
If the roof of the vehicle is sloped (not level) such
that the roof top air conditioner cannot be mounted
within the maximum allowable degree deviations, an
exterior leveling shim will need to be added to make
the roof top air conditioner level. A typical leveling
shim is shown in Figure 3.
E. After the mounting hole area is properly
prepared, remove the carton and shipping pads
from the roof top air conditioner. Carefully
lift the unit to the top of the vehicle. Do not use
the outer plastic shroud for lifting. Place the
roof top air conditioner over the prepared mounting
hole. The pointed end (nose) of the shroud must
face towards the front of the vehicle. Pull the
electrical conduit down from the roof air
conditioner through the mounting opening and
let hang.
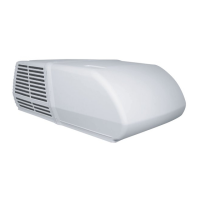
FIGURE 4
Height Varies To
Make Unit Level
 Loading...