9
EN
EN
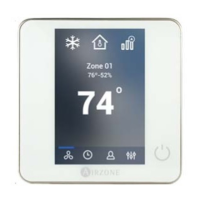
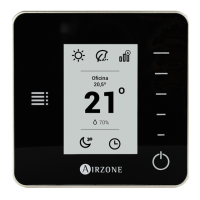
ADVANCED USE OF THE BLUEFACE THERMOSTAT
Time Schedule
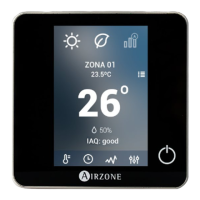
Access the time schedules menu by pressing the time schedule icon. Press on the days to access to the available schedules.
and follow the next steps:
1. Change the name of the schedule by pressing and holding on it.
2. Select the zone/zones where the schedule applies.
3. Select the desired days of the week.
4. Select the type of time schedule to apply. There are three types of schedules:
User Mode: Allows to choose the user mode and ventilation of the selected zones.
Temperature: Allows to choose the temperature of the zone for cooling and heating mode.
On/Off: Turns on and off the zone.
5. Once the type of schedule is selected, select the time to start the schedule.
6. Finally, press the right arrow icon
> to access to the summary of the schedule and confirm or go back if it is necessary
to modify any parameter.
Note: The schedules will activate when pressing the confirm button.
To activate/deactivate or modify a schedule, press the desired schedule to access the edit setting and then press the On/Off
selector or parameters to modify. Press and hold on any schedule to see all the available settings:
Edit: Changes the name of a schedule.
To edit the name of a schedule, press and hold the name of the zone to access the name editor. Then, change the name.
Keep in mind: If a wireless zone is renamed, the name will be displayed in the wireless thermostat after 5 minutes of
inactivity or after the first touch, whichever occurs first.
Delete: Deletes an existing schedule.
Copy: Copies a schedule to apply it in any other zone.