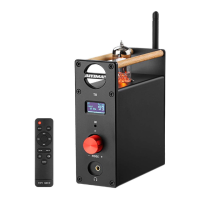
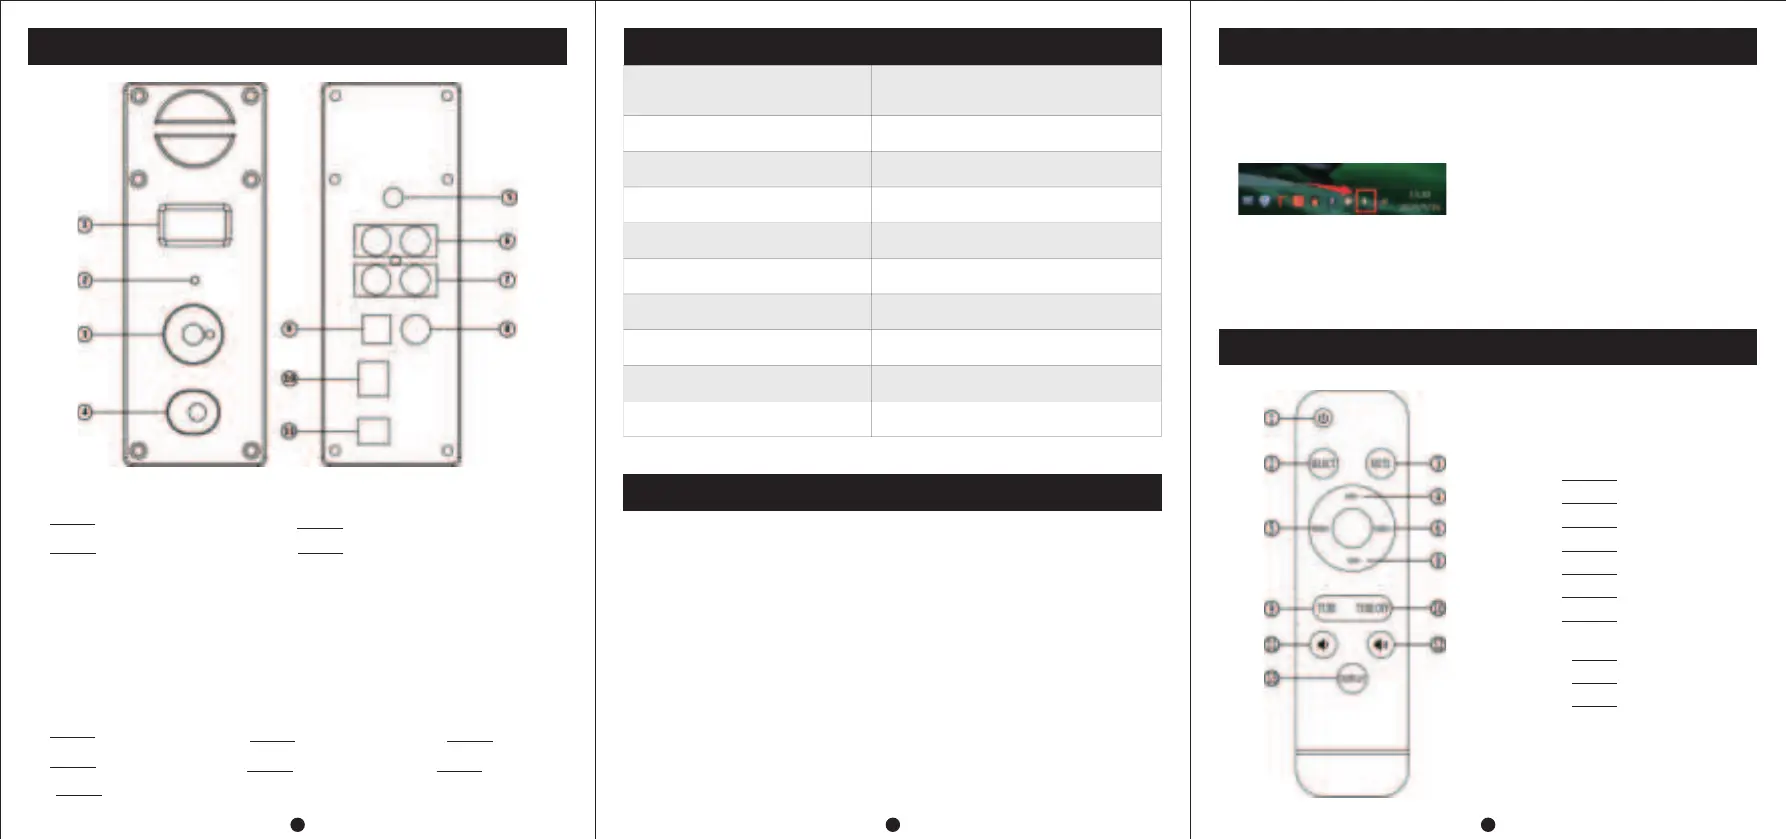
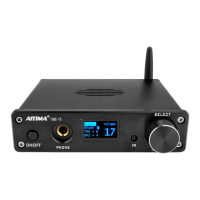
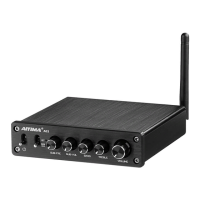
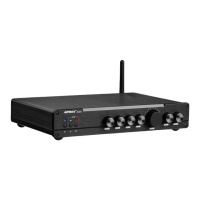
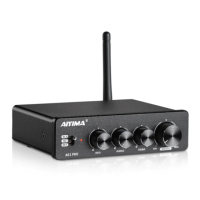
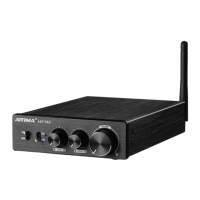
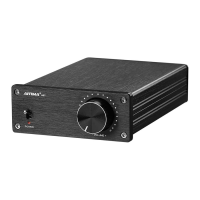
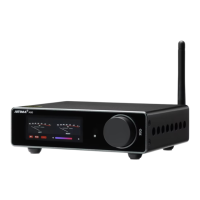
Panel introduction
12
3
PC-USB 0peration instructions
1OLED Display
2IR
4
3.5mm Headphone Output(Priority)
Parameter
Chip
CM6642+ES9018+OPA1656+NJW1194
+QCC3031+6N3+MAX9722
PC-USB supports sampling rate
192K/24Bit
Distortion
RCA: 0.2%/HP: 0.003%
PC-USB support operating system
XP/W7/W8/W10/MAC/linux
Signal to noise ratio
RCA: 108dB/HP: 106dB
Headphone impedance
16~300Ω
Operating Voltage
DC 12V
Maximum output power
RCA:1.9V/HP: 120mW@32Ω
① Connect the PC-USB interface to the computer with the USB cable configured by
factory (USB supports hot plugging).
② Press the encoder knob to switch to PC-USB input.
③ As shown in the figure, find the icon with horn symbol in the lower right corner of
④ Right click the pop-up dialog box and click 【Playback devices】
⑤ Select the USB device recognized by PC from the pop-up dialog box (automatic
IDENTIFICATION of NATIVE USB; manual installation of driver is not required ).
⑥ Click the recognized digital output and set it as the default.
Remote Instruction
3(1) Short Press:
* Power ON
* Input Mode Select
(2) Rotary Button: Volume Adjustment
(3) Long Press: Power OFF
(4) When the Headset and RCA output are connected at the same time:
* Double-click the button (Press it twice continuously) to switch to the
state of simultaneous output of the headset and RCA;
* Double-click again to switch back to the individual headphone output.
5Bluetooth input
6Audio output7Audio input
8COA input
9OPT input10PC-USB input
11Power input(DC 12V)
Input sensitivity
2V
Frequency response
20Hz~20kHz(±0.5dB)
Operation steps
① Connect the audio source you need to use to the audio source input interface
(switch the input channel to Bluetooth input when connecting bluetooth)
② Connect the back-end equipment that needs external connection to the audio
source output interface (such as power amplifier,active speaker,etc.)
③ Connect power supply (DC voltage shall not be higher than 12V)
④ Press the encoder knob to start the machine.
⑤ Short press the knob to switch to the corresponding input channel to be used.
⑥ Turn the knob clockwise to select the desired volume.
1ON/OFF
2Input Select
3Mute
4Bass+
5Treble-
6Treble+
8Bass-
11VOL-
12VOL+
13OLED ON/OFF