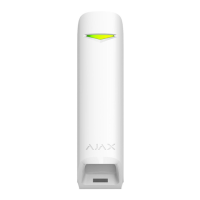
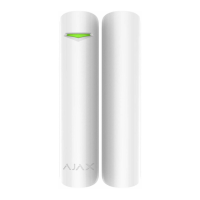
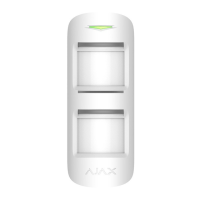
EasyManuals Logo

AJAX Fire Protect User Manual

AJAX Fire Protect
13 pages
To Next Page IconTo Next Page
To Previous Page IconTo Previous Page
Page #4 background imageLoading...
Page #4 background image
3. Tap Add the countdown will start.
4. Switch on the device.
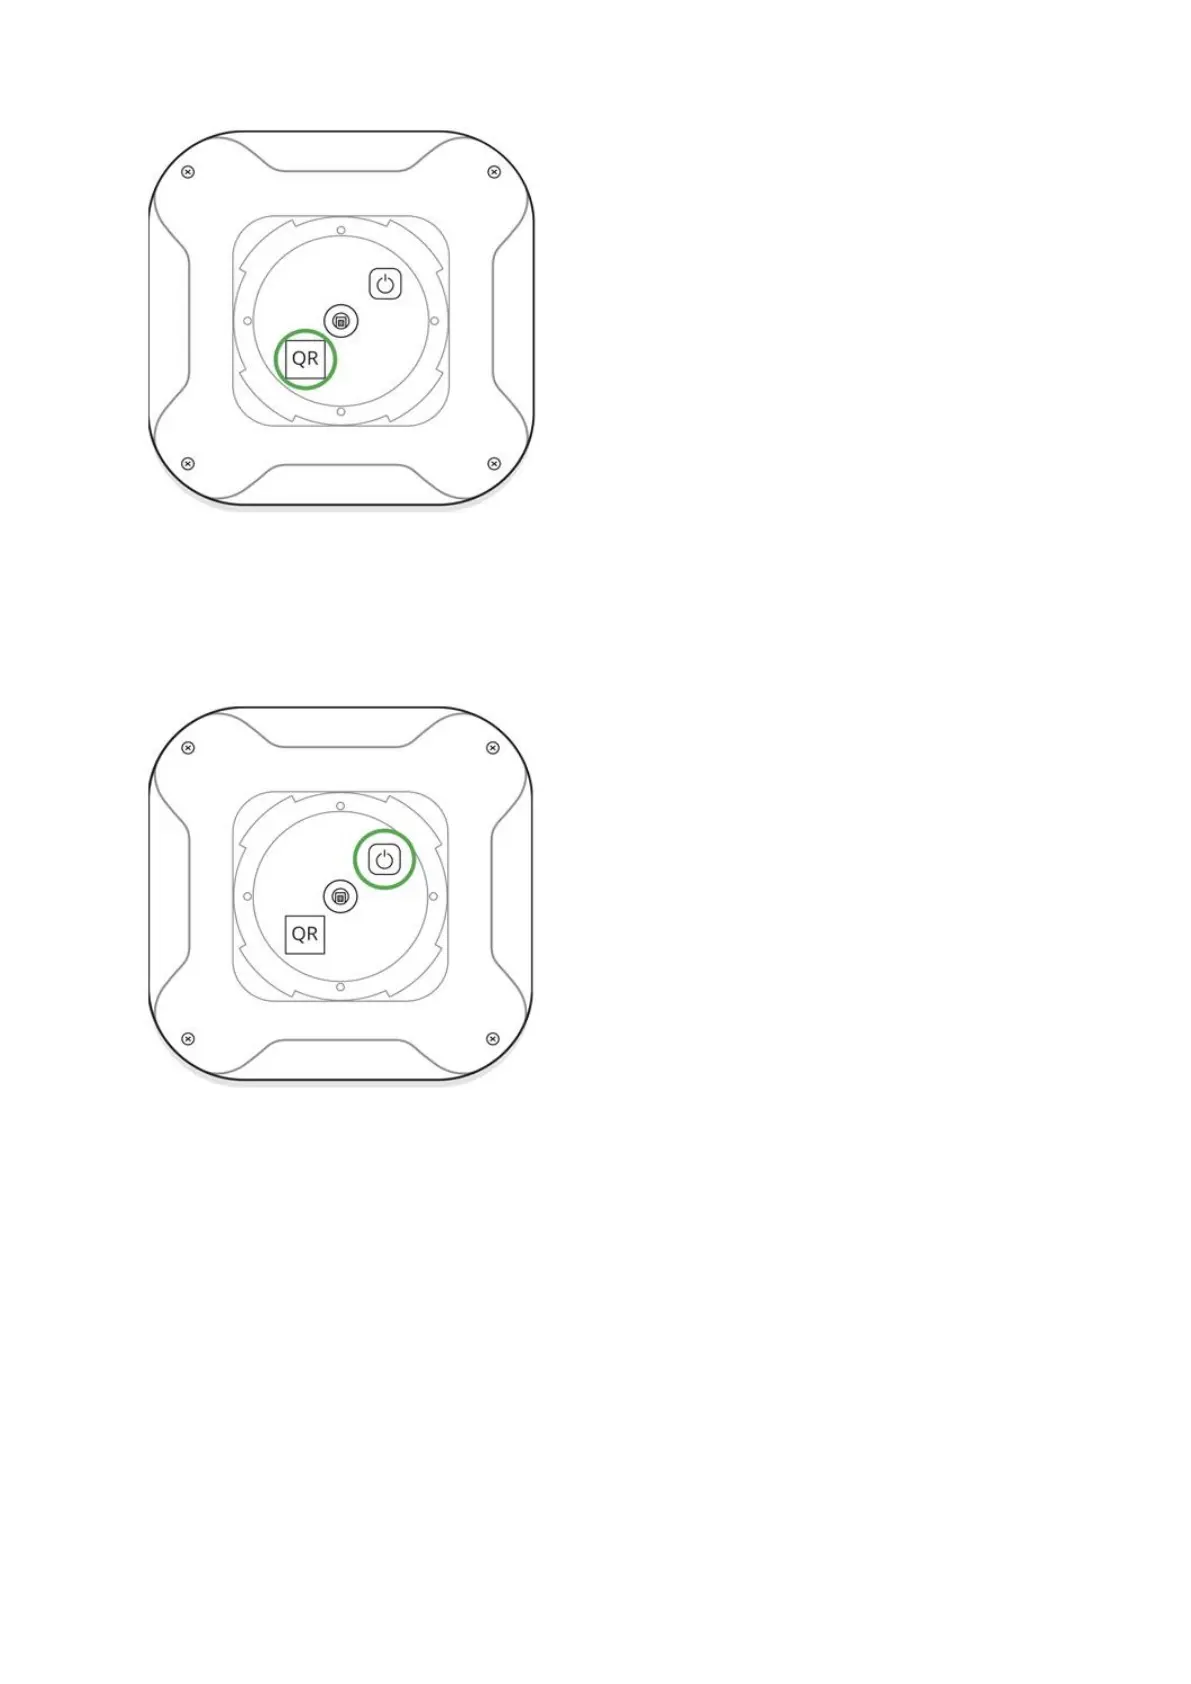
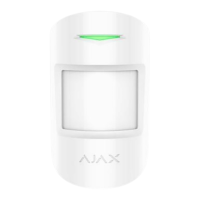
To make sure that the detector is on, press the on/off button the logo will
light up red for a second.
For detection and pairing to occur, the detector should be located within the
coverage area of the wireless network of the hub (at a single protected
object). The connection request is transmitted for a short time: at the
moment of switching on the device.
If pairing with the hub fails, the detector operates autonomously; switch off
the detector for 5 seconds and retry.
The detector connected to the hub is displayed in the list of devices in the
app. The update of the detector status in the list depends on the device
inquiry time set in the hub settings (the default value is 36 seconds).

Questions and Answers:

Question and Answer IconNeed help?

Do you have a question about the AJAX Fire Protect and is the answer not in the manual?

AJAX Fire Protect Specifications

General IconGeneral
Smoke-sensitive elementPhotoelectric sensor
Temperature sensitive elementThermocouple
Tamper protectionYes
CompatibilityOperates independently or with Hub, Hub Plus, Hub 2, ReX, ocBridge Plus, uartBridge
Sound notification volume85 dB at a distance of 3 m
Alarm threshold at the temperature+59°С ±2°С
Operating temperature rangeFrom 0°С to +65°С
Operating humidityUp to 80%
Frequency band868.0 – 868.6 MHz or 868.7 – 869.2 MHz depending on the region of sale
Radio signal modulationGFSK
Radio signal rangeUp to 1, 300 m (any obstacles absent)
Maximum RF output powerUp to 20 mW
Power supply2 × CR2 (main batteries), CR2032 (backup battery), 3 V
Battery lifeUp to 4 years
Weight and Dimensions IconWeight and Dimensions
Overall dimensions132 × 132 × 31 mm
Weight220 g

Related product manuals