GB 12
Setting The Clock
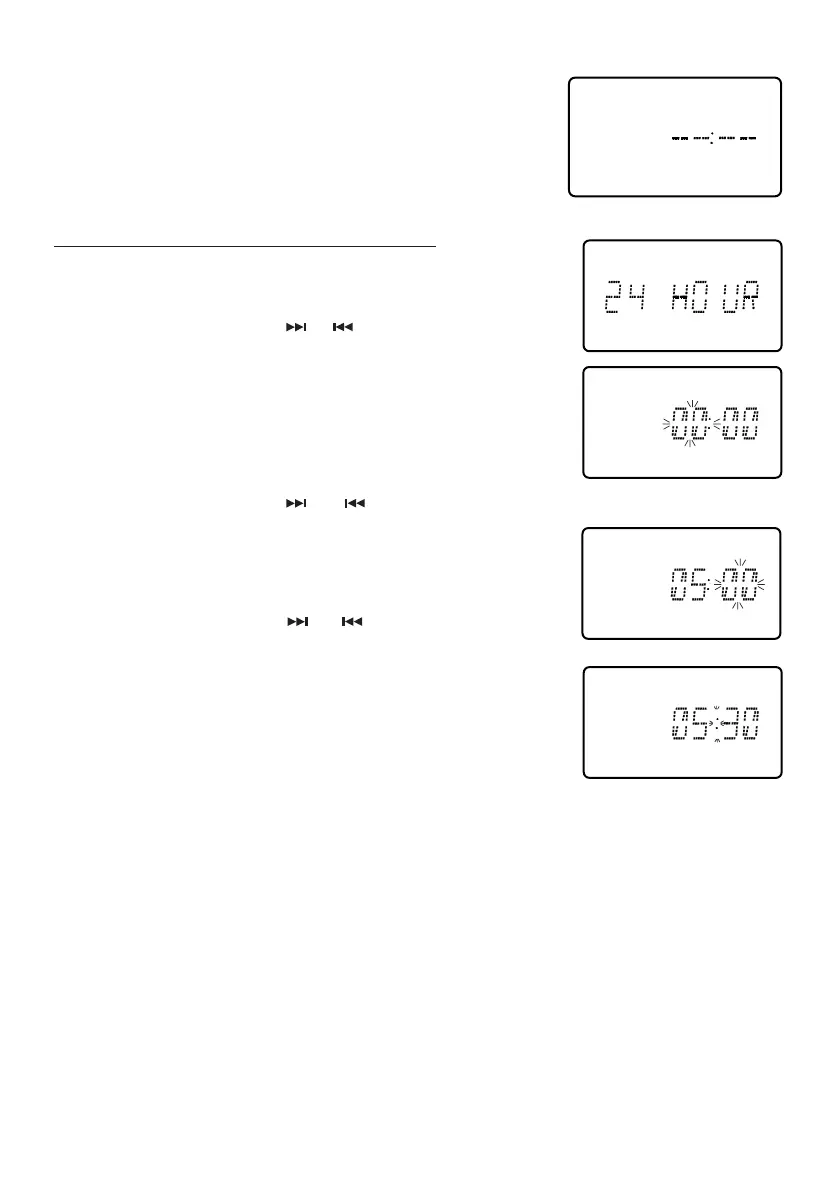
When the unit is connected to the AC outlet for
the first time the “- -:- -” flashes on the display.
Press the SKIP/TUNING or buttons to
select between “24 HOUR” or “12 HOUR” modes
if necessary.
1.) Press and hold the PROGRAM/CLOCK button on the
remote control. “24 HOUR” flashes on display.
3.) Press the SKIP/TUNING or buttons to set the display to the correct hour.
5.) Press the SKIP/TUNING or buttons to set the
display to the correct minutes.
2.) Press the PROGRAM/CLOCK button again.
Just the Hour digits will continue flashing.
4.) Press the PROGRAM/CLOCK button again.
The Minute digits will begin flashing.
6.) Press the PROGRAM/CLOCK button once more.
Only the “ : ” flashing and the clock begins to run.
Note: Do not turn the main unit power ‘On’. The clock can only
be set while the main unit power is ‘Off’.
The clock can only be set with the Remote Control.
 Loading...