13: Backup and Restore
Page 116
Loading from DAT
Insert your write-protected backup tape, which has been made on the DR8/DR16, into the DAT
recorder and set it up for playback.
Note:
Before loading from a DAT recorder, make sure that the volume controls on any equip-
ment connected to the DAT recorder’s outputs are turned fully down. Otherwise, the sound
output by the DAT recorder while loading may damage your loudspeakers.
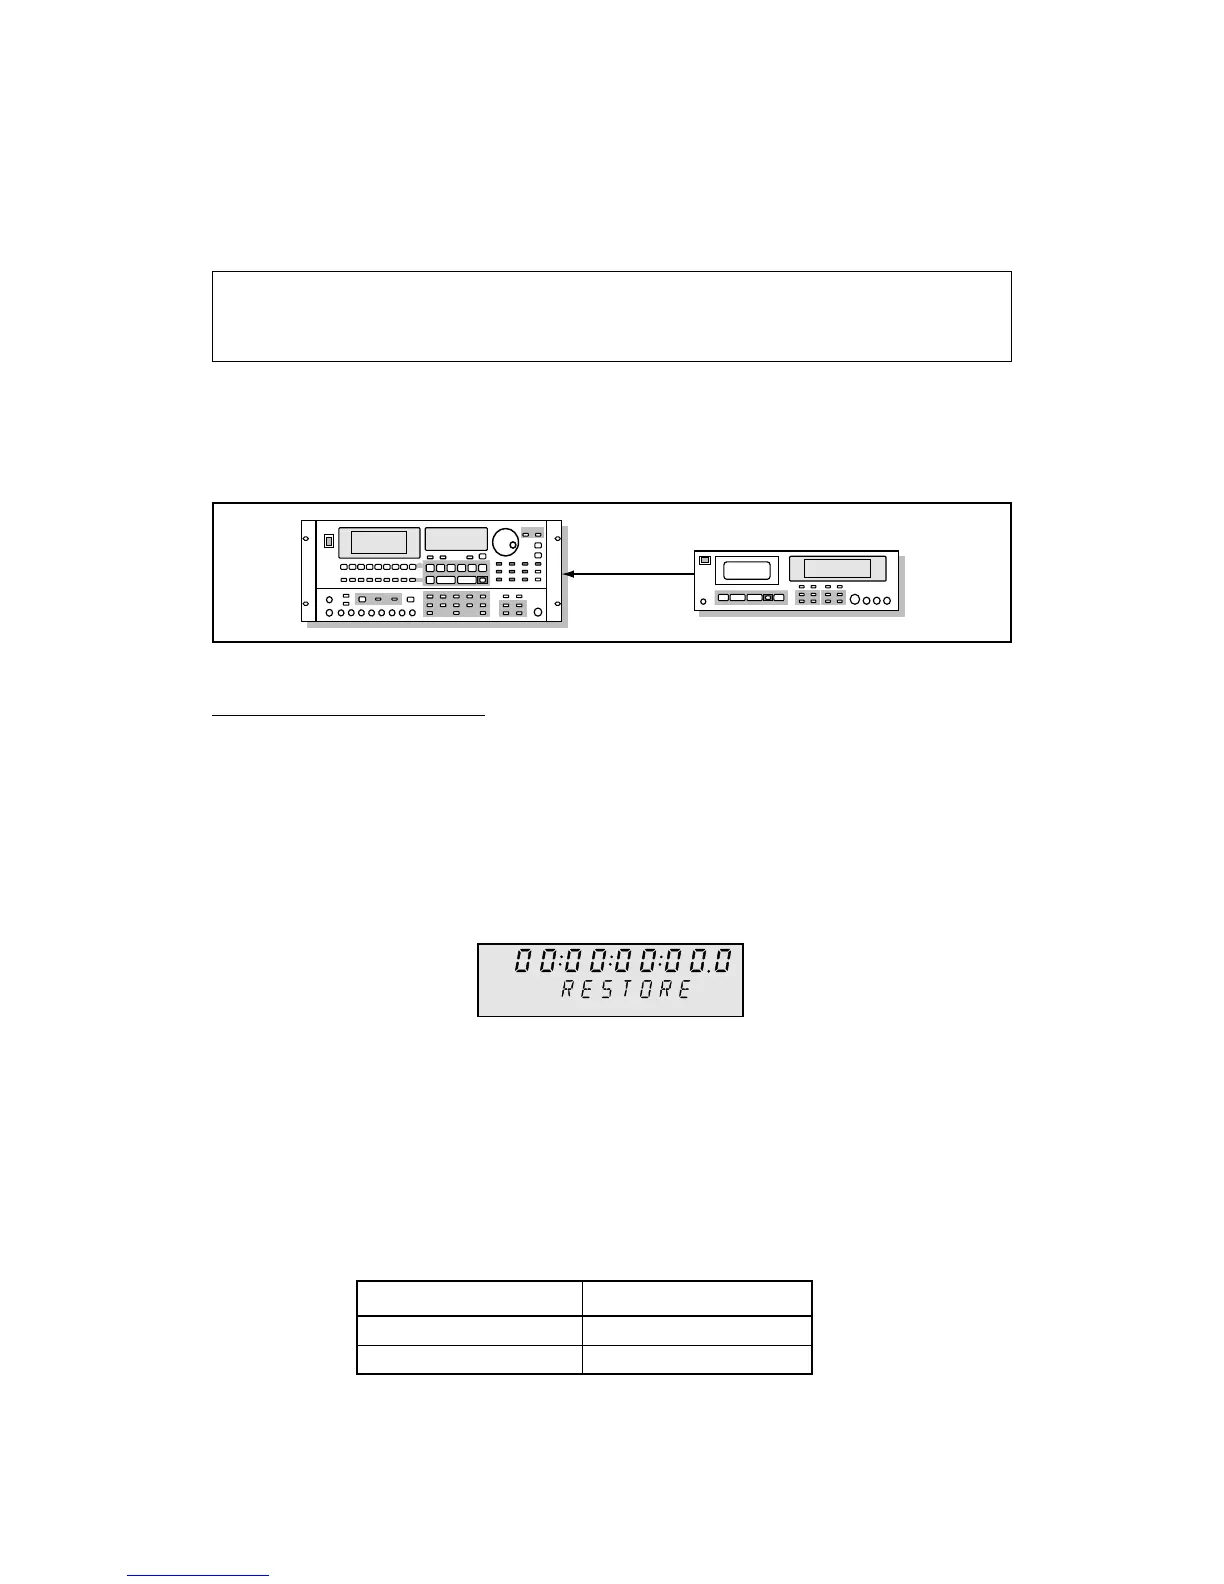
DAT Loading Connection
Plug a cable into the DIGITAL I/O - IN connection. Fasten the other end to the appropriate connec-
tion on the DAT recorder:
Restoring the Backup
1) Press the SUB-MENU key.
The indicator in the key will flash and the text “SUB-MENU” will appear on the display.
2) Press the 1(DISK) key – numeric keypad.
The message “TIME” will appear on the display.
3) Use the JOG control to select the Restore function.
You will see a display similar to the following:
4) Press the STORE/ENT key.
The message “RESTORE 0” will appear on the display.
5) Select the hard disk SCSI ID number using the JOG/SHUTTLE control.
This is the disk to which you are going to restore data. Select “0” for the internal hard disk.
6) Press the STORE/ENT key.
The display will show the current digital connector.
7) Use the JOG wheel to select a digital connector.
8) Press the STORE/ENT key.
The message “SURE ??” will flash on the display.
DAT Recorder
DIGITAL I/O - IN
DIGITAL OUT
ABS
S-M
XLR
RCA/phono
Connector Display
DIGI in XLR
DIGI in RCA
 Loading...