6
The analog input of the MPC500 is a standard phone jack, while the CD Player’s LINE OUT is most likely a dual RCA jack.
To connect the CD player, you will need two RCA to ¼ inch TS connectors.
2. Make sure the LINE button on the back, between INPUT R and L is in the up position for "LINE".
3. Press the [MODE] button and then [PAD 4] (RECORD).
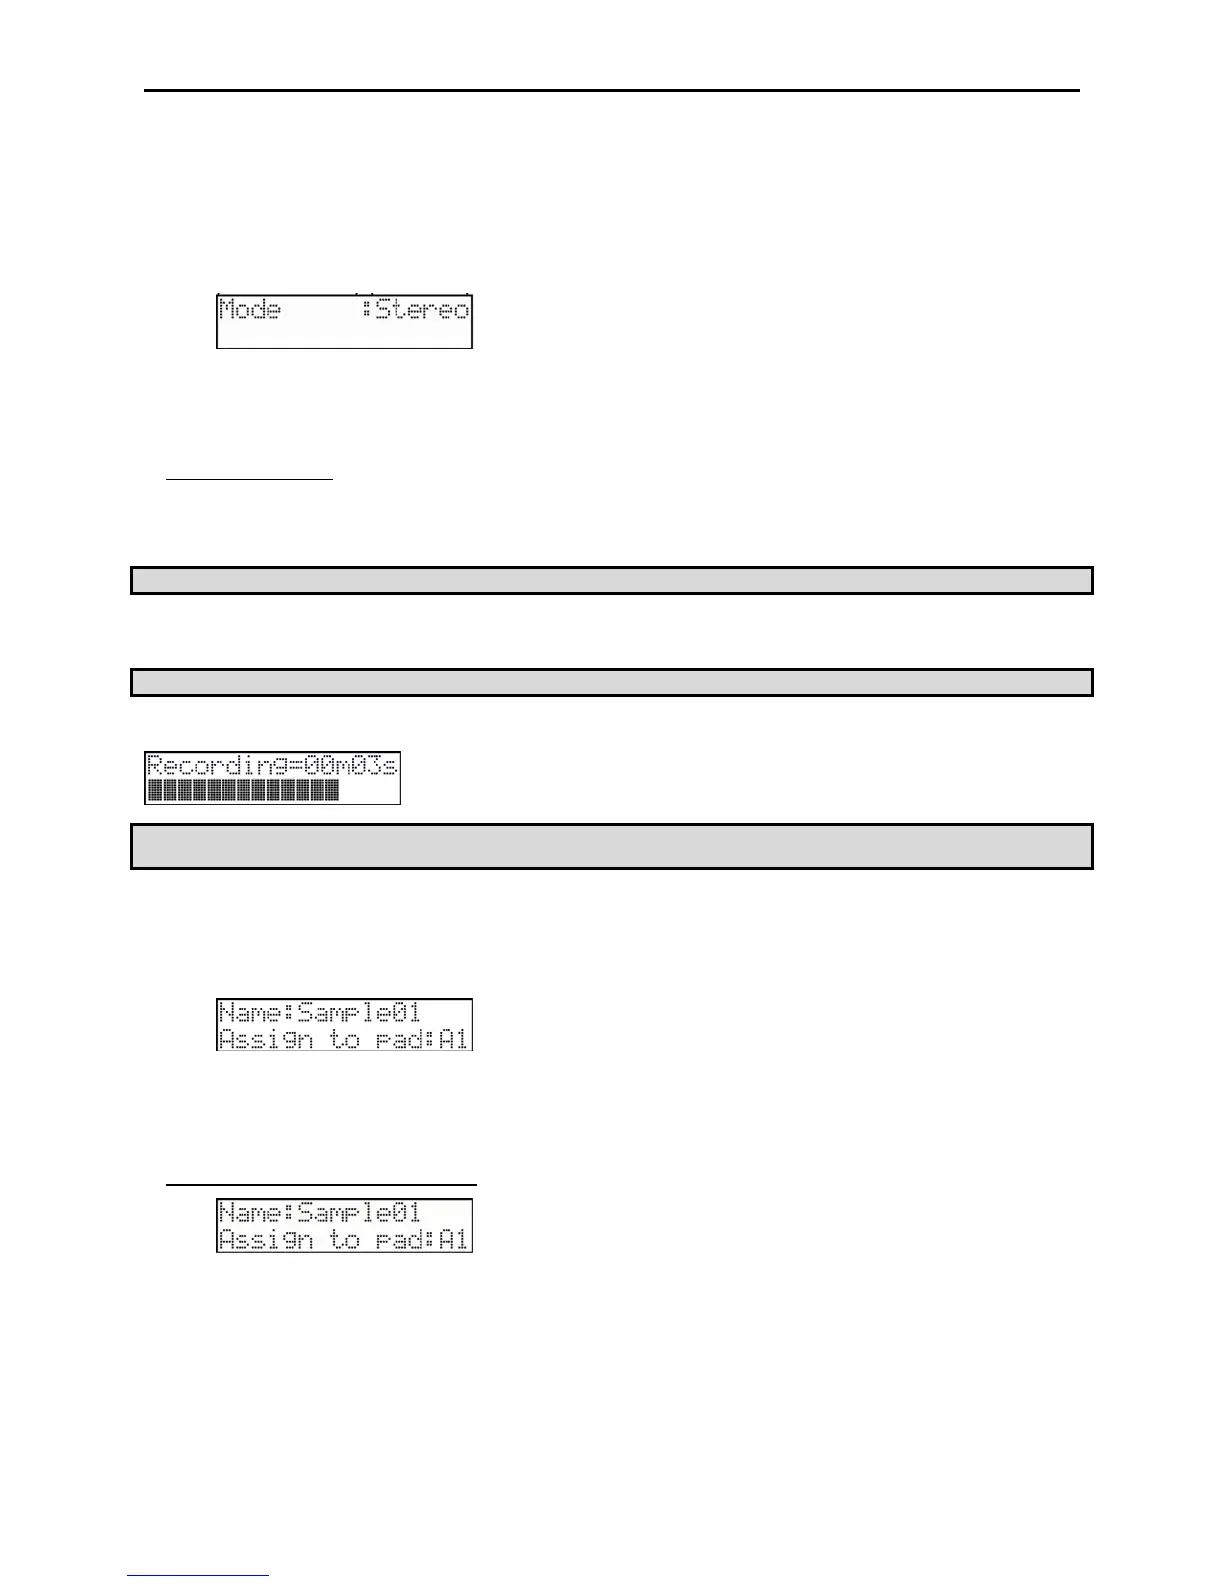
This brings up the RECORD page.
4. Play the CD. Check the level meter on screen and adjust the recording level using the [REC GAIN] knob.
Important: If the meter goes too far to the right, the sound will be distorted, but if the sound level is too low, the sample will gain
a lot of noise. Set the level as high as possible but not reaching the right edge.
Starting the recording
1. Set the CD player so that it plays the desired sound.
2. Press [DO IT] to begin recording.
Tip: The [12 LEVELS] button also acts as the [DO IT] button.
The MPC500 will be in Record Enable mode, and will wait for an incoming signal. It will start the recording when the CD player starts playing
and a threshold of audio signal is registered. Pressing the [CANCEL] button exits Record Enable mode and resets the MPC500. Pressing the [DO
IT] button a second time will start the recording without waiting for input.
Note: If you press the [DO IT] button wile sound is playing, the MPC500 will start the recording right after you press the [DO IT] button.
The MPC500 will start the recording automatically when the CD Player starts the playback and the bottom of the screen will change as below:
Tip: If the recording level is too low, the MPC500 will not register the incoming audio and may not start the recording when you play the CD. In
this case, go back to step 4 and set the level with the [REC GAIN] knob again.
1. Press the [DO IT] button to finish the recording.
If you do not press the [DO IT] button, the MPC500 will stop the recording when its RAM is full.
2. When the MPC500 finishes the recording, the following screen will be displayed.
3. Check the recorded sample by pressing [PLAY] button.
If you press the [PLAY] button, you can play back the recorded sample until you release the button. If you do not like the recording,
you can remove the recording by pressing the [CANCEL] button.
Assigning the recorded sound to the pad
1. Select the Assign to pad field with the cursor and scroll with the [DATA] wheel. You can also select a pad by hitting it
directly.
The number of this pad will be displayed in the Assign to pad field.
2. Press the [DO IT] button.
This closes this screen and returns to the RECORD page.

 Loading...