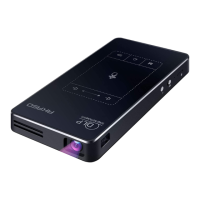
2. Preparing the Remote Control
① For first time use, install new batteries(2 x AAA batteries, not included).
② To replace the batteries, unlock and open the battery compartment, insert two new
batteries positioning the polarity(+/-) as indicated, and then close and lock the battery
compartment.
3. Get Started
① Fully charge the built-in battery before using for the first time by using the provided
charger.
② Slide to the left, and then press on the projector to start the projection. After
several minutes, the home menu will be displayed.
ON/OFF
③ Turn the device towards a suitable projection surface or wall.
④ Rotate the focus adjusting wheel to get the best focus.
⑤ For first time use, follow the on-screen instructions to complete the basic settings.
Note: Please use the supplied charger to charge AKASO mini projector.
SETTING
Finish the main settings when you turn on the projector for the first time.
1. Network setting
Press to access the home menu, select [Settings] and enter into setting page.
Note: On the home menu, press Bluetooth/Wi-Fi/RJ45 icon to access the corresponding
interface directly. Press Micro SD card/USB flash drive/Battery icon, you cannot access the
corresponding interface.
A. Wi-Fi
This device can be connected to the network via a wireless(Wi-Fi) connection.
① Select [Wi-Fi] and press OK on the remote(or click on the touch area of the projector)
to access the Wi-Fi interface. Or you can select on the home menu to access the
Network settings interface directly.
Network settings
Convenient hot spot Ethernet Bluetooth
Wi-Fi
1
2
Power
Turn ON/OFF
07
08