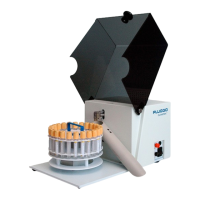
2. Installation
1.
Place the unit on a counter with the right side at the edge of the counter.
2. Open the plexiglass cover.
3. Hold the chute with the clip attached to it directed downwards. Clip the chute onto the
round white plastic cylinder directly under the de-capper arm. The chute should now be
extending to the right of the unit, on the same side as the power switch and controls
are located. Se figure 4.
4. Make sure that there is no space between the chute and the back surface of the unit. If
there is, press chute against the back wall to eliminate any space present.
5. Close the plexiglass cover to make sure that the chute does not interfere with the
closure of the cover. Please keep the cover closed.
6. The used caps will be disposed through the chute. Please place a receptacle with the
appropriate biohazard lining to catch the falling used caps.
7. Plug the power cord into a supply connector with protective ground. Press the
rectangular power switch on the right side of the unit. Check that the light on the power
switch is now lit. Se figure 2.
8. Without any carousels placed on the unit, and the cover closed, press the “Black” start
switch and allow the unit to go through one complete cycle until it stops. If nothing
happens when you press the black start switch, please press the “Red” stop switch
once and if necessary the black start switch again.
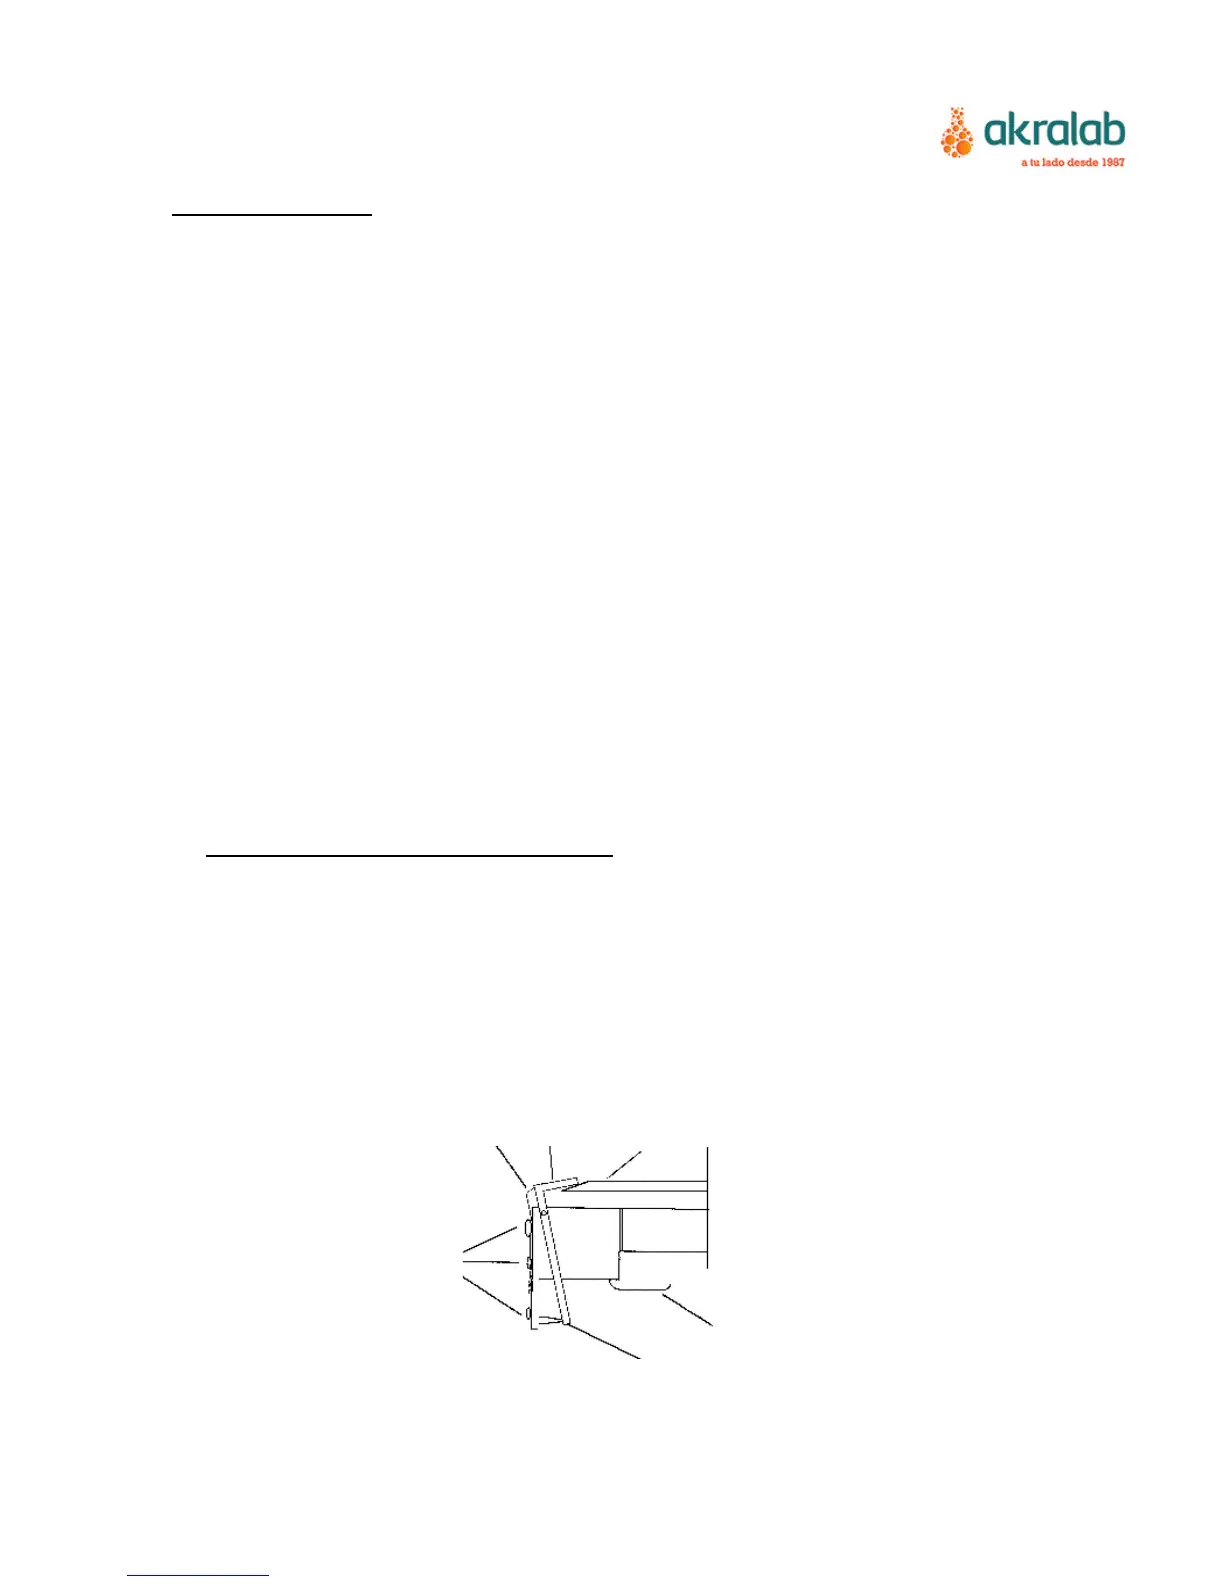
9. Open the plexiglass cover and inspect the de-capper arm. Its position should be as
indicated in the figure 1:
Leaf Spring Puller Puller action rod
Screws
Spring Stop
Needle in protected position
Figure 1: De-capper arm in home position