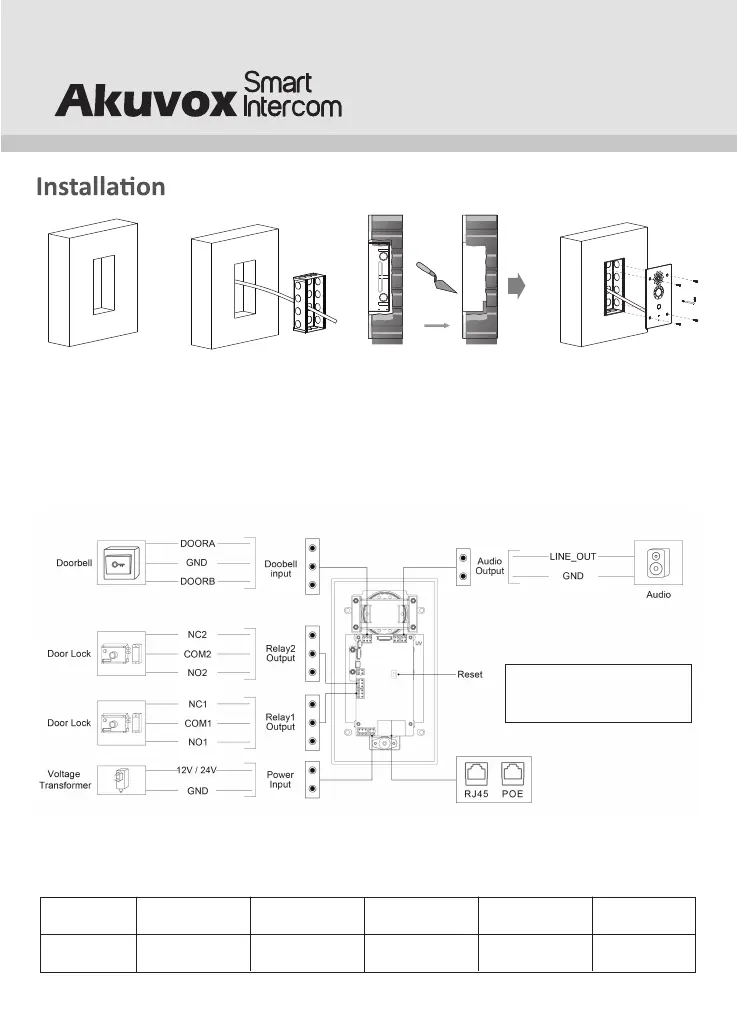
According to the position of
the cable, cut a square hole
in the wall of the height of
190mm, width of 100 and
depth of 60 mm that can
accommodate and through
out all necessary cables.
Knock out suitable cable
holes of the flush-mounting
box,then insert the
flush-mounting box into the
square hole on the wall and
route through all cables.
Use cement or non-corrosive
structural adhesives to fill the
gap between the wall and
flush-mounting box.Wait the
adhesive material dry, go to
the next step.
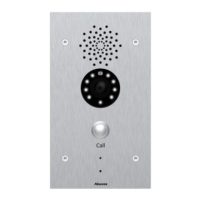
Fix E21X on the flush-mounting
box with four M4x15 Torx
head screws.
Device Wiring
Wire Length & AWG Table
Please follow the properly measured wire gauge/length to install device:
16 AWG
18 AWG
20 AWG
24 AWG
12V 1A Adapter
≤50m
≤50m
≤50m
Note: If power device with POE,
please do not plug in another
power supply.
22 AWG
≤40m
≤20m
2

 Loading...