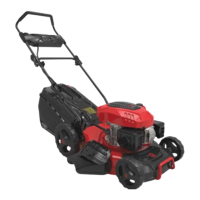
Layout/Scope of delivery HTW250/240P
10
AFTER SALES SUPPORT
aldi.service.uk@scheppach.com
00800 4003 4003
MODEL: HTW250/240P PRODUCT CODE: 64055 xx/2017
VII. OPERATION
m WARNING! You may not start to operate the machine until you have read these
operating instructions, observed all the instructions given and completely and prop-
erly assembled the machine!
Adjusting the cutting depth (Fig. 6)
The machine has a height adjustment lever (15) with ve different height settings to
easily adjust the cutting height.
• To decrease the cutting height pull the height adjustment lever (15) out and move
it up a notch, towards the handlebar.
• To increase the cutting height pull the height adjustment lever (15) out and move it
down a notch, towards the front of the unit.
NOTE: If you are unsure of which cutting height to use, begin with a high setting and
complete a trial cut on a small section of the lawns edge. Readjust if necessary.
Starting and stopping (Fig. 1)
Starting
NOTE: Do not squeeze the throttle lever (2) before starting.
1. Press the On/Off switch (1) on the handle to the On (I) position.
2. Press the primer bulb (16) 10 times.
3. Push the choke lever (17) up to the start position .
NOTE: Setting the choke lever (17) to the start position is unnecessary if the engine
is warm or you work with the machine in warm conditions.
4. Pull the recoil starter (11), till the engine starts.
5. Once the engine has started, allow it to warm up for 2 minutes. Once warm, move
the choke lever (17) to position.
6. Tilt the machines backwards at the upper handle (3), so that the cutting blade (8)
is clear of the ground.
7. Squeeze the throttle lever (2) to move the cutting blade (8).
Stopping
1. Release the throttle lever (2) so that the engine is idling and the cutting blade (8)
stops spinning.
2. Press the On/Off switch (1) on the handle to the Off (Stop) position.
AUS
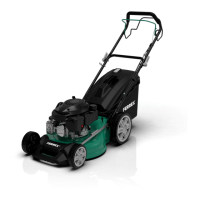
Operation LE2500P
18
AFTER SALES SUPPORT
support@scheppach.com.au
1300 855 831
MODEL: LE2500P PRODUCT CODE: 61758 09/2018