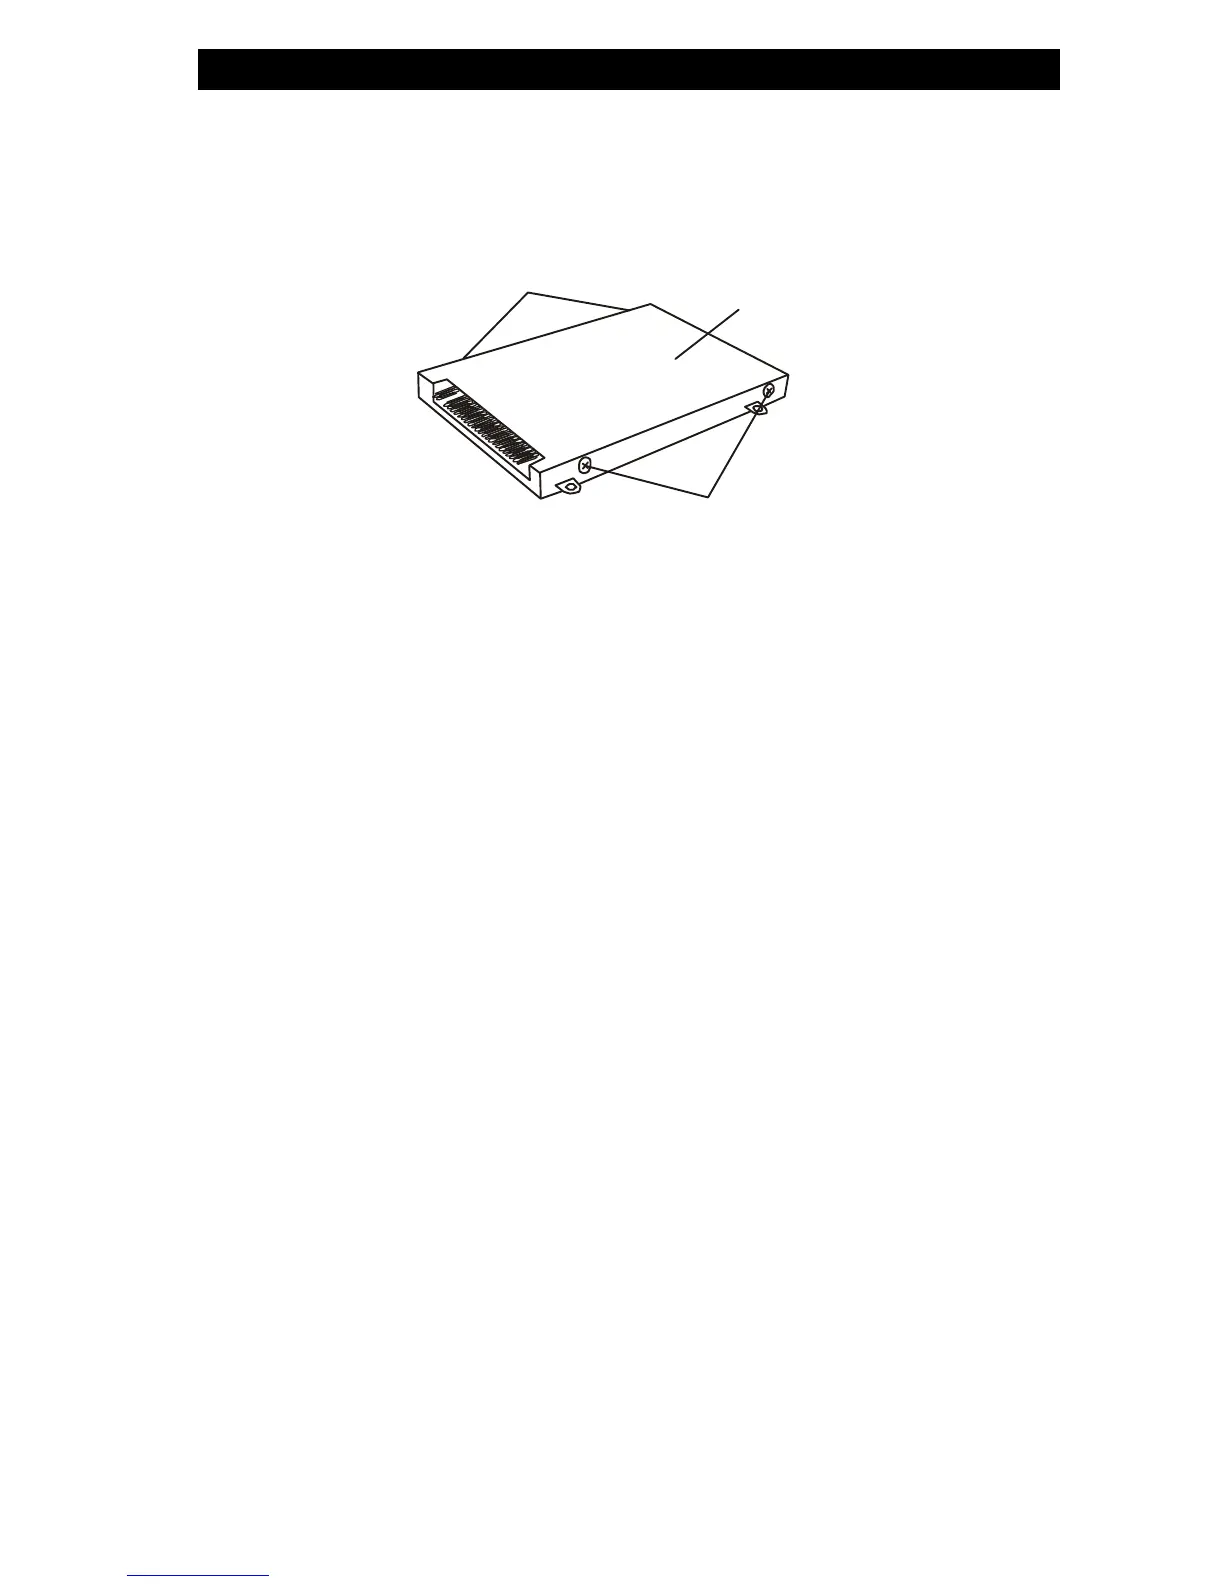
7. Re-attach the metal cover to the new hard drive and
tighten 4 Screw C’s. Note the green PC board of the hard disk
drive is facing against the metal case.
8. Re-attach the HDD Cable Connector to the HDD module.
9. Re-attach and tighten 4 Screw B’s. (If the HDD assembly
is not fully inserted into the bay, the screw and its hole will not
line up.)
10. Replace the System Device Cover and 2 Screw A’s.
Congratulations! You have now completed the hard drive
upgrade. When you boot up the PC, you may need to create a
primary HDD partition and reformat the new drive and re-install
O/S, drivers, and all the necessary applications.