Do you have a question about the Allen Sports 830QR and is the answer not in the manual?
| Model | 830QR |
|---|---|
| Category | Automobile Accessories |
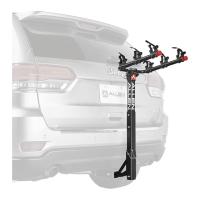
| Capacity | 3 Bikes |
| Material | Steel |
| Tilt Feature | Yes |
| Foldable | Yes |
| Quick Release | Yes |
| Color | Black |
| Warranty | Limited Lifetime Warranty |
| Type | Bike Rack |
| Hitch Receiver Size | 2 inch |
| Compatibility | Most adult bikes |
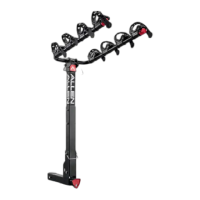
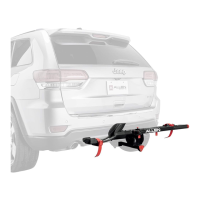
Component for adjusting hitch size and securing the rack to the vehicle receiver.
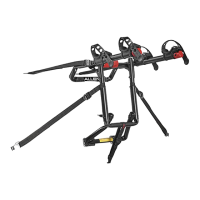
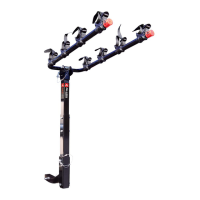
The main arm structure that holds bicycles, connects to the hitch insert.
Vertical post that connects the hitch insert to the carry arm assembly.
Contains bolts, nuts, and keys for assembling and securing the rack.
Connects the RR Post to the Hitch Insert using a bolt and lock nut.
Connects the Carry Arm Assembly to the RR Post using bolts and lock nuts.
Use the key to turn the lock counter-clockwise to loosen the hitch insert wedge.
Turn the locking knob counter-clockwise to loosen the hitch insert wedge for insertion.
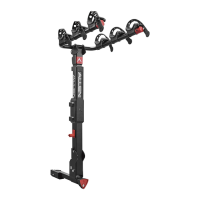
Depress spring pin and insert rack into vehicle receiver hitch until pin engages.
Turn locking knob clockwise to securely tighten the rack inside the receiver hitch.
Optional step to lock the rack to the vehicle using the key for security.
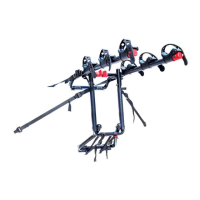
How to fold the carry arms for storage or transport by squeezing red tabs.
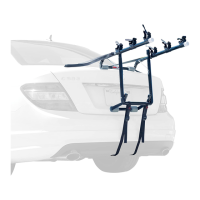
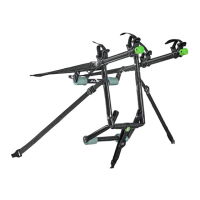
Instructions for loading bicycles, including alternating directions and securing them.
Specific advice for loading bikes with women's style frames, recommending an adaptor bar.
First step is to place the bicycle into the rack's cradle.
Thread the provided or additional straps through the bicycle and rack.
Pull the straps tightly to ensure the bicycle is securely fastened to the rack.
Utilize a 70" strap (not included) to secure multiple bikes together and wheels.