9-EN
Turning Power On or Off
Some of this unit’s functions cannot be performed while the vehicle is in
motion. Be sure to stop your vehicle in a safe location and apply the
parking brake, before attempting these operations.
1
Press SOURCE to turn on the unit.
• The unit can be turned on by pressing any button. The unit is also
automatically turned on if an iPhone/iPod or USB memory is
connected.
2
Press and hold SOURCE for at least 3 seconds to
turn off the unit.
• The monitor may be dim during low temperature and immediately
after turning on the power. The brightness will return to normal as
time elapses.
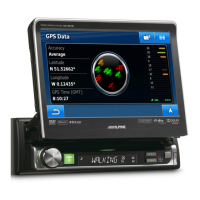
• The iXA-W404 is a precision device. With gentle handling, its unique
capabilities can be enjoyed for a long time.
Adjusting the Volume
Rotate the Double Action encoder until the desired
sound is obtained.
• The MUTE function can be performed by using the remote control.
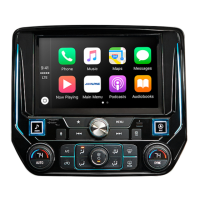
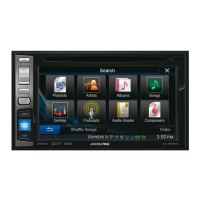
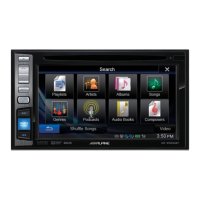
How to view the Display
• Be sure to touch the button lightly with the pad of your finger on the
display to protect the display.
• If you touch a button and there is no reaction, remove your finger
from the display, and try again.
Here is an example explanation for the Radio mode display on how to
recall a source.
1
Press SOURCE to activate mode switching
screen.
2
Slide the display horizontally with your finger to
select Audio/Visual mode.
Each time you slide the display, the mode switches
circularly in the following order:
Audio/Visual Navigation*
1
Camera*
2
Telephone*
3
Multi Info Audio/Visual
*
1
Displayed only when NAV. IN is set to ON. Refer to “Setting the
Navigation Mode” (page 23).
*
2
Displayed only when Camera IN is set to RCA or DIRECT. Refer to
“Setting the Rear Camera Input” (page 23).
*
3
Displayed only when Bluetooth IN is set to ADAPTER. Refer to
“Setting the Bluetooth Connection (Bluetooth IN)” (page 24).
• The mode can also be switched by pressing and .
• If the current mode is not Audio/Visual mode, you can switch to the
Audio/Visual mode directly by pressing
SOURCE.
Display example for mode switching screen
Changes to the Rear Selection screen when “Setting the
Picture Output” (page 24) is set to ON.
Changes to the SETUP selection screen.
Displays the name and image of the current mode.
Displays the icons of the five modes (icon of the current
mode is highlighted).
3
Slide the display vertically with your finger, or press
SOURCE repeatedly to select RADIO source.
Soft button operation
About the button descriptions used in this Owner’s Manual
• The buttons found on the face of the unit are expressed in bold
(e.g. SETUP). The buttons found on the touch-screen display are
shown in bold within brackets, [ ] (e.g. [SETUP]).
• Whenever a soft button and a head unit button have the same
function, the explanations in this Owner’s Manual will describe
the function of the soft button.
Recalling the Source