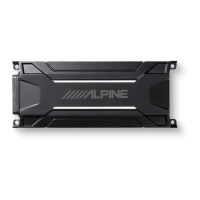
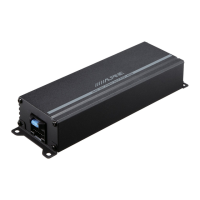
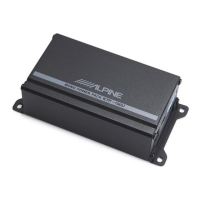
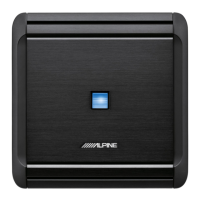
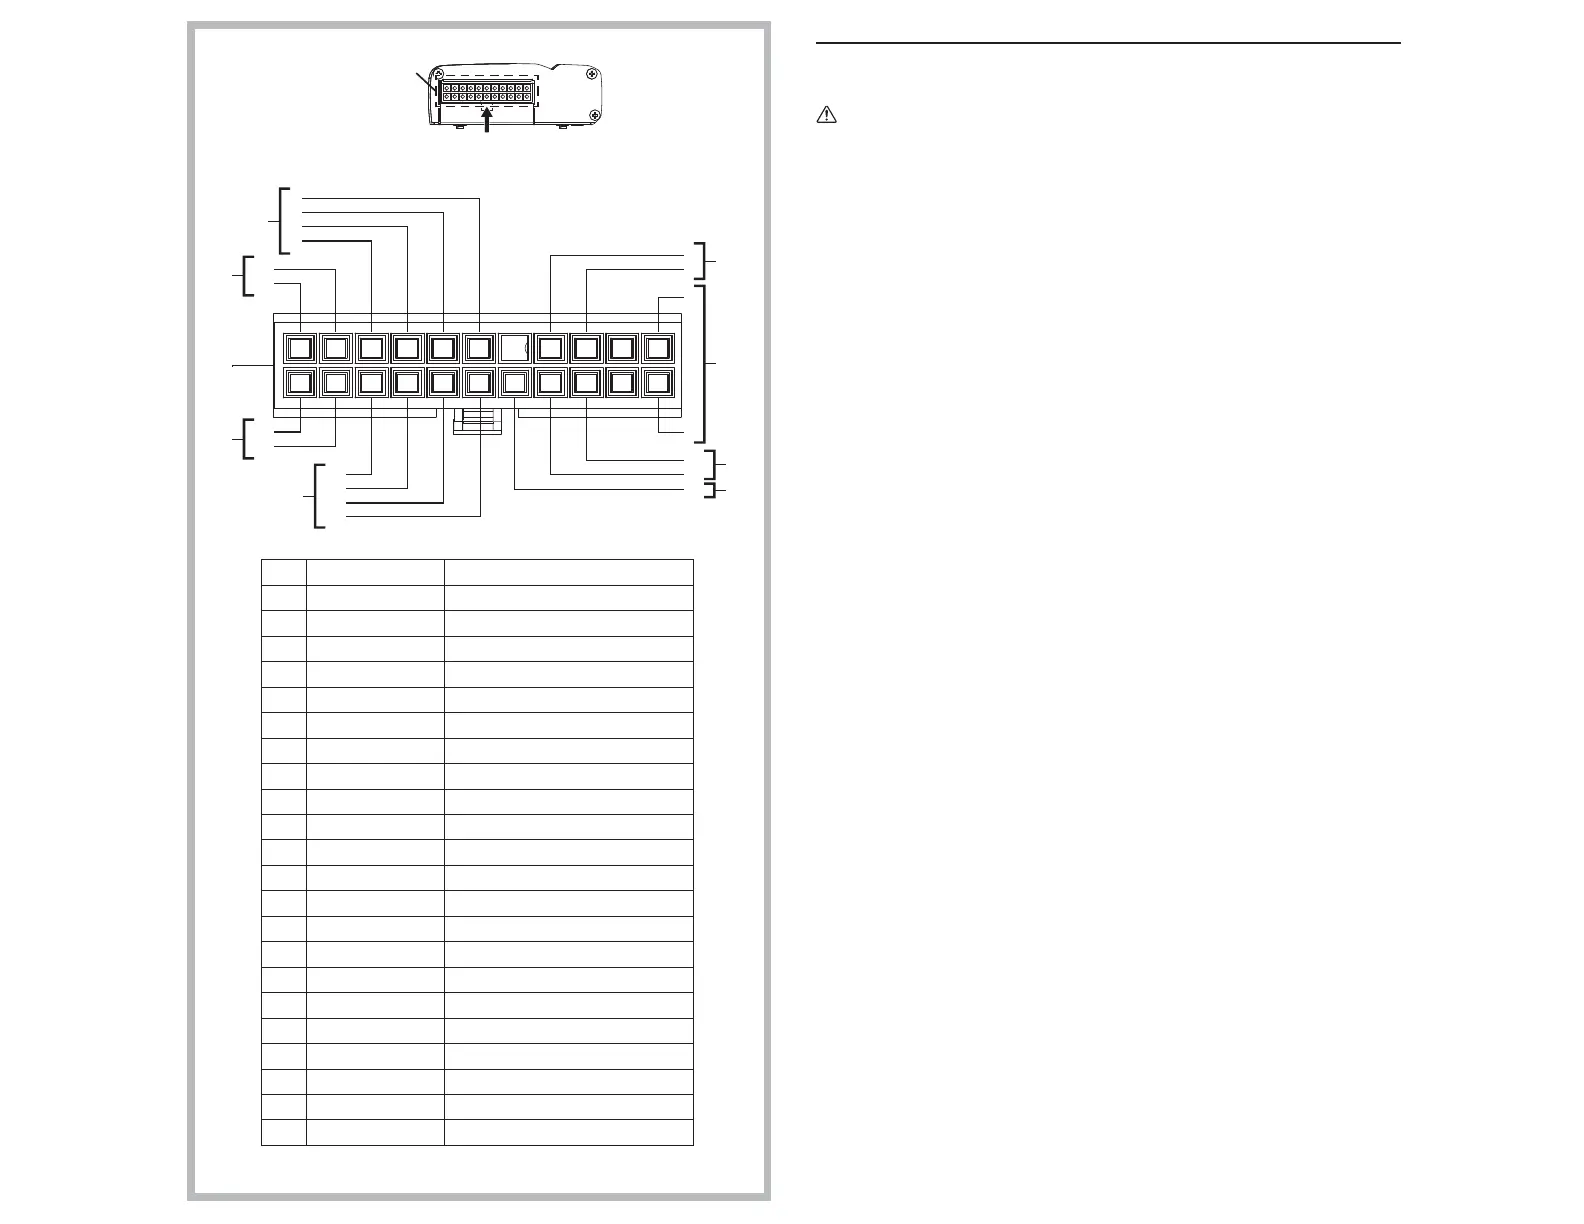
CONNECTIONS (Fig. 1)
Before making connections, be sure to turn the power off to all audio components. Connect the
yellow battery lead from the amp directly to the positive (+) terminal of the vehicle's battery. Do
not connect this lead to the fuse block.
CAUTION
◆ Caution on connection terminals/parts
r Keep electrically conductive objects away from the unit’s terminals/parts (power terminals,
fuses, speaker output terminals, RCA connectors, etc.). Doing so prevents a possible short
circuit and damage to the unit.
r Use appropriate electrical source. The person installing this will choose the appropriate
electrical source.
To prevent external noise from entering the audio system.
r Locate the unit and route the leads at least 10 cm (3-15/16") away from the car harness.
r Keep the battery power leads as far away from other leads as possible.
r Connect the ground lead securely to a bare metal spot
(remove any paint or grease if necessary) of the car chassis.
r Your Alpine dealer knows best about noise prevention
measures so consult your dealer for further information.
1 Input/Output/Power Connector
2 Input/Output/Power Wire Harness
3 Subwoofer Output Leads
Be sure to observe correct subwoofer output connections in the system. Connect the positive
output (+) to the positive subwoofer terminal and the negative output (-) to the negative
subwoofer terminal.
Note:
Do not connect subwoofer leads together or to chassis ground.
4 Input Signal Leads
RCA Input Jacks
Connect these jacks to the line out leads on your head unit, you may or may not require
extension cable.
5 Ground Lead (Black)
Connect this lead securely to a clean, bare metal spot on
the vehicle’s chassis. Verify this point to be a true ground by checking for continuity between
that point and the negative (-) terminal of the vehicle’s battery. Ground all your audio
components to the same point on the chassis to prevent ground loops.
6 Battery Lead (Yellow)
Connect battery lead directly to BATT +
Be sure to add a 20A fuse (sold separately) as close as possible to the battery’s (+) terminal.
7 Remote Turn-On Lead (Blue/White)
Connect this lead to the remote turn-on or power antenna (positive trigger, (+) 12V only) lead
of your head unit.
8 Remote Bass Level Connector
Connect this lead to Alpine's remote control bass knob (RUX-KNOB.2 sold separately)
Fig. 1
4
310
9
8
7
6
11
1
1222
21
14
15
16
20
19
18
17
Pin Color function
1 Black Rem Bass Control, (-)
2NC
3 Black Audio Input, front right (-)
4 Black Audio Input, front left (-)
5NC
6 Brown / black Audio Output, Subwoofer (-)
7 Brown / black Audio Output, Subwoofer (-)
8 Brown / black Audio Output, Subwoofer (-)
9 Brown / black Audio Output, Subwoofer (-)
10 Yellow Battery, Positive leads
11 Yellow Battery, Positive leads
12 Black / Gray Rem Bass Control, (+)
13 NC
14 Black / red Audio Input, front right (+)
15 Black / white Audio Input, front left (+)
16 Blue / white Remote on
17 Brown Audio Output, Subwoofer (+)
18 Brown Audio Output, Subwoofer (+)
19 Brown Audio Output, Subwoofer (+)
20 Brown Audio Output, Subwoofer (+)
21 Black Ground
22 Black Ground
4
4
3
7
6
5
3
1
2
8
 Loading...