Do you have a question about the Alpine KTA-200M and is the answer not in the manual?
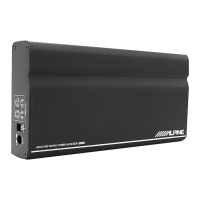
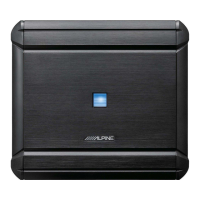
General welcome and advice for using the KTA-200M amplifier.
Guidelines for environmentally responsible disposal of used electronic products and batteries.
Important safety precautions to prevent injury, electric shock, fire, or product damage.
Information on warranty, FCC compliance, and contacting service centers.
Detailed technical data for the amplifier, including power output and frequency response.
List of items provided with the amplifier, such as harnesses and brackets.
Detailed instructions for connecting the KTA-200M amplifier to vehicle power and audio sources.
Safety advice for handling connection terminals to prevent short circuits and damage.
Tips for routing wiring to minimize interference and maintain audio quality.
Description of the primary connector for power, audio input, and output.
Correct procedure for connecting subwoofer output terminals.
Connecting RCA cables from the head unit to the amplifier's input jacks.
Ensuring a secure and proper ground connection to the vehicle chassis.
Connecting the main battery lead directly to the battery terminal with proper fusing.
Connecting the remote turn-on lead for automatic amplifier activation.
Connecting the accessory for remote bass level adjustment.
Options for activating the amplifier when standard turn-on leads are unavailable.
Connecting the remote turn-on lead to a switched ignition source.
Guidance for systems where the antenna lead is only active during radio playback.
Connecting to logic level outputs or low voltage leads with appropriate fusing.
Installing an optional switch for manual control of amplifier power.
Visual representation of typical RCA input connections for a subwoofer system.
Illustration of the RCA input system for connecting audio sources.
Configuration of low pass filters and optimal gain setting for the amplifier.
Procedure for adjusting the amplifier's input gain for maximum clarity and minimal distortion.
Using switches 1 and 2 to select the desired low pass filter frequency.
Details on switch positions for OFF, 60Hz, 80Hz, and 120Hz low pass filters.
Using the gain control to adjust input voltage sensitivity for various signal sources.
Securing the head unit bracket to the amplifier using the provided screws.
Process for attaching the amplifier assembly to the vehicle's head unit.
Steps for attaching the universal mounting brackets to the amplifier's ends.