- 2 -
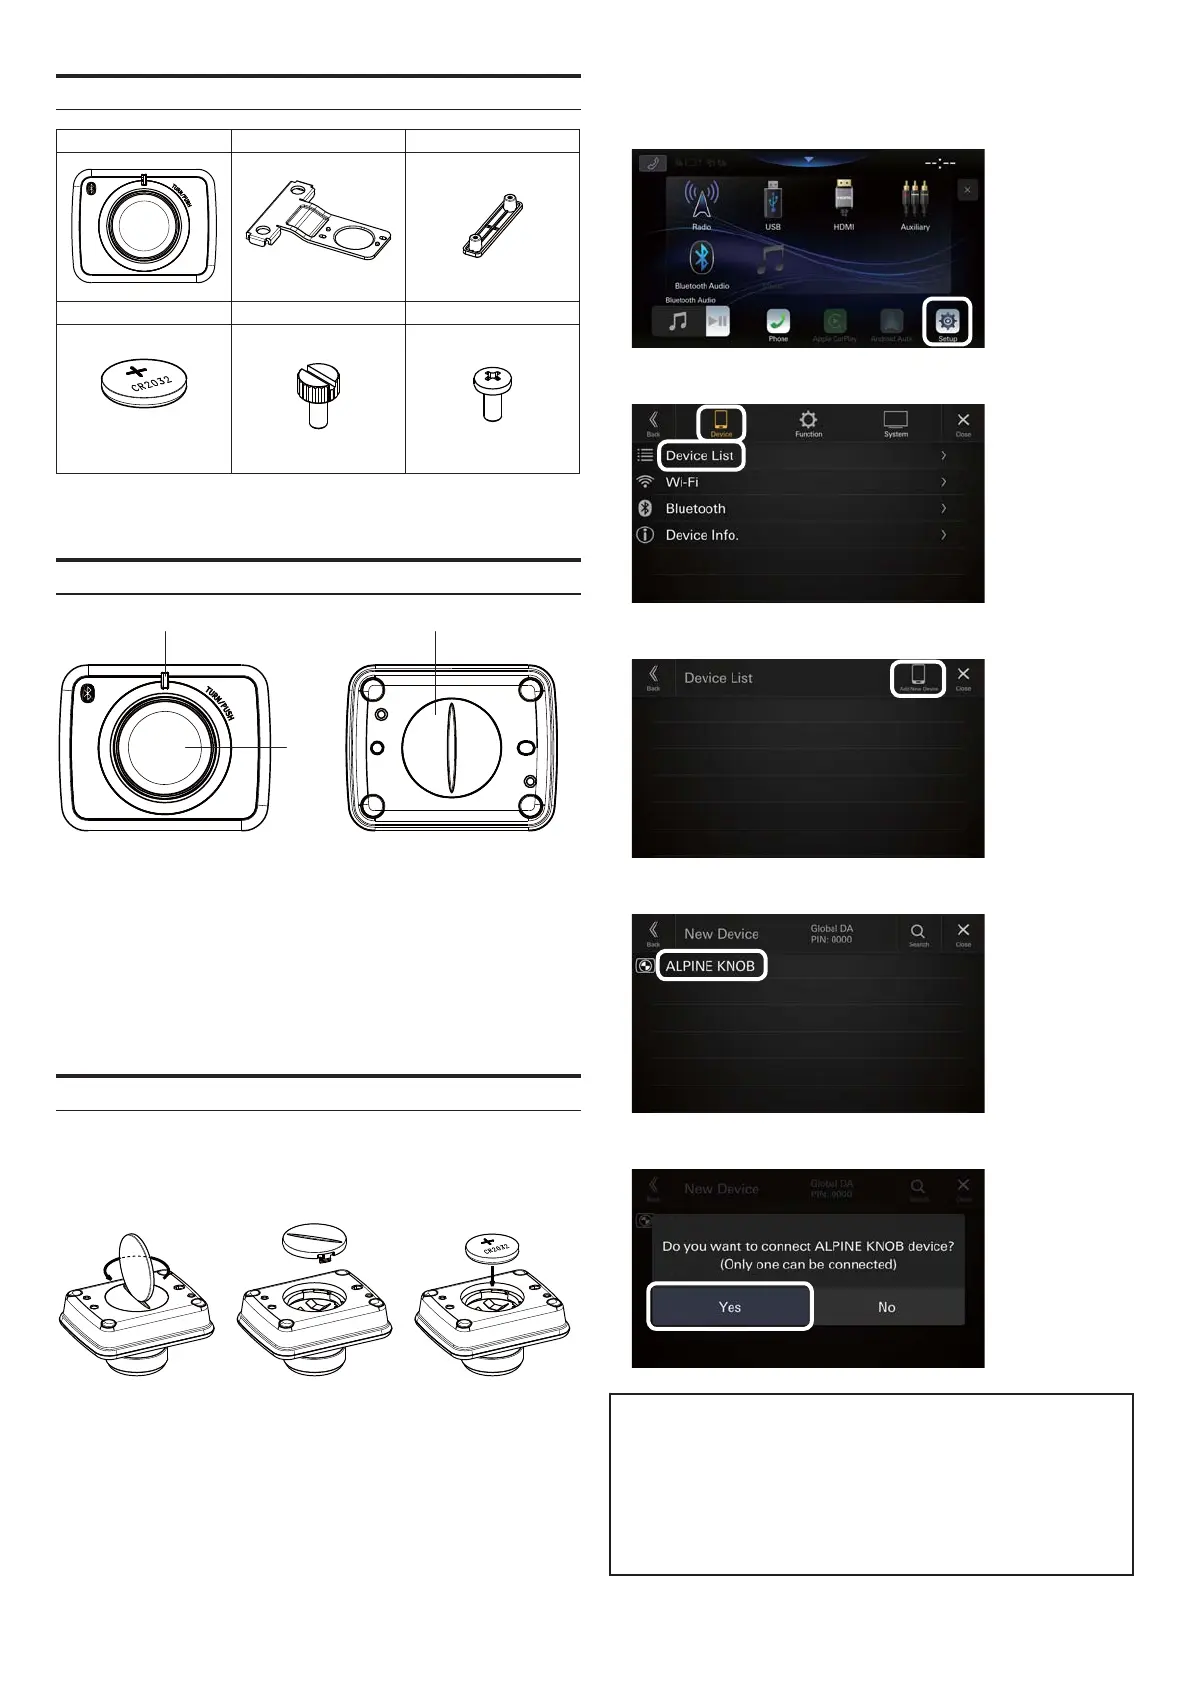
Attachment
RUE-BK01A Mounting Bracket1 Mounting Bracket2
x1 x1 x1
Battery Screw1 Screw2
(CR2032)
x1 x2 x2
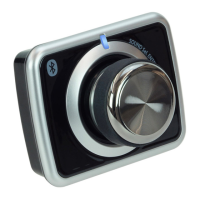
Location of Controls
(1) (3)
(2)
(1) LED Indicator
It turns on when the unit is connected/operated.
(2) Rotary Knob
To turn the volume up and down, respectively.
(3) Lid
Turn counter-clockwise to open the lid.
Connecting the unit
1.
Insert the battery using the following procedure:
* Ensure the positive (+) side faces up as shown in the illustration
below.
When the battery is set, the unit enters the connection stand-by
mode. While the LED is ashing, perform the procedure in Step 2.
If the LED turns o while performing the procedure in Step 2, press
the Rotary Knob. The LED starts ashing again.
2.
Operate the Audio/Video Receiver using the following procedure:
1) Select
[
Setup].
2) Select [Device], then [Device List].
3) Select [Add New Device].
4) Select
[
ALPINE KNOB].
5) Select [YES] when the screen below is displayed.
MEMO
When the Audio/Video Receiver is o for a certain period of time,
the unit is disconnected.
The unit is reconnected automatically when the Audio/Video
Receiver is turned on and the Rotary Knob is operated.
* It may take some time for the unit to reconnect in some situa
tions.