22 IP 710 Manual
Registration from the Phone’s Menu
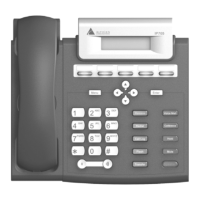
Under normal circumstances, the IP 710 phone registers itself
automatically. However, if registration failed for some reason (for
example, the server was not available), registration can be started again
from the IP 710 phone’s menu:
1. Press the Menu button.
2. Scroll to REGISTER.
3. Press the Enter button.
Configuring IP Settings
An IP address is a unique logical address that identifies each host computer
on a TCP/IP network. An IP address is a 32-bit number expressed as four
decimal numbers from 0 to 255, separated by periods.
Use these guidelines when manually configuring the IP settings:
• Ensure the default gateway IP address is on the same subnet as the host
IP address. Check with your system administrator.
• When inputting IP addresses into the IP 710, use the * key to enter
periods. For example, 209.120.12.8 would be input as 209*120*12*8.
Assigning a Local IP Address
To assign an IP address, use the following steps:
1. Ensure that DHCP is disabled.
2. Press the Menu button, scroll to NETWORK, then press the Enter
button.
GateKeeper
Discovery
Network >
GK Discovery
Sets whether GateKeeper discovery is
enabled. IP phone will automatically
find GateKeeper. Shows only if
GateKeeper is enabled.
Enable NAT Network >
Enable NAT
Sets whether NAT is enabled or
disabled.
NAT Address Network >
NAT Address
Sets the NAT server’s public IP
address.