7
5
5
5
5 Getting
Getting
Getting
Getting Started
Started
Started
Started
5
5
5
5.1
.1
.1
.1 Connection
Connection
Connection
Connection and
and
and
and Preparation
Preparation
Preparation
Preparation
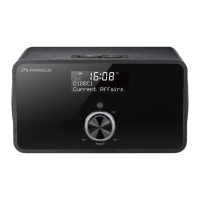
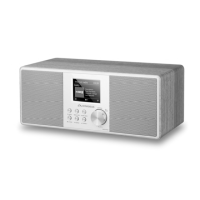
Connect the power adapto r to the back of devi ce and plug it into power socket. Switch on the device,
it starts up.
Pull out the rod DAB/FM antenna for DAB and FM reception.
Connecting
Connecting
Connecting
Connecting to
to
to
to the
the
the
the network
network
network
network
• A broadband connection in com
bination with a wireless access point, router or similar network
device.
• The network device needs to support WiFi (802.11 b/g/n) wireless conne ction.
Make sure you have setup the w ireless network and you have the WEP, WPA or WPA2 security
password to activate the connection. You may also use the WPS (WiFi Protected Setup) function for
easy pairing between the network device and AMADEUS CRESCENDO. Check if the light indicators on
the network device are in appropriate status.
Connecting
Connecting
Connecting
C
onnecting the
the
the
the line
line
line
line out
out
out
out
Use a standard audio cable to connect from the line out socket on the back of the device to the
external device.
Connecting
Connecting
Connecting
Connecting the
the
the
the headphones
headphones
headphones
headphones
Turn the volum e down before using the headphones.
Inset the headphone plug (standard 3.5mm) into the headphone socket at the front of the device.
5
5
5
5.2
.2
.2
.2 General
General
General
General Device
Device
Device
Device Functions
Functions
Functions
Functions
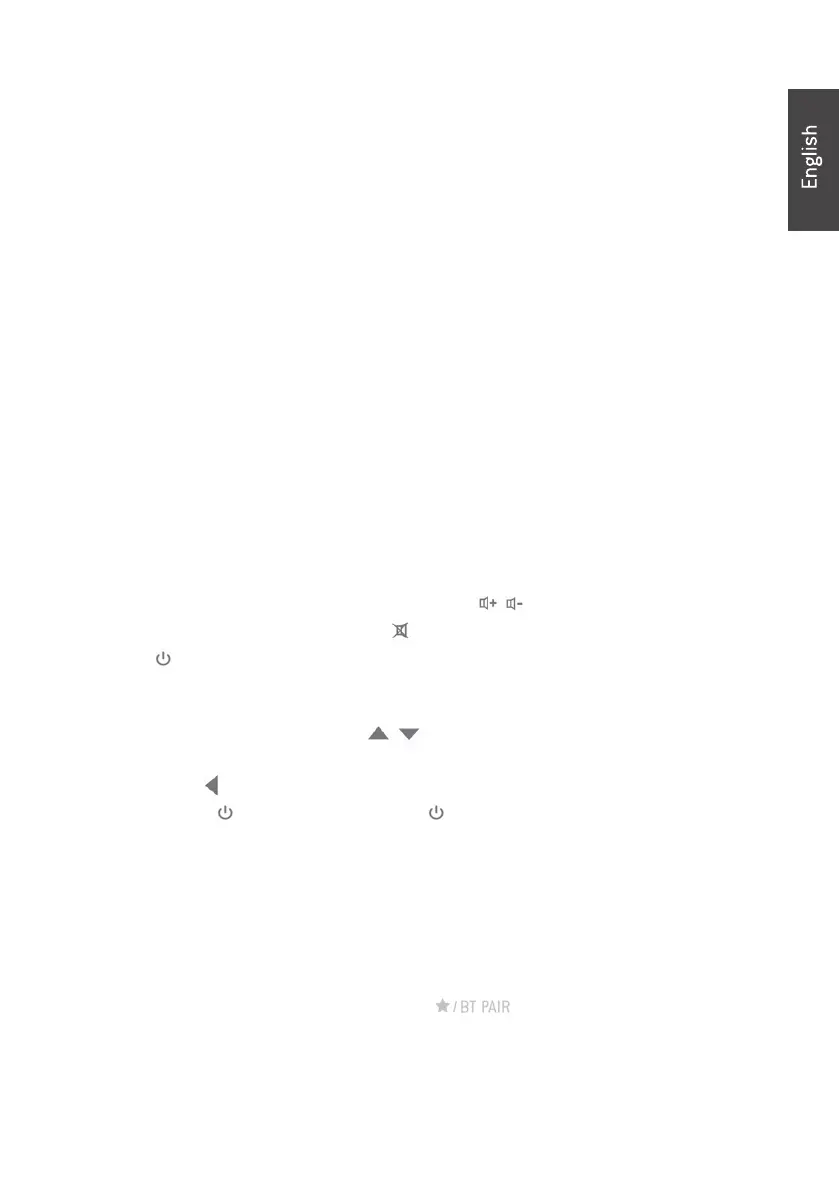
On the playing screen, rotate the volume knob or press / on the rem ote control to adjust the
volume. Switch o the sound by pressing
on the remote control.
Press
/MODE
/MODE
/MODE
/MODE on the device or MODE
MODE
MODE
MODE on the remote control to select modes.
Press and hold MENU/INFO
MENU/INFO
MENU/INFO
MENU/INFO on the device or MENU
MENU
MENU
MENU on the rem ote control to open the menu. Press
again to close the menu and return to playing screen.
On the menu, rotate the knob or press
/ on the remote control to move along the entries.
Press the knob on the device or OK(SCAN)
OK(SCAN)
OK(SCAN)
OK(SCAN) on the remote control to conr m; press AL ARM/
ALARM/
ALARM/
ALARM/BACK
BACK
BACK
BACK on
the device or
on the remote control to step back.
Press and hold /MODE
/MODE
/MODE
/MODE on the device or press on the remote co ntrol to switch to standby mode.
The time, date and any active alarm times display on the screen. Switch on with the same button.
When album cover is displayed on the playing screen, press the knob on the device or OK(SCAN)
OK(SCAN)
OK(SCAN)
OK(SCAN)
on the remote control to view the full screen size of the picture. (This feature may need software
update, contact us if required.)
Presets
Presets
Presets
Presets
Presets are stored in the radio and cannot be accessed from other radios.
To store an Interne
t r adio preset, press and hold on the device or FAV
FAV
FAV
FAV on the remote
control the display shows the Save preset screen. Select one of the 10 presets to save the
currently playing station.
 Loading...