PIX-95 www.amano.com 1-800-253-9836 pg. 6
Disabling or Enabling Daylight Saving Time
Note: Your clock is preset (Enabled) at the factory to change automatically for
daylight savings. To disable daylight savings follow the steps below:
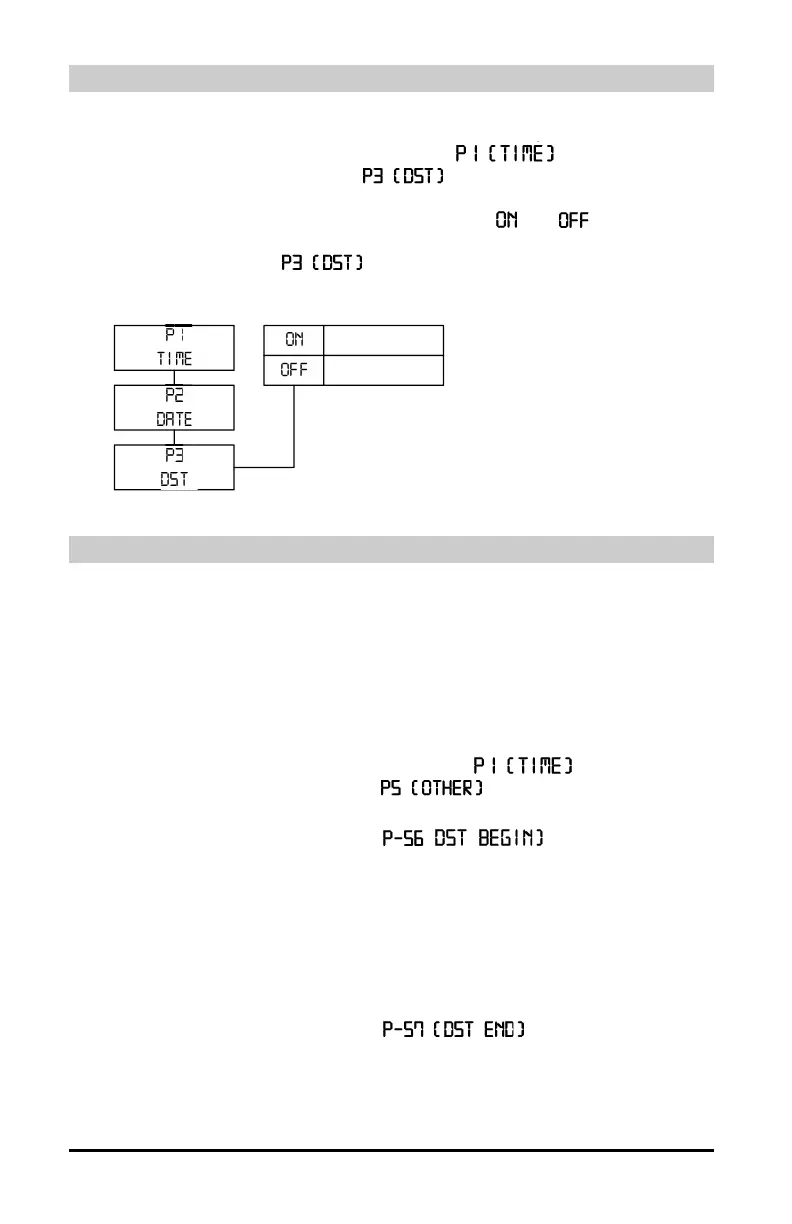
1. Press and hold the PROGRAM button until
daylight savings. To disable daylight savings follow the steps below:
daylight savings. To disable daylight savings follow the steps below:
daylight savings. To disable daylight savings follow the steps below:
daylight savings. To disable daylight savings follow the steps below:
daylight savings. To disable daylight savings follow the steps below:
daylight savings. To disable daylight savings follow the steps below:
daylight savings. To disable daylight savings follow the steps below:
appears then
press the CHANGE button until
appears.
2. Press the ENTER button.
3. Press the CHANGE button to alternate between
and .
4. When the display flashes the correct setting, press the ENTER button.
5. The display will show
When the display flashes the correct setting, press the
When the display flashes the correct setting, press the
When the display flashes the correct setting, press the
When the display flashes the correct setting, press the
When the display flashes the correct setting, press the
When the display flashes the correct setting, press the
, press the PROGRAM button to exit the
Program Mode.
Changing the Begin / End Date for DST
Note that the government standard for DST is subject to change. Your clock is
factory-set for correct DST based upon when it was manufactured, but any
revision to DST begin or end dates may require updating the system-set DST
calendar.
The steps below change the begin and end date for DST. Updating the begin
date for DST needs to be done just one time, since the clock’s rolling calendar
function will auto-calculate the begin date for each year thereafter. To change
the end date for DST, refer to the next section.
1. Press and hold the PROGRAM button until
appears, then
press the CHANGE button until
appears and then press the
ENTER button.
2. Press the CHANGE button until ( flashes in the
display.
3. Press the ENTER button and the year will start to flash. Press CHANGE
button until correct year is displayed and then press ENTER.
4. The month will start to flash. Press CHANGE button until correct month is
displayed and then press ENTER.
5. The date will start to flash. Press the CHANGE button until correct date is
displayed and then press ENTER button twice to accept changes.
6. Press the CHANGE button until
flashes in the display.
7. Press the ENTER button and the year will start to flash. Press CHANGE
button until correct year is displayed and then press ENTER.
8. The month will start to flash. Press the CHANGE button until correct
month is displayed and then press ENTER.
 Loading...