
A
Angela Thompson DDSSep 18, 2025
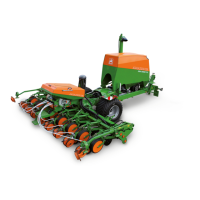
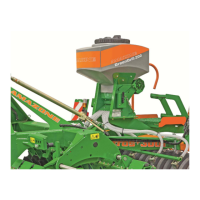
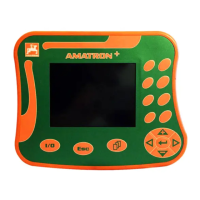
What to do if the maximum pressure of singling is exceeded on Amazone Farm Equipment?
- AAlexandra RussoSep 18, 2025
If the maximum pressure of singling is exceeded, minimize the blower fan speed of the singling blower, increase the maximum pressure, and call up the diagnostics menu to check if the sensor is defective.