en
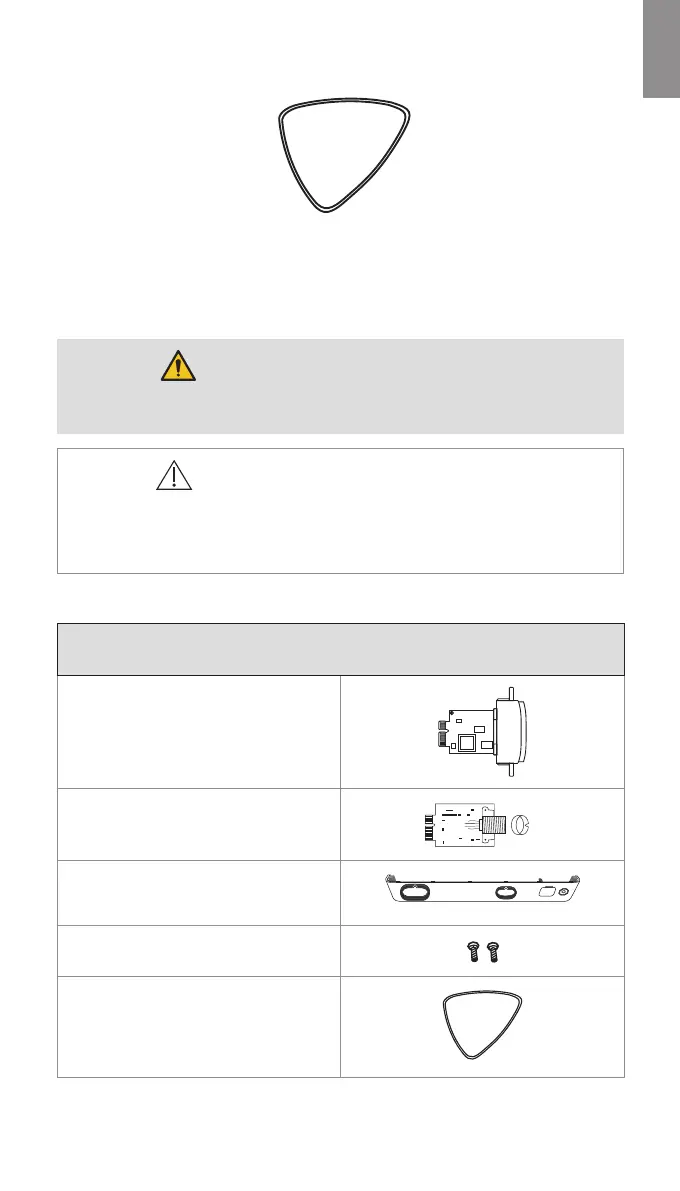
The plectrum tool is provided with the spare parts kits (see section 1.5 Spare Parts).
Figure 3 Plectrum tool
4. How to Replace Spare Parts
This section covers the replacement of the Visualization Device Interface board (VDI board).
WARNINGS
• To avoid risk of electric shock, always disconnect the power cable from the
displaying unit before performing spare part replacement.
CAUTIONS
• To avoid harming the electrical components, always use ESD protection when
disassembling, replacing a spare part, and reassembling the displaying unit.
• To avoid malfunction of the equipment, only use spare parts supplied by Ambu. Do
not modify the spare parts.
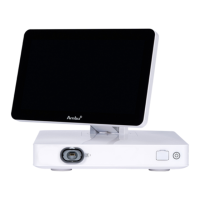
4.1. Visualization Device Interface Board Replacement
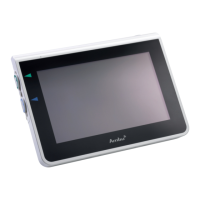
Ambu® aBox™ 2 Visualization Device
Interface Kit - Grey-Empty-Green
505000530
Grey Visualization Device Interface board
(VDI board)
Green Visualization Device Interface board
(VDI board)
Front cover, incl. colour ring (grey) and USB
cover
Screws for VDI board (x2)
Plectrum tool
Additional Tools (not supplied)
Screwdriver (Phillips #0)
11