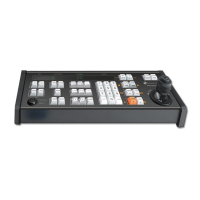
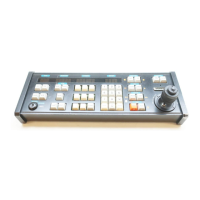
Connection and Setup of the AD2089
9
Built-in Keyboard Operations Test
The AD2089 has built-in test capability to verify the operational integrity of the unit's hardware and
firmware. Built-in test functions include the following:
• speaker test
•LED lamp test
• LED brightness test
• LED seven segment test
• joystick calibration / speed test
• key functionality test
• keyswitch test
• serial communications test
• ROM checksum test
Procedure to Initiate Built-In Test
1 Unplug the keyboard's wall transformer.
2 Disconnect the matrix switching system's modular cable from the dual terminal block (J2).
3 Connect a jumper wire to pins 4 and 5 on the J1 side of the dual terminal block.
4 Detach the bottom plate of the keyboard by removing the four screws.
5 Press and hold down the button labeled "test switch", while simultaneously plugging in the wall
transformer.
CAUTION !
The following procedures expose internal
electrical components and should be performed
by qualified service personnel only.
AD2089 Keyboard
Underside
XMIT/RCD SELF-TEST
JUMPER CONNECTION
DO NOT CONNECT TO
SYSTEM DURING
BUILT-IN-TEST
Each test is performed in sequence. Press the test switch button to advance to the next
test procedure. To quit the test sequence, unplug and then re-plug the wall transformer