Do you have a question about the American Standard 6045.101 and is the answer not in the manual?
Lists recommended tools and essential pre-installation checks for the urinal and plumbing.
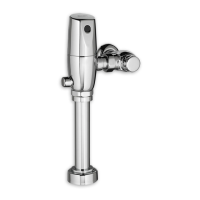
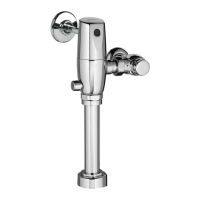
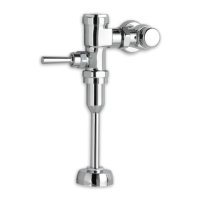
Connects the supply pipe to the flushometer using a sweat solder adapter.
Mounts external components and the control valve to the supply pipe.
Connects the flush valve to the urinal's spud with the down tube.
Connects the main flush valve assembly to the supply stop and down tube.
Clears debris from water lines before final adjustment and operation.
Regulates water flow to achieve proper flush volume and prevent overflow.
Instructions for replacing older manual or electronic flush valves.
Details how to orient the flush valve for either left or right-handed urinal installations.
| Brand | American Standard |
|---|---|
| Model | 6045.101 |
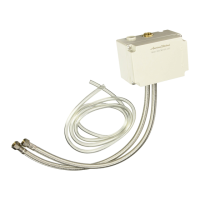
| Category | Control Unit |
| Color | White |
| Terminal Type | Screw Terminal |