EasyManua.ls Logo

American Standard Champion PRO 211BA Series User Manual

American Standard Champion PRO 211BA Series
4 pages
To Next Page IconTo Next Page
Page #1 background imageLoading...
Page #1 background image
SAVE FOR FUTURE USE
7301836-100 Rev. A
Product names listed herein are trademarks of AS America, Inc.
© AS America, Inc. 2011
Champion
®
PRO 2-piece Toilet
211AA and 211BA Series
Right Height
®
Elongated / Right Height
®
Round Front
INSTALLATION INSTRUCTIONS
CARE AND MAINTENANCE
CAUTION: PRODUCT IS FRAGILE. TO AVOID BREAKAGE AND POSSIBLE INJURY HANDLE WITH CARE!
!
NOTE: Pictures may not exactly define contour of china and components.
Thank you for selecting American Standard - the benchmark of fine quality for over 100 years. To ensure this product is installed properly, please read
these instructions carefully before you begin. (Certain installations may require professional help.) Also be sure your installation conforms to local codes.
Wax Ring
Tank To Bowl Gasket
Slow Close Toilet Seat
Water Supply Line
Attachment Handles
with Nuts (2)
Plastic Washers (2)
Bolt Caps (2) Bowl-To-Floor Knobs (2)
T-Bolts with Retainer (2)
EZ-INSTALL KIT INCLUDED WITH TANK
TANK 4225A
BOWL 3195A ELONGATED
BOWL 3195B ROUND FRONT
SOLD SEPARATELY
EZ-INSTALL KIT INCLUDED WITH BOWL
Question and Answer IconNeed help?

Do you have a question about the American Standard Champion PRO 211BA Series and is the answer not in the manual?
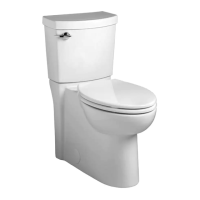
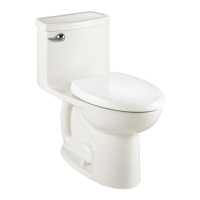
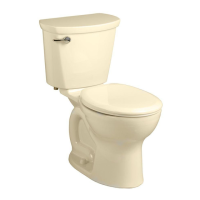
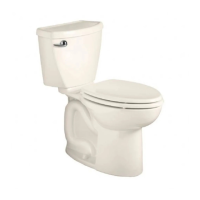
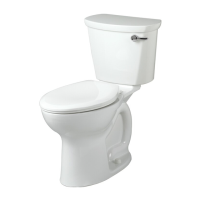
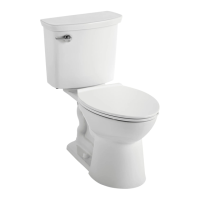
American Standard Champion PRO 211BA Series Specifications

General IconGeneral
TypeTwo-Piece
Bowl ShapeElongated
Bowl HeightComfort Height
Water Consumption1.6 gallons per flush
Seat IncludedNo
ColorWhite
Gallons Per Flush1.6
Rough-In12 inches
Flush TypeSingle Flush
Seat Height16.5 inches
Trapway Size2-3/8 inches
Flush Valve Size3 inches
Warranty10 years

Summary

Installation Preparation and Dimensions

Roughing-In Dimensions

Specifies required distances from the wall to the closet flange centerline for toilet installation.

Removing an Existing Toilet

Steps for safely removing an old toilet, including turning off water and flushing.

Toilet Installation Steps

Attaching Tank to Bowl

Guidance on securing the tank to the bowl using provided handles and washers.

Connecting Water Supply

Instructions for connecting the water supply line to the toilet tank.

Post-Installation and Maintenance

Water Level Adjustment

How to adjust the water level in the tank using the float cup mechanism.

Care and Cleaning

Recommendations for cleaning the toilet and warnings against using in-tank cleaners.

Troubleshooting Guide

Common flushing, leaking, and shut-off issues with corrective actions.

Related product manuals