Do you have a question about the American Standard Homestead VorMax and is the answer not in the manual?
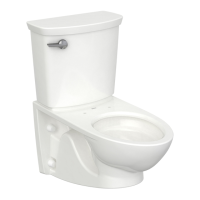
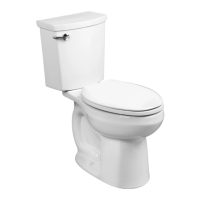
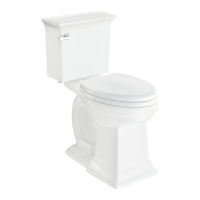
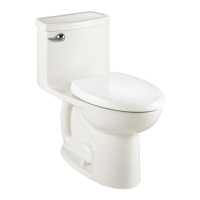
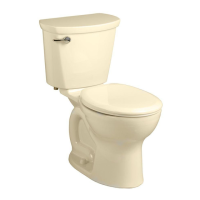
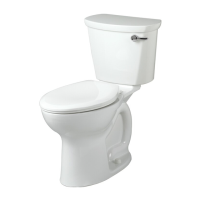
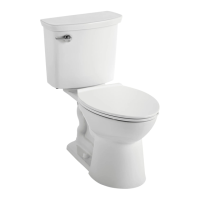
| Type | Two-Piece |
|---|---|
| Flush Technology | VorMax |
| Bowl Shape | Elongated |
| Finish | White |
| Flush Type | Single Flush |
| WaterSense Certified | Yes |
| Rough-In | 12 inches |
| Gallons Per Flush (GPF) | 1.28 |
| Rough-In Size | 12 inches |
| Seat Height | 16.5 inches |
| Material | Vitreous China |
| Water Consumption | 1.28 Gallons per Flush |
| Gallons Per Flush | 1.28 |
| Trapway Diameter | 2 inches |
| Warranty | Limited Lifetime on Chinaware, 5 Year on Mechanical Parts |
Prepare for installation by unpacking, inspecting parts, and following safety guidelines.
Steps for safely removing an old toilet before installing a new one.
Securing the floor flange to the subfloor as part of toilet installation.
Applying the wax ring to the toilet base to create a seal.
Carefully positioning the toilet bowl onto the floor flange.
Securing the toilet bowl to the floor flange using mounting hardware.
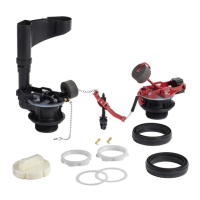
Connecting the toilet tank to the bowl using the provided gasket.
Fastening the toilet tank to the bowl securely.
Connecting the water supply line to the toilet tank.
Adjusting the internal flush valve mechanism for optimal performance.
Checking the trip lever mechanism for proper engagement and function.
Common causes and solutions when the toilet fails to flush properly.
Diagnosing and fixing issues with weak or slow toilet flushes.
Identifying and resolving various sources of toilet leaks.
Addressing problems where the toilet water continuously runs.
Solutions for a wobbly toilet bowl after it has been installed.
Guidelines for maintaining and cleaning the toilet unit.
Caution against using in-tank cleaners due to potential damage.