Do you have a question about the American Standard H2Optimum 288AA and is the answer not in the manual?
Lists necessary tools and materials for toilet installation.
Step-by-step guide to disconnecting and removing the existing toilet.
Specifies required distances from wall to closet flange for proper fit.
Instructions for placing closet bolts in the flange for toilet mounting.
Procedure for applying wax ring and sealant to the toilet base.
Guidance on placing the toilet bowl onto the flange and securing it.
Steps for setting the toilet bowl, tightening nuts, and attaching the tank.
Detailed steps for connecting the water supply line correctly.
How to set the water level in the tank for dual flush models.
Table and notes on adjusting flush valve settings for different flush types.
How to align flush buttons with tank actuators for proper function.
Tips for troubleshooting flush performance by adjusting button rod length.
Method for significant water level changes in dual flush tanks.
Method for fine-tuning water level in dual flush tanks.
Instructions for adjusting water level in single flush models.
Common problems and their corrective actions for toilet operation.
Guidance on cleaning the toilet and warnings about tank cleaners.
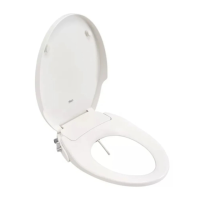
Step-by-step installation guide for the Champion Slow Close toilet seat.
Instructions for cleaning and maintaining the toilet seat.
Information on available replacement parts for the seat mounting kit.
Details of the limited warranty for the Champion Slow Close toilet seat.
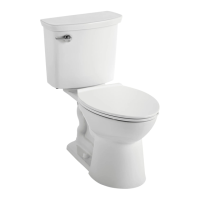
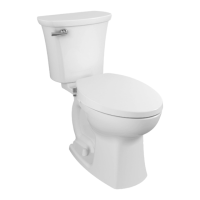
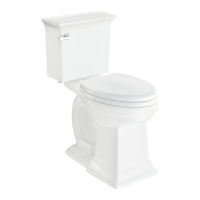
| Type | Two-Piece |
|---|---|
| Bowl Height | 16.5 inches |
| Flush Type | Single Flush |
| Water Consumption | 1.1 GPF |
| Material | Vitreous China |
| Color | White |
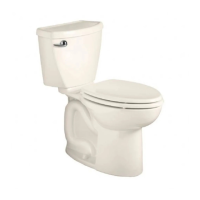
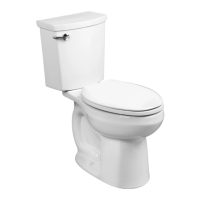
| Model Number | 288AA |
| Brand | American Standard |
| WaterSense Certified | Yes |
| Bowl Shape | Elongated |
| Rough-In Size | 12 inches |
| Depth | 28.5 inches |
| ADA Compliant | Yes |
| Flush Rate | 1.1 GPF |
| Flush Volume | 1.1 gallons per flush |