5. Mechanical
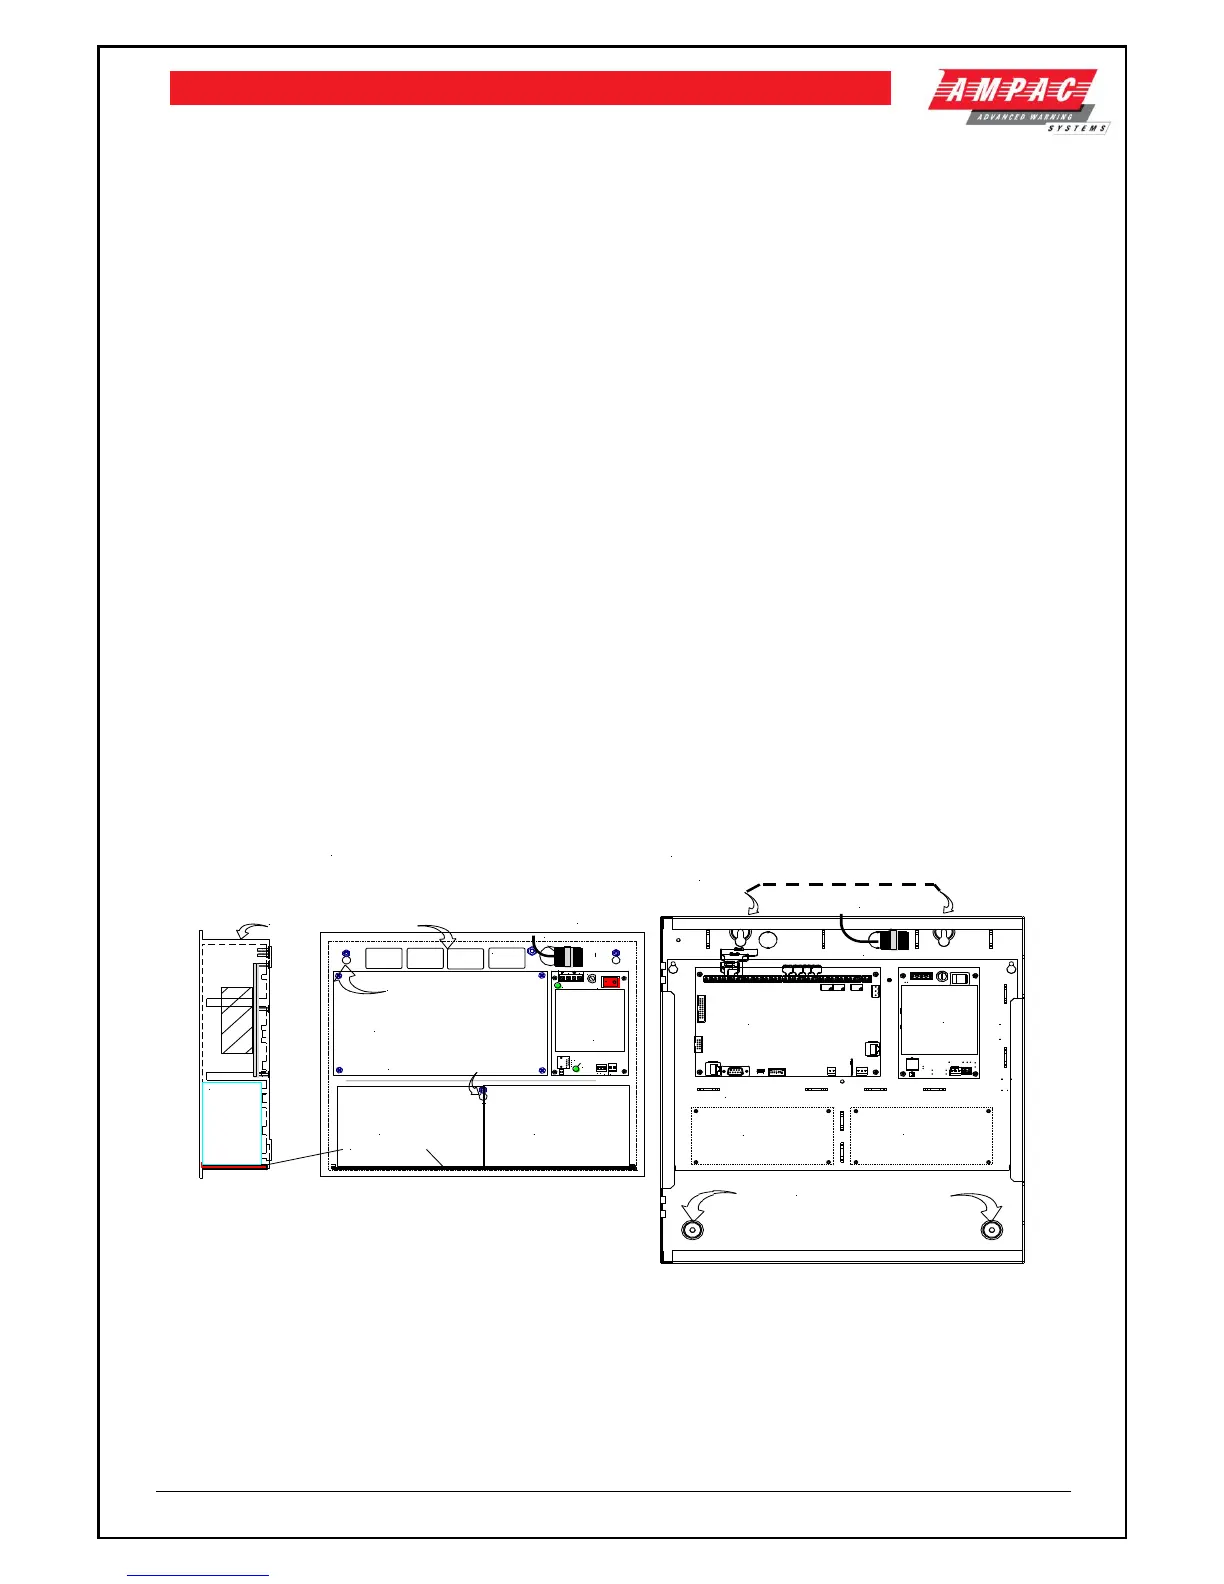
The basic LoopSense FACP consists of:
Main PCB
Front Panel control and indicator board
3Amp switch-mode power supply for the metal version 2Amps for the ABS version;
2 X 12 Volt batteries connected in series.
Access keys
Loop activation key for 2 Loop version.
5.1 Mounting the Enclosure
The panel MUST be mounted in an area that is NOT subject to conditions likely to affect its
performance, e.g. damp, salt-air, water ingress, extremes of temperature, abuse etc. is at an easily
accessible height and such that the indicators are at eye level.
Typical locations for the panel are the first and most obvious point of contact for emergency services
or a security office that is likely to be permanently staffed.
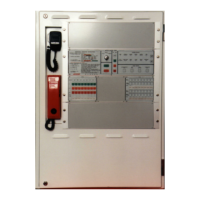
5.1.1 Enclosure Details
LoopSense can be surface or semi-flush mounted, is supplied with a detachable door, a mountable
back box with backpan, power supply and a minimum of two separate PCBs.
5.1.2 Fixing the Chassis to the Wall
Taking into account the weight of the panel securely mount it by using, the three keyhole mounting
holes, suitably sized screws and plugs for the type of mounting surface.
Mounting is best achieved by positioning the box against the surface it is to be mounted to, marking
the holes, taking the box well away from the surface and then drilling the holes.
Caution: Any dust or swarf created during the fixing process must be kept out of the panel and great
care is taken not to damage any wiring or components.
 Loading...