Activ-Pro User / Troubleshooting Guide | 8
amqsolutions.com
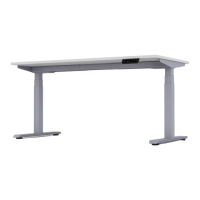
Setting a Custom Minimum Height
1. Use the DOWN button to move the base to the desired minimum-height position.
2. Press the “M” button and release. The LED display will show “S- ‘’.
3. Then press the “DOWN” button and release.
4. Then press and hold the “M” button until the LED display will show “000”. The new minimum height is
now set.
Removing the Custom Height Positions
1. Press and hold the “M” button until the LED display flashes “S -” and then release it.
2. Press the “M” button again and hold for 2 seconds. The LED display will change to “555” and then
automatically return to the height display. The upper and lower limits are now removed.
Note: A RESET procedure requires the desk base to full retract (beyond any lower limit set).
Changing LED Number between inches and centimeters
1. Press the DOWN button on the Handset until the base reaches its lowest position.
Press and hold the DOWN button again until the LED display reads “ASR”.
2. Press and hold the “2” button (about 5 seconds) while the LED flashes “ASR” and then switches to either:
10.3 = cm
10.4 = inches
3. Release the “2” button for the display to return to “ASR”.
4. Finish the reset process by pressing and holding the DOWN button until the desk lowers a little bit more,
slightly rises and stops. Release the button. The new setting is saved and your desk is now ready to use.
For questions or support, please contact AMQ Customer Care at cc@amqsolutions.com or (877) 801-0370.