8
a.1) Connectors for AR642.B, AR652.B, AR682.B a.2) Connectors for AR602.B
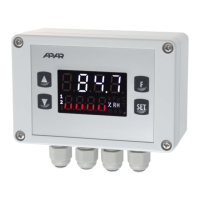
a.3) Connectors for AR632.B (connectors are accessible after removing the front cover and display board, except
for USB)
NOTE:
To perform the wiring assembly for AR632.B follow the instructions below:
- unscrew 4 screws in the front plate and remove it from the device
- the device can be screwed to the base with 4 screws in the mounting holes
- unscrew 1 screw on the display board and carefully slide the board out of the mounting sockets
- connectors for signal cables, power supply and relay outputs are available
- lead the electric wires into the housing through cable glands (and tighten the optional RJ45 pin)
- after assembly, assemble the device in the reverse order to that described above
- IP65 tightness requires precise tightening of the gland nuts and the housing cover
- to avoid possible mechanical and electrostatic damage, be especially careful
caution when handling the display board.
a.4) Connectors for AR662.B (description of clamps in Table 7) b) Galvanic separation of circuits
!