6
6
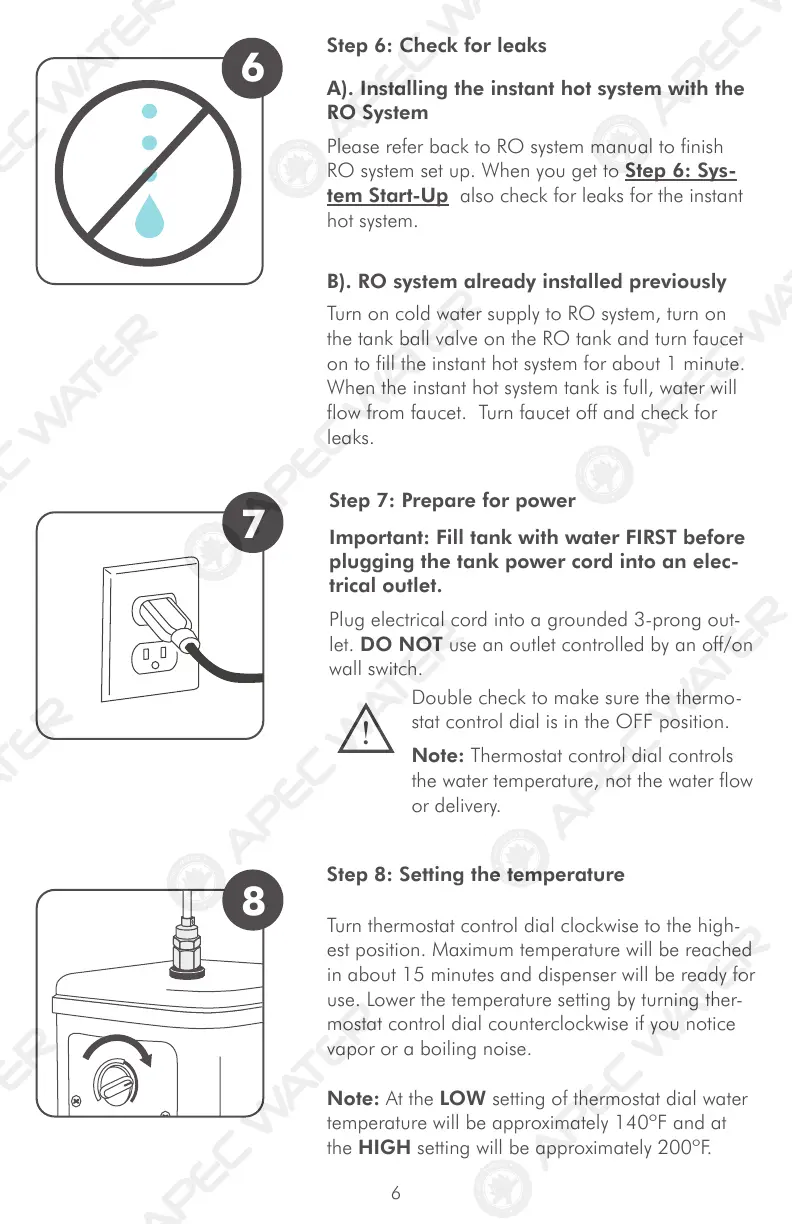
Step 6: Check for leaks
A). Installing the instant hot system with the
RO System
B). RO system already installed previously
Please refer back to RO system manual to finish
RO system set up. When you get to Step 6: Sys-
tem Start-Up also check for leaks for the instant
hot system.
Turn on cold water supply to RO system, turn on
the tank ball valve on the RO tank and turn faucet
on to fill the instant hot system for about 1 minute.
When the instant hot system tank is full, water will
flow from faucet. Turn faucet off and check for
leaks.
7
8
Step 7: Prepare for power
Important: Fill tank with water FIRST before
plugging the tank power cord into an elec-
trical outlet.
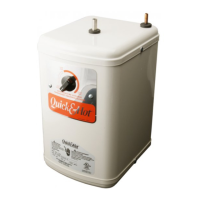
Step 8: Setting the temperature
Plug electrical cord into a grounded 3-prong out-
let. DO NOT use an outlet controlled by an off/on
wall switch.
Note: Thermostat control dial controls
the water temperature, not the water flow
or delivery.
Double check to make sure the thermo-
stat control dial is in the OFF position.
Turn thermostat control dial clockwise to the high-
est position. Maximum temperature will be reached
in about 15 minutes and dispenser will be ready for
use. Lower the temperature setting by turning ther-
mostat control dial counterclockwise if you notice
vapor or a boiling noise.
Note: At the LOW setting of thermostat dial water
temperature will be approximately 140ºF and at
the HIGH setting will be approximately 200ºF.
!
 Loading...