Do you have a question about the Apeks XTX100 and is the answer not in the manual?
Details the steps for an official inspection, including pressure tests and visual checks.
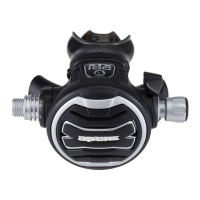
Detailed steps for removing the hose from the regulator, including O-ring removal.
Procedure for removing the diaphragm using the Apeks XTX Tool.
Detailed steps for removing the valve assembly components, including the venturi lever and adjusting screw.
Inspect the diaphragm for suppleness and damage; replace if deteriorated.
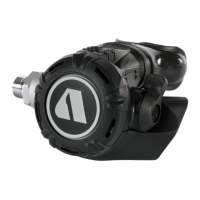
Instructions on removing the Heat Exchanger using an 11/16" spanner.
Procedure for removing the Valve Spindle assembly using the adjusting screw and lever.
Procedure for removing the O-ring, plug, spring adjuster, and its O-rings.
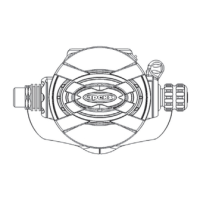
Instructions for removing the rubber seating and small O-ring from the shuttle valve.
How to remove the seat using a slotted seat adjuster and circlip pliers.
Inspect the exhaust valve for condition and clean seating surfaces. Remove if necessary.
Steps for fitting the exhaust valve and exhaust tees, ensuring proper engagement.
Steps to set the lever height correctly for optimal regulator performance.
Test to measure the opening effort of the second stage using a test bench.
Procedure to test for leaks by submerging the regulator in water.
Evaluate breathing performance and feel through direct user experience.
Lists possible causes and treatments for leakage or freeflow issues.
Details causes and treatments for low purge or high breathing effort.
Provides solutions for water ingress into the second stage.
Steps for cleaning all parts using an ultrasonic bath and rinsing.
Instructions for lubricating O-rings with specific greases and avoiding excess application.
| Type | Regulator |
|---|---|
| Second Stage Type | Downstream |
| Cold Water Suitable | Yes |
| Adjustable Venturi | Yes |
| Maximum Working Pressure | 232 bar |
| Environmental Sealing | Yes |
| First Stage Material | Brass |
| Ports | 2 HP, 4 LP |
| Nitrox Compatibility | Up to 40% |
| Intermediate Pressure | 9-10 bar |
| Material | Brass |